photos by: Patrick Hill
How to get a Stronger Drivetrain without Changing the 10-Bolt Housing
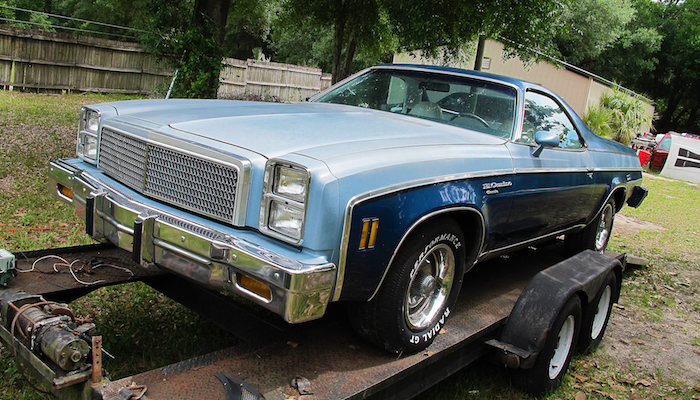
When Greg Lovell, owner and operator of AntiVenom Performance in Tampa, Florida, wanted to beef up the drivetrain on his El Camino, we knew we needed to bare witness. Greg, a lover and builder of both modern and classic GM vehicles, inherited this ’76 from his dad who was the day-one original owner. The plans to beef up the drivetrain included a transmission and torque converter swap, and an overhaul of the rearend. They wanted to keep the 8.5-10-bolt, but strengthen it considerably, and improve the gearing. With the help of gearing guru Bruce Ponti, they decided on the setup, and it was time to rock and roll!
Part 1: How to Strengthen a 8.5-inch 10-Bolt
Limited to using the original rearend from the El Camino, they wanted to beef things up without having to buy a whole new housing. This might not be the path of least resistance, but totally changing out the axle would only have minimal benefits for this street car. Some people dog on the 8.5-10-bolts but they’re very respectable units, especially after you throw a few good parts at them.
Back in the 1970s, GM first started using 8.5-inch 10-bolt rears under their passenger cars. The 8.5 10-bolt used the same 30-spline pinion as the coveted high-performance 12-bolt; with the same ole’ 1.20-inch diameter, 28-spline axles used in the 8.2 10-bolt.
The 8.5 may have only had 10-ring gear bolts, but they were actually stronger than the ones the 12-bolt units used as they were a more substantial 7/16-inch, so they had pretty good strength from the factory. All of the units use strong, nodular iron center sections and the 8.5 used thicker wall axle tubes than the 12-bolt.
These 10-bolts were used in so many applications throughout the years, that getting one, and getting parts for one is just too easy. For this project, we didn’t have to go get a 8.5 10-bolt, it was standard equipment on the ’76 El Camino. However, regardless of how you got yours, this will help you understand how to beef one up the right way.
Parts List:
- Moser Axle Shafts A103012
- Moser Axle Bearings 9559
- Yukon Master Differential Overhaul Kit YK GM8.5-HD-F
- Yukon Dura Grip Positraction Carrier YDGGM8.5-3-30-1
- Summit Racing 3.73:1 Ring and Pinion Set SUM-741001
- Trick Flow Differential Cover TFD-8510300
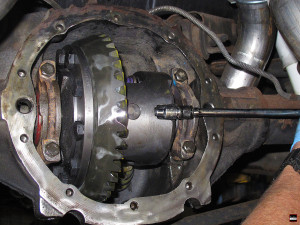
1. Getting the differential carrier out will require removing the retaining bolt that holds the pinion cross shaft in place.
2. The cross shaft can then be slid out so you can press the axles inward to remove the c-clip retainers.
3. With the axles removed, the carrier bearing caps can be removed to remove the carrier — mark the caps for the side they belong on; these caps are directional AND specific to your rear end.
4. Next is removing the pinion nut so the yoke can be removed. Once the nut is off, remove the yoke and then the pinion gear. On occasions, a puller may be necessary to remove a stubborn yoke.
5. With the pinion out, the old bearing races can be knocked out of the housing.
6. If the housing is gunked up inside, you’ll need to put some muscle in to get it clean before assembly begins with any new parts. You may even want to have it media blasted and painted/powder coated at this point. Additionally, clean the gasket flange, double check the tubes, and so on.
7. The first step in reassembly is installing the front and rear pinion bearing races for the pinion gear. The kit used comes with all necessary parts to include bearings, races, seals, pinion & carrier shims, crush collar, pinion nut and even a marking compound with brush. These master installation kits save the user time and money from chasing down individual parts.
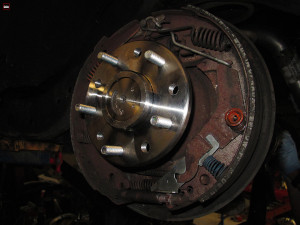
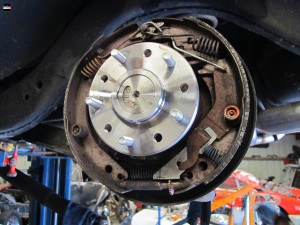
8. Now it’s time to install the new axle bearings and seals. Use a thin layer of gasket sealer on the outside perimeter for extra sealing.
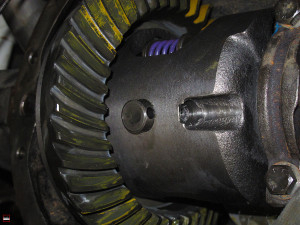
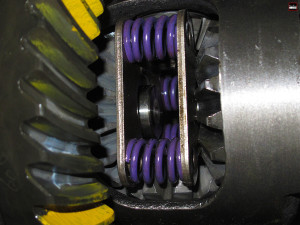
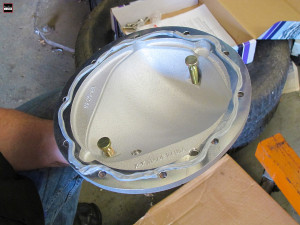
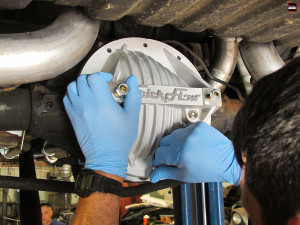
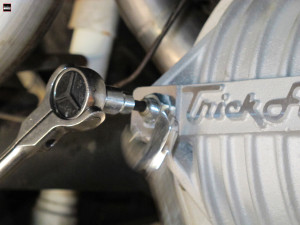
9. The real star of this overhaul is the Yukon Dura Grip Positraction Carrier, it provides an exceptional level of traction, all for under $500! You can’t beat it.
10. Using a press, the bearings are installed on the carrier.
11. To attach the ring gear, red threadlocker was used. Some use lock washers, which sometimes fail, so that’s why red threadlocker came into play.
12. Ring gear bolts are torqued down to spec.
13. There are four crucial steps you need to take to set up the gears. In this order:
- Set the pinion depth
- Set the pinion bearing pre-load
- Set the pinion backlash
- Set the carrier bearing pre-load (this is a byproduct of the backlash setting)
14. Bruce has a pretty ingenious way of doing this. He uses slip fit mock up bearings to check the pinion depth. To do this, radius the inside diameter of your old pinion bearings using a die grinder or dremel tool. When you obtain a nice slip fit, you now have a set of mock up bearings you can reuse over and over.
“When mocking up the pinion depth, do not use a crush collar, and you can use the old pinion nut. Be sure to use a lot of lube on the bearings before installing them as a dry bearing will give a different reading when checking preloads and backlash.” -Bruce Ponti
15. When the rear end was taken apart earlier, the pinion shim was saved from the factory gear and measured for thickness to use as a baseline (starting point) for the new pinion gear.
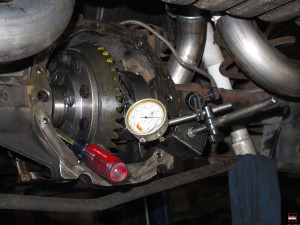
16. After setting the carrier in the housing, with the carrier shims in place, the bearing caps are snugged down.
17. After checking the backlash and finding it to be within the spec tolerance, the ring gear teeth are marked and pattern checked. You do this to make sure the pattern is correct in both and forward and reverse direction also commonly referred to as drive and coast. If the pinion depth is incorrect you add or remove pinion shims and repeat the previous step until the desired pattern is obtained.
18. When you’re sure the pinion depth and backlash are correct, the carrier needs to come back out, the new pinion bearings and crush sleeve need to be installed, and then they are slipped into the housing. Install the pinion seal, yoke (with a light coating of oil on the hub), pinion nut washer and then pinion nut.
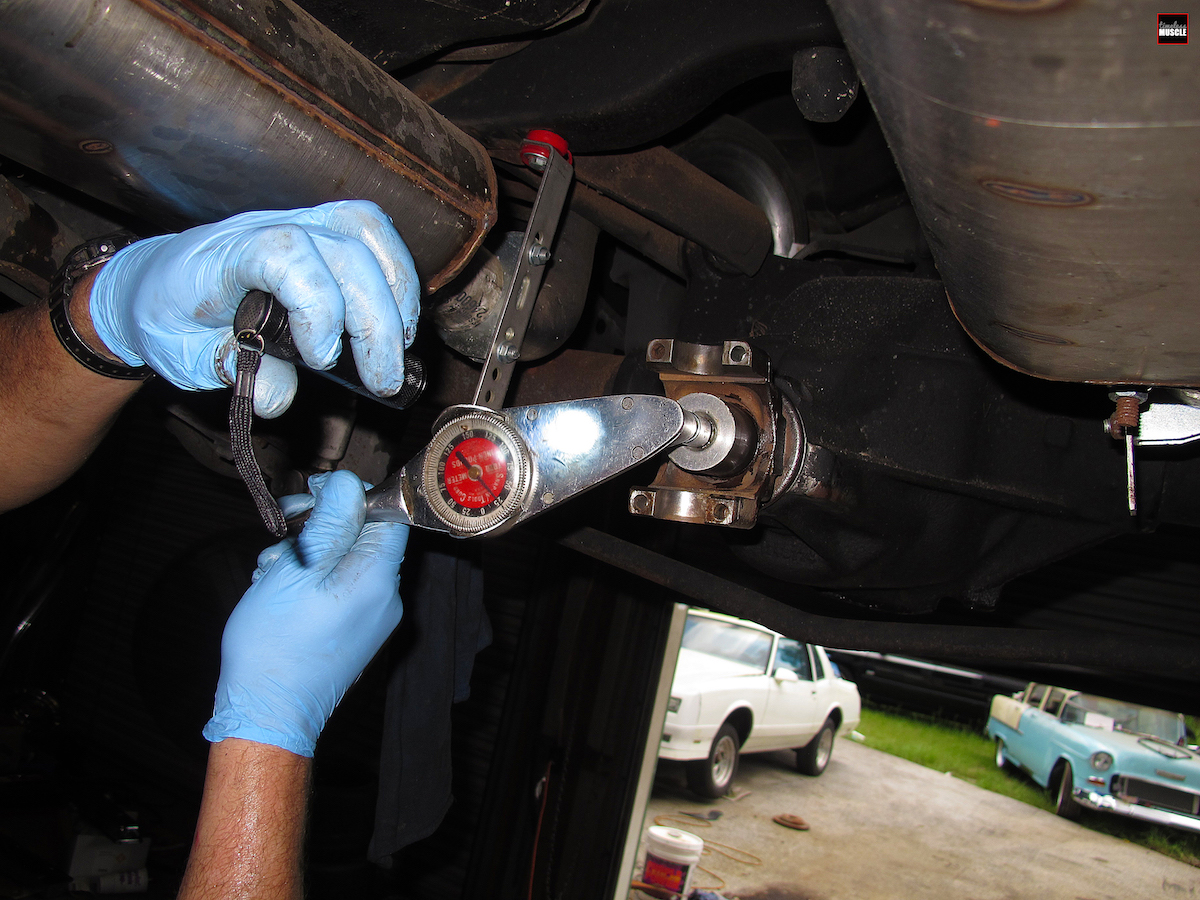
19. Once the new pinion nut is snugged down and the crush collar has started to collapse, the back-to-front play needs to be checked. If there is no play and there is slight resistance turning the pinion gear, using an inch-pound indicator, the yoke is turned to determine pre-load. If the pinion is overtightened, you’ll have to take it apart and start with a new crush sleeve, so be careful.
20. Next, the carrier is reinstalled, desired backlash obtained, and bearing caps torqued down.
21. With everything installed and properly torqued, marking compound is put on the ring gear and another test pattern is run. It’s important to note that when checking the pattern, install one axle (C-clip not necessary at this point) and use that axle to rotate the gears. Do not rotate the pinion to check the pattern. It will yield inconsistent results. After confirming that everything is still in the right sweet spot, it is time to move on to the final steps.
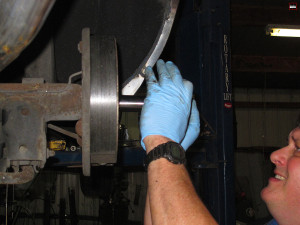
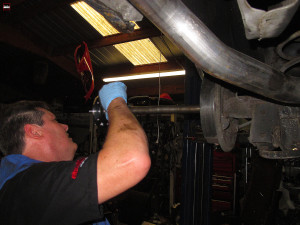
22. Now it’s time for the axles. The new Moser axle shafts are thicker and made out of forged steel, making them far stronger than the factory ones. This makes them more resistant to twisting under heavy loads.
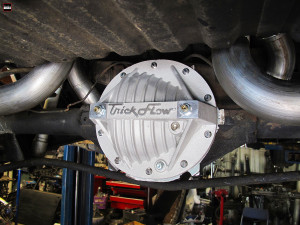
23. The last step in all this is installing the new Trick Flow cast cover. This is a high-capacity cover with bearing cap reinforcers/load bolts. Once the cover is bolted down, screw the bearing cap bolts down until they make contact with the carrier bearing caps, then torque to spec. At this point, you can fill the rear with the proper lubricant and any limited slip additive that might be required, and get ready for your break-in procedure.
24. The last step in all this is installing the new Trick Flow cast cover. This is a high-capacity cover with bearing cap reinforcers/load bolts. Once the cover is bolted down, screw the bearing cap bolts down until they make contact with the carrier bearing caps, then torque to spec.
Q&A: Post-Install Advice from Bruce Ponti
Bruce Ponti has been the behind the scenes guy for a ton of featured builds in countless magazines. When he agreed to sit down with us and talk shop, we took the opportunity to really pick his brain. Bruce refers to rebuilding rear ends as a ‘black art’, and he’s dead on — there’s a lot of very experienced mechanics who won’t even touch a gear job. However, he’s the guy everyone calls on when they need help with their rebuilds, and a very helpful source for this project (outside of just being the hands putting everything together).
Aside from what we learned from Greg and Bruce during the install, this is what we wanted to know.
Timeless Muscle: What’s the right way of building a rearend?
Bruce Ponti: If you follow the correct procedure for installation, take your time, and pay attention to detail, your result will be a quiet and smooth operating differential.
“The key to accomplishing this is starting with the correct tools, there’s no getting around this.” -Bruce Ponti
Outside of your basic hand tools, you’ll need a dial indicator with either a magnetic base or clamp on base (this is crucial and probably one of the most important tools), a dial caliper/ micrometer, bearing pullers, bearing press, torque wrenches, marking compound, and it’s helpful to have race and seal drivers.
TM: What are common mistakes people make when building a rearend?
BP: People who rush the job are asking for trouble. Also, never try to do this by ‘feel’. There are specifications you have to follow for a reason. Know the specifications on the parts before you go diving in, and follow all instructions. Most quality ring and pinion sets and even some installation kits come with extremely thorough instructions; those are there for a reason.
Another huge mistake people make is not properly cleaning the axle tubes, and gunk walks its way into the bearings later on. On some installs, the majority of the time might be spent cleaning the parts, but that’s okay. You’re investing a little time and patience for the sake of not ruining your new gears after installation.
TM: What is your preference on rearend gear oil?
BP: The ‘perfect’ gear oil depends on the differential and the conditions the vehicle is driven in. Generally, for clutch style limited slip differentials such as the Yukon Dura Grip used in this build, Bruce prefers to use a name brand conventional (non-synthetic) oil — no generic brands allowed, this is no place to skimp.
“Synthetics have their place and as always, you should consult the manufacturer’s instructions for their requirements.” -Bruce Ponti
For regular street driven vehicles, Bruce generally uses an 85W140 and 80W90 blend in his builds since he lives in Florida where warmer temperatures dominate the year. In colder climates, he recommends 75W90 or 80W90. For strictly drag racing applications with spools or mini spools, he recommends using the lightest weight synthetic lubricants offered. Finally, Bruce recommends using only OE manufacturer’s limited slip additive (friction modifier) for all limited slip differentials.
TM: Any tips and tricks for new gears?
BP: As far as tips and tricks go, I can not stress the importance of working with clean parts enough. Do what you what you have to do to get the axle tubes as clean as they can be. The parts underneath the cover need to be sparkling, too. An additional tip I love to use to make installing pinion races, axle bearings and axle seals easier is to freeze them in a freezer for at least an hour or so. If I know I’m doing a build the next day, I will actually let them freeze overnight. Freezing won’t damage them in any way, so the longer they are frozen, the easier they will install.
It’s also extremely important to follow the proper break-in procedure after a gear install. Follow the manufacturer’s instructions on this exactly — as the manufacturer can absolutely tell if you didn’t, and that will void the warranty on the gears. Even though not required by all manufacturers, I recommend changing the differential fluid after a new gear break-in (roughly 500 miles). Finally, don’t forget to change the fluid for maintenance after the gears are installed. This should occur before every 30K miles.
“This is to remove any small metal particles and phosphoric coatings found on the majority of all aftermarket gear sets that have been shed during the break-in procedure.” -Bruce Ponti
Part 2: The Transmission and Torque Converter
Compared to the rear end rebuild, the transmission and torque converter work are the easy parts. Since GM only made the cars available with a 3-speed Turbo Hydra-matic, automatic wise, for these cars, it was time for an upgrade.
For this project, a rebuilt 200-4R transmission was a proper choice. These are often overlooked transmissions, but they offer a much higher power capacity over the stock transmission that came in the El Camino. The 200-4R is a transmission with a 2.74 ratio first gear, which is 10% lower than most transmissions. The overdrive on it will increase fuel economy significantly, and makes a great modern upgrade. This also compliments the new gears.
If you’re interested in using a 200-4R transmission, you can find them in:
- 1981-90 B-Bodies
- 1981-84 C-Bodies
- 1984-88 G-Bodies (particularly Olds 442, H/O and Turbo Regal)
- 1985-90 D-Bodies
- 1981 Pontiac Firebird (with 301cid engine, non-turbo)
- 1989 Pontiac Turbo Trans Am Indy Pace Car
Parts List:
- Rebuilt 200-4R Transmission
- FTI Performance Torque Converter
- TransGo Shift Kit
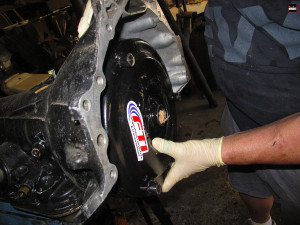
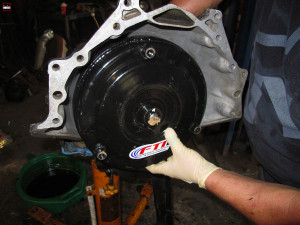
A FTI Performance torque converter was an obvious choice. They are one of the hottest names in torque converters right now because people are having really good experiences with their products. To match the transmission and gears, a 2800 stall was used. This will give it good launching qualities and pair well with the gears without ending up with that ‘too loose’ feeling while on the street, where this El Camino spends more of its time.
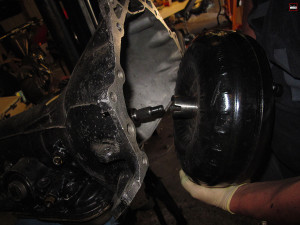
To prep the new transmission, the shift kit is installed per manufacturer’s instructions, using just basic hand tools. The new converter is filled with transmission fluid and installed, and the transmission is basically ready to go in place.
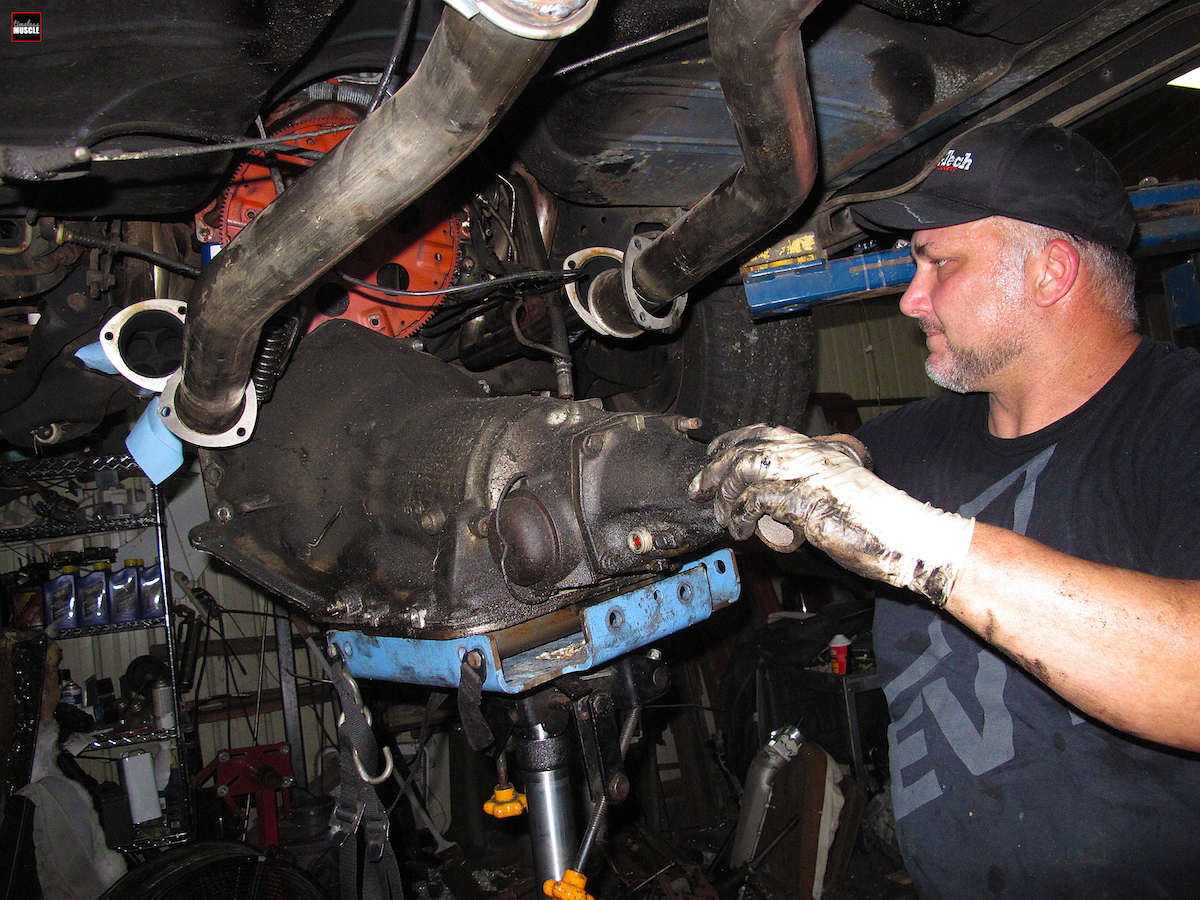
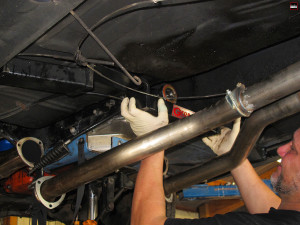
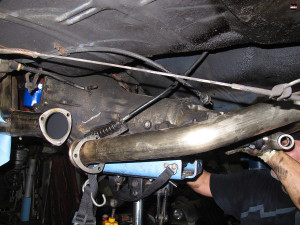
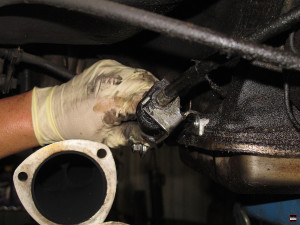
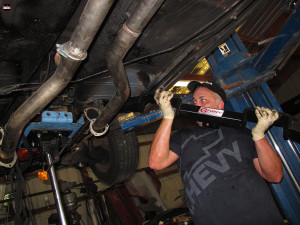
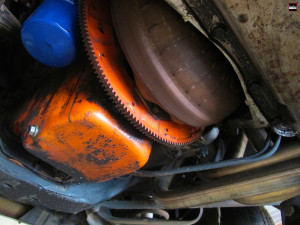
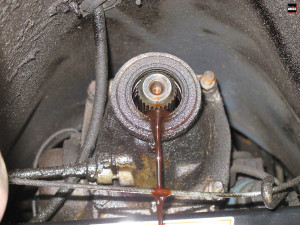
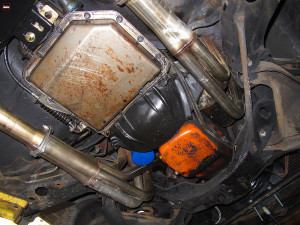
With the exhaust unbolted from the headers, driveshaft removed and the transmission mount loosened, the old TH350 is lowered from the El Camino.
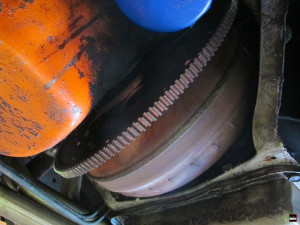
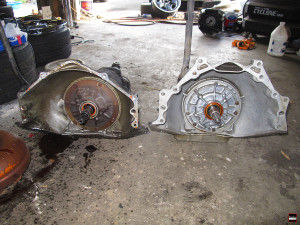
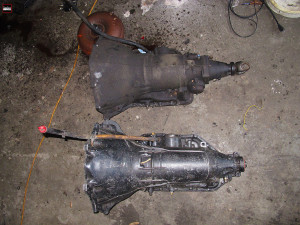
The new transmission is the same basic overall length as the TH-350, it uses the same flexplate, and same 27-spline slip-yoke. When swapping with the 200-4R, it’s a virtually identical swap. Since it’s a direct swap in and out, it pretty much installs itself in most applications originally equipped with a TH-350 transmission.
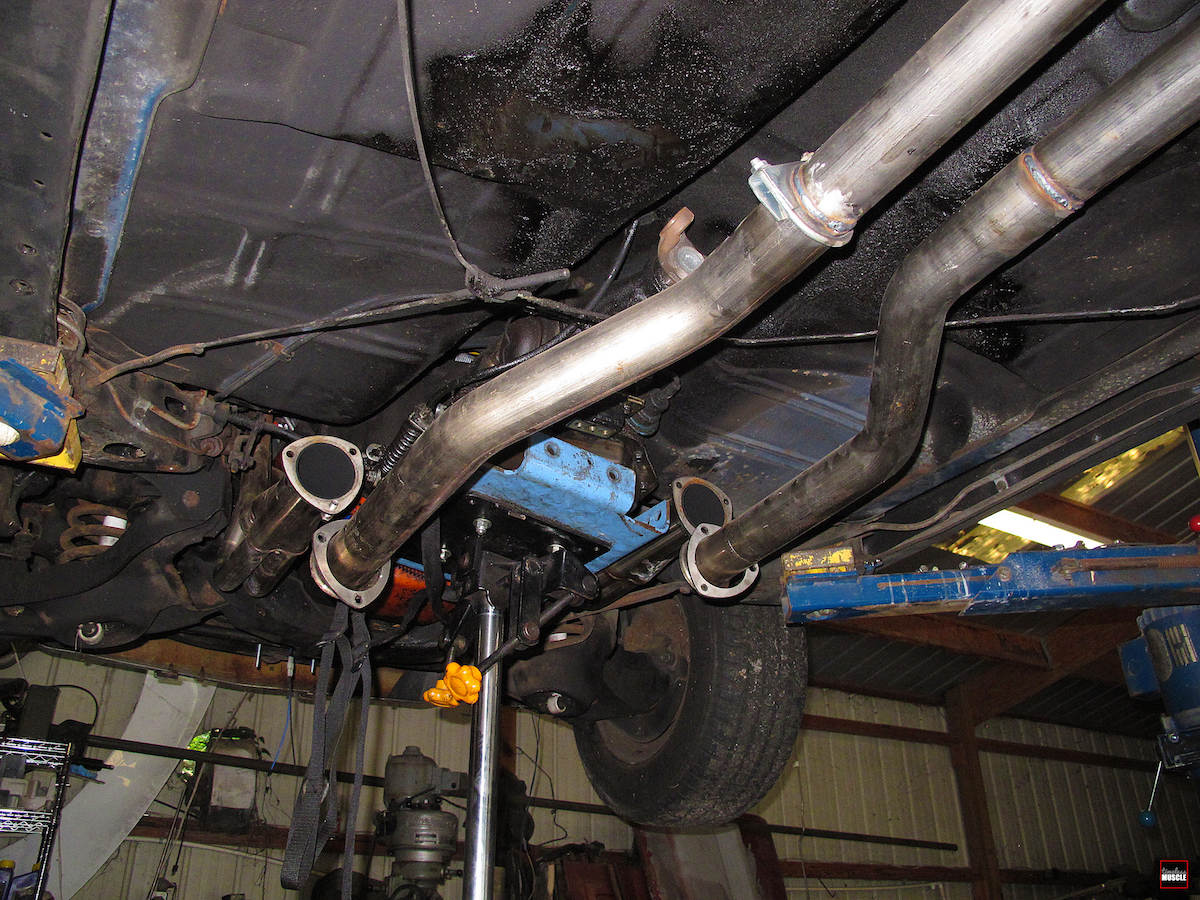
The transmission is ready to be mounted back up so the tunnel brace, driveshaft, and exhaust can be reinstalled.
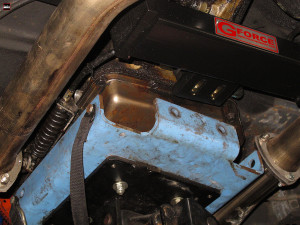
The only potential problem you might run into would be oil pan clearance issues, something easy to fix. Just fabricate a steel or aluminum spacer to raise the back of the transmission and slip the space in between the mount and transmission to give it the extra clearance.
The El Camino is now ready to hit the streets with a stronger-than-ever drivetrain. Its new overdrive-equipped transmission will allow it to be driven with the full benefit of the new gears; less stress on the engine, increased fuel economy, and improved straight-line acceleration. Not to mention, the whole setup is a lot tougher now than it was before, and it’s going to be noticeably more responsive on the street and track.
Elizabeth is hardcore horsepower enthusiast with unmatched intensity for making things faster and louder. She wakes up for power and performance and only sleeps to charge up for the next project that’s heading to the track. From autocross to drag racing, Elizabeth is there with you, so stay tuned for her unique perspective on horsepower news, builds, tech info, and installs — with her, it’ll never be boring!

