


photos by: the author
The Teardown of Project: 88 — Continued
Restoring a car isn’t the easiest thing in the world, and you cold probably argue that it’s not the most exciting, either. At least in the Midwest. When we first started our Chevelle project, the idea was to replace any wear items that it may need, repaint the body, clean this, fix that and modify the more exciting bits.

Unfortunately, reality hit once we went to replace the interior and we realized that there was substantial rot found pretty much throughout the whole car. Everywhere from the floorboards to the lower cowl panel, to the trunk pan — you pretty much name it — the shell was under attack from the Midwest Cancer. It wasn’t too far to restore, but it was just enough to take us by surprise and set our schedule back a few weeks (months?) than what we would have originally liked. Plus, the frame was still perfectly solid so it wasn’t like the car was a complete goner.
As a result, it quickly went from a basic project car to a full-blown restoration with some performance hardware thrown in. But before we cross that bridge, we needed to tear this thing down to the frame and begin the rebuilding process. It’s going to be a lot of work, but anything worth doing is worth doing right.
The Agenda
- Remove Vinyl Top
- Remove and Dismantle Front Clip
- Pull Engine and Transmission
- Remove Doors and Tunklid
- Remove Dashboard and Heater Box
- Pull Front and Rear Glass
- Fabricate and Install Body Bracing
- Separate Shell from Frame

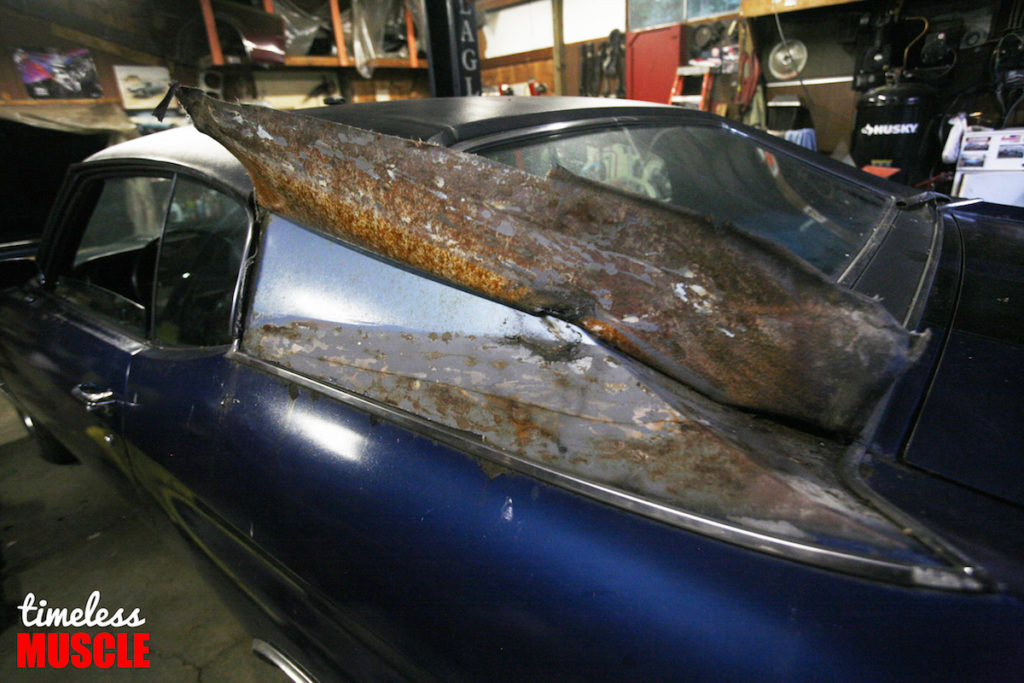
The first thing we wanted to address is the old vinyl top. Once considered a popular styling accessory in the ’60s and ’70s, we’re looking at completely removing it from the equation of our ’70 Chevelle — ours certainly had seen better days. We’re not entirely sure if its original or not (it more than likely is), but we know that this one isn’t going back on.
Plenty of rips, tears, fade and overall wear lent a more weathered appearance to the car, but even if it was in pristine shape, we always sort of felt that the vinyl top broke up the smooth body lines of these cars. The looked great, either way, but at least on certain colors, we prefer it without. So when we put this car back together, we’ll be leaving the vinyl top off for good.
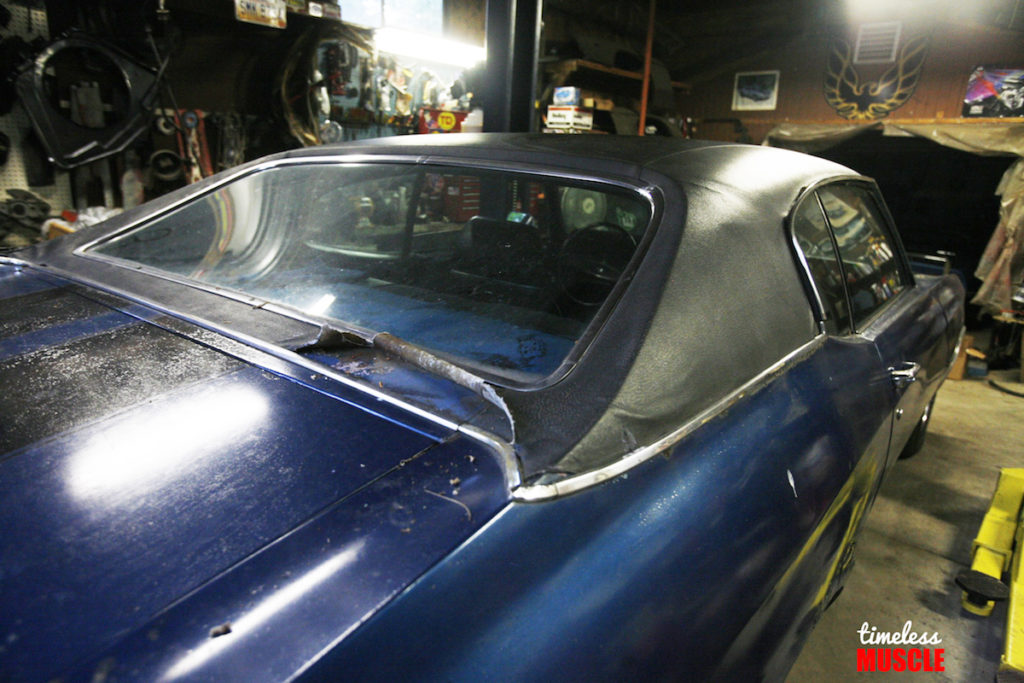
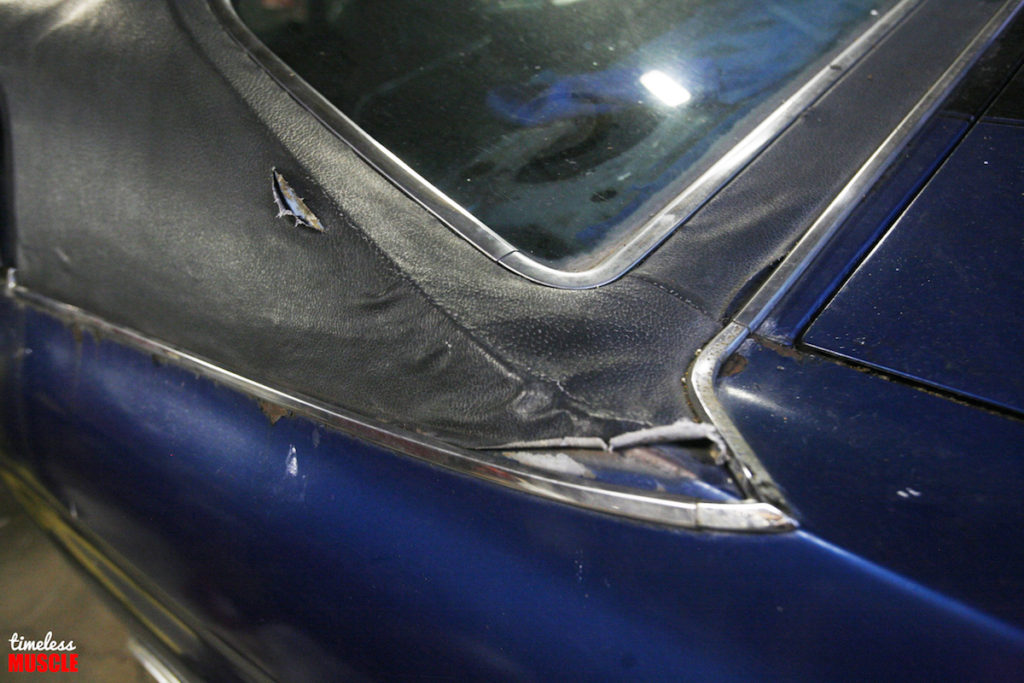
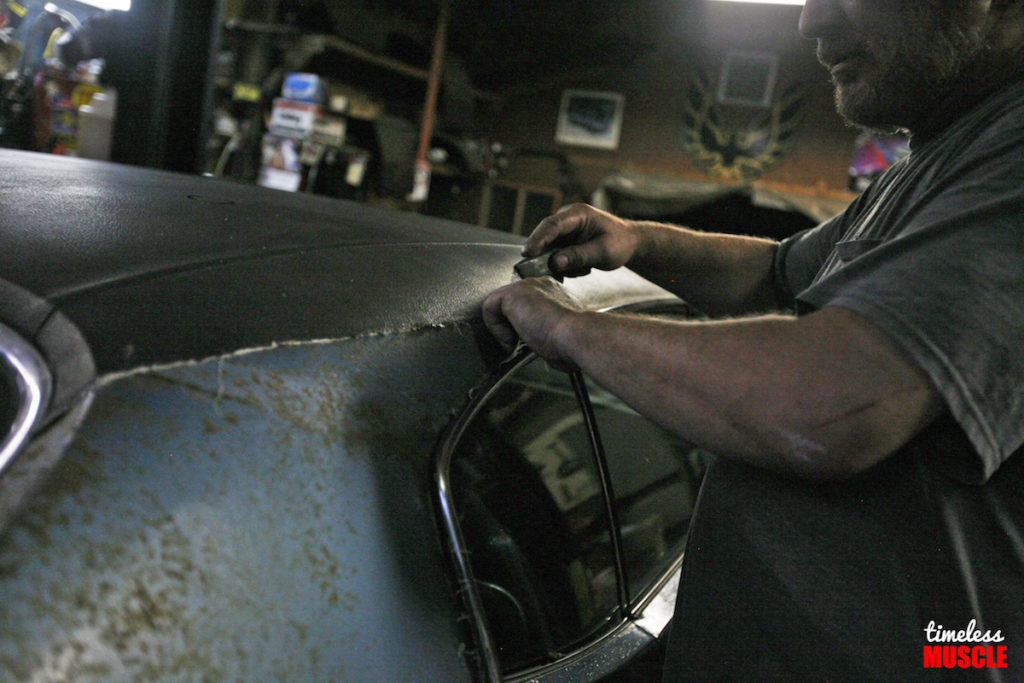
Piggybacking off of our previous segment where we pulled the interior, we still had some fight left in us that evening to pull the top and see what lurked underneath. Sharp eyes would notice the original Astro Blue hue (Paint Code: 25) peeking out through the many rips in the top.

Having had the car in our corral for almost thirty years, we’ve always wondered what lie underneath the top anyway, though thanks to the various tears, we assumed it was simply the original hue. happily, apart from a couple of small spots the roof was largely solid.
-
- Breaking out the box cutter revealed what we figured… the car was a recipient of a budget respray.
-
- Digging a little deeper revealed even more.

With the top removed, we broke out the sander to remove the glue residue that’s been on there, presumably, since the car was built back in 1970.
-
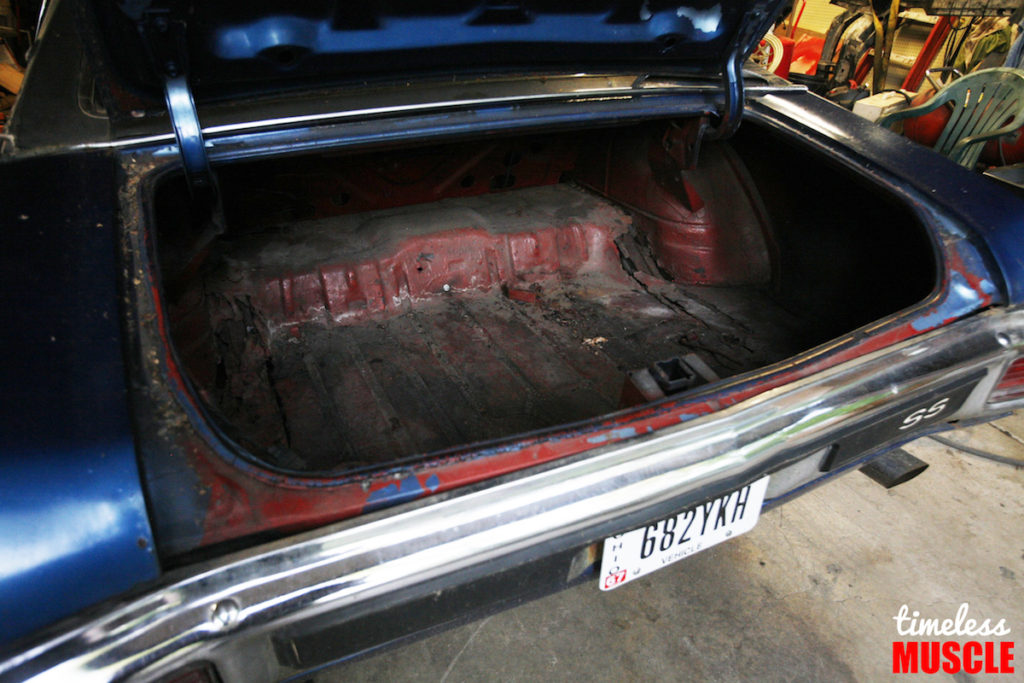
- When we pop the trunk, it’s very apparent that this car has had more than one respray. The trunk floor should be green with the black spatter paint, not whatever this is. We’re seeing at least three different colors here (Astro Blue, red and dark blue).
-
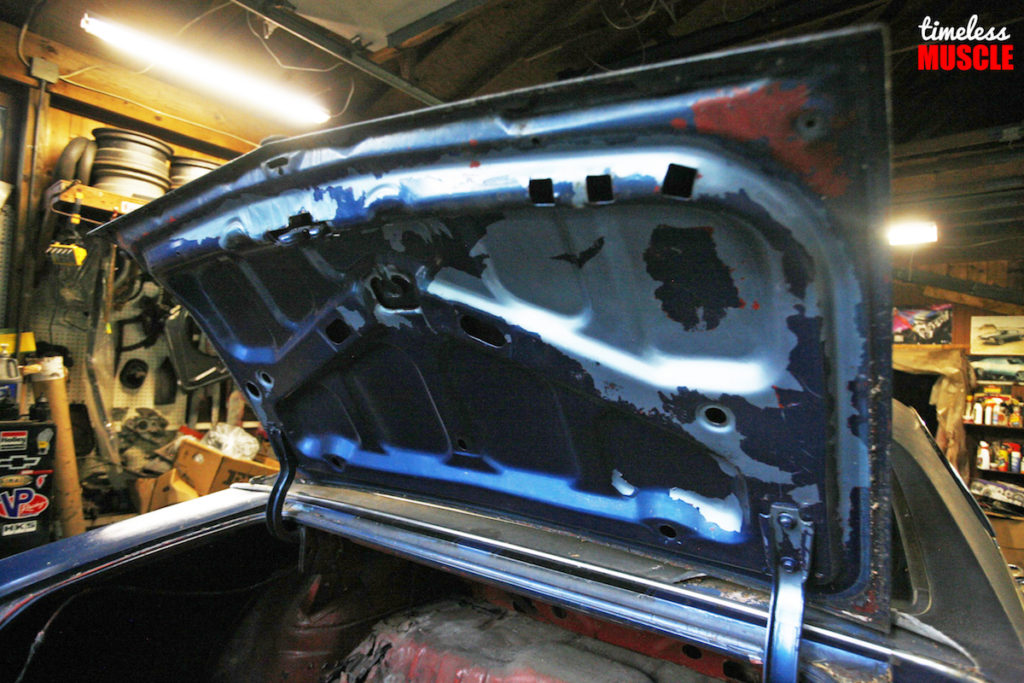
- It was the same story when you look underneath the trunk lid as well. The old paint just peels off in clumps, and we’ll be very happy when we get this thing blasted, primed and painted back to its factory hue!
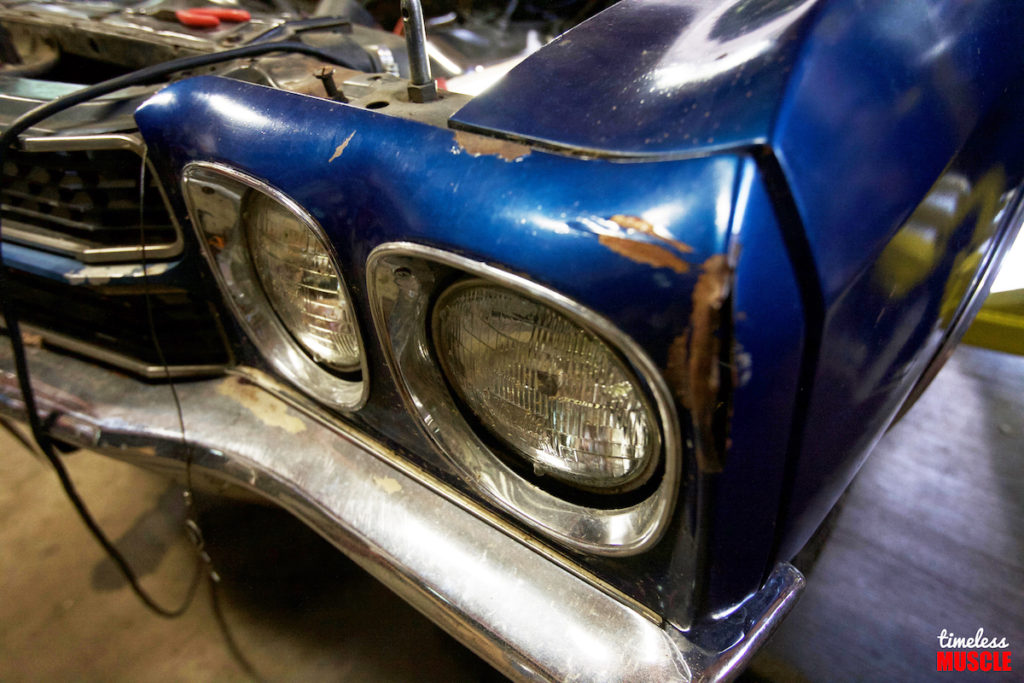
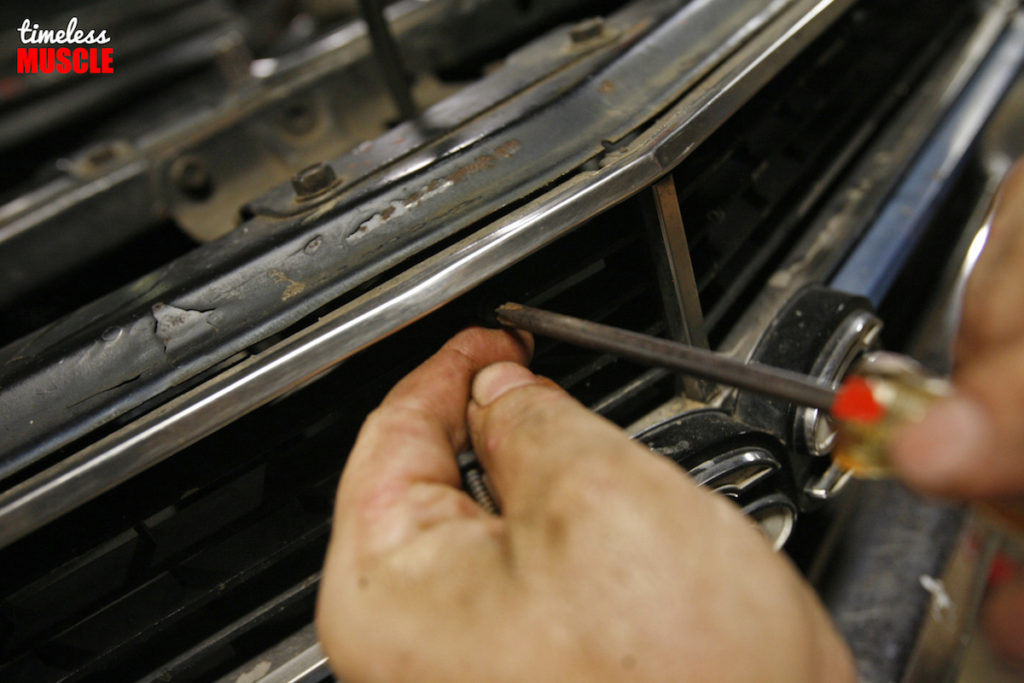
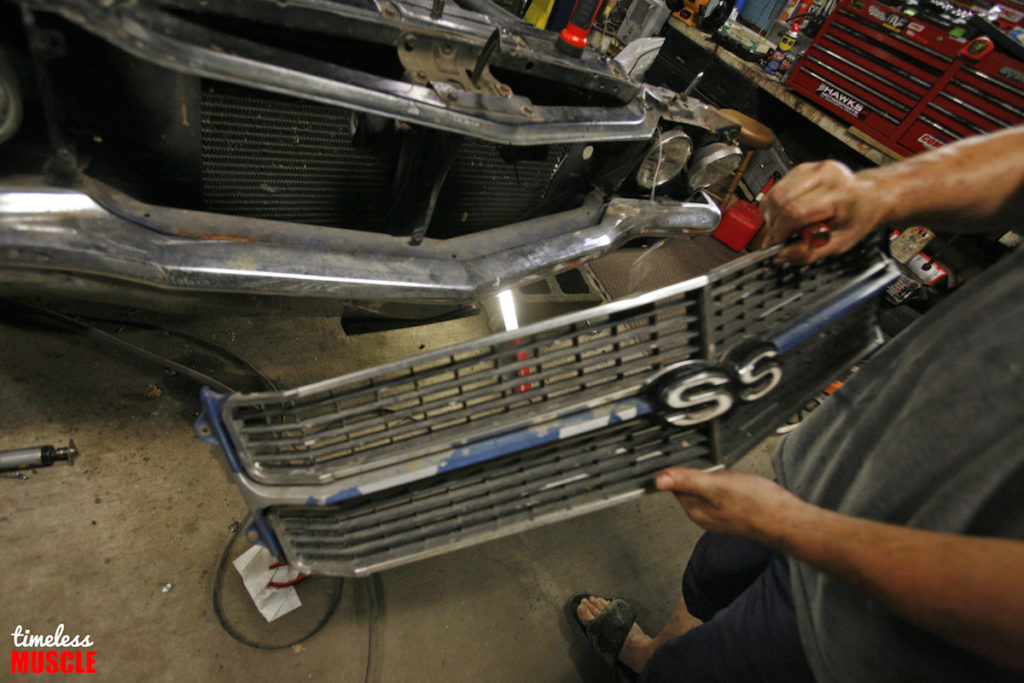

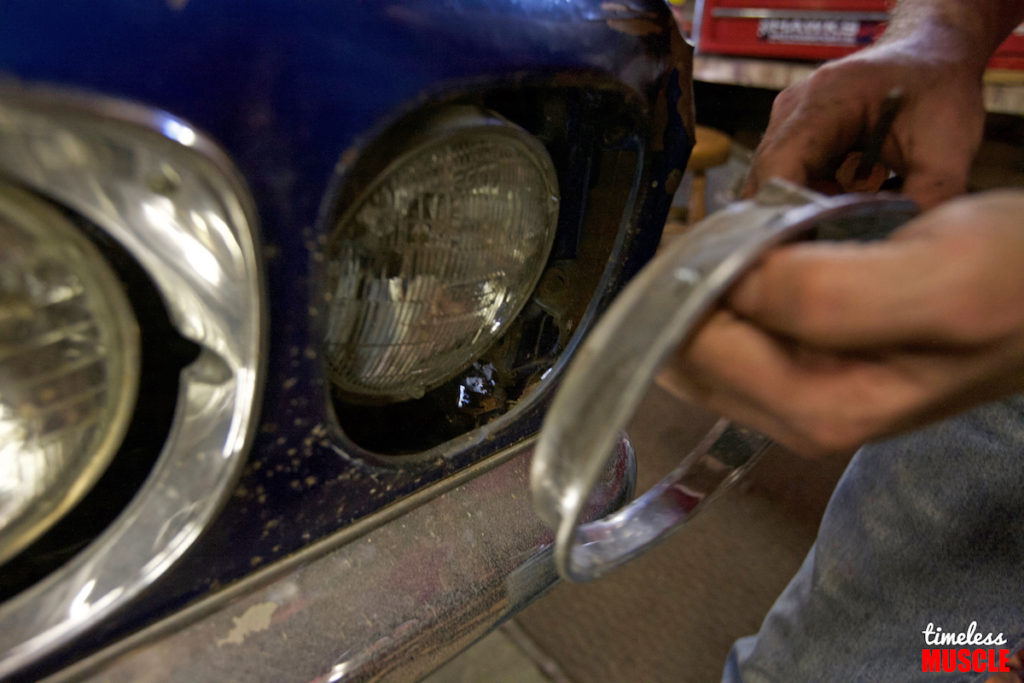


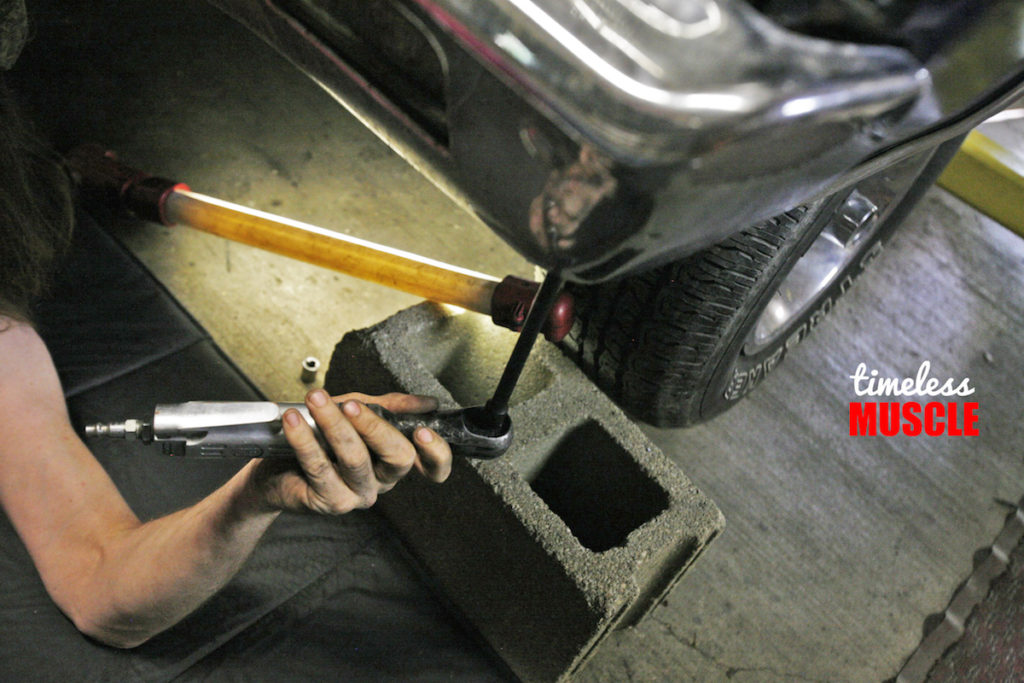
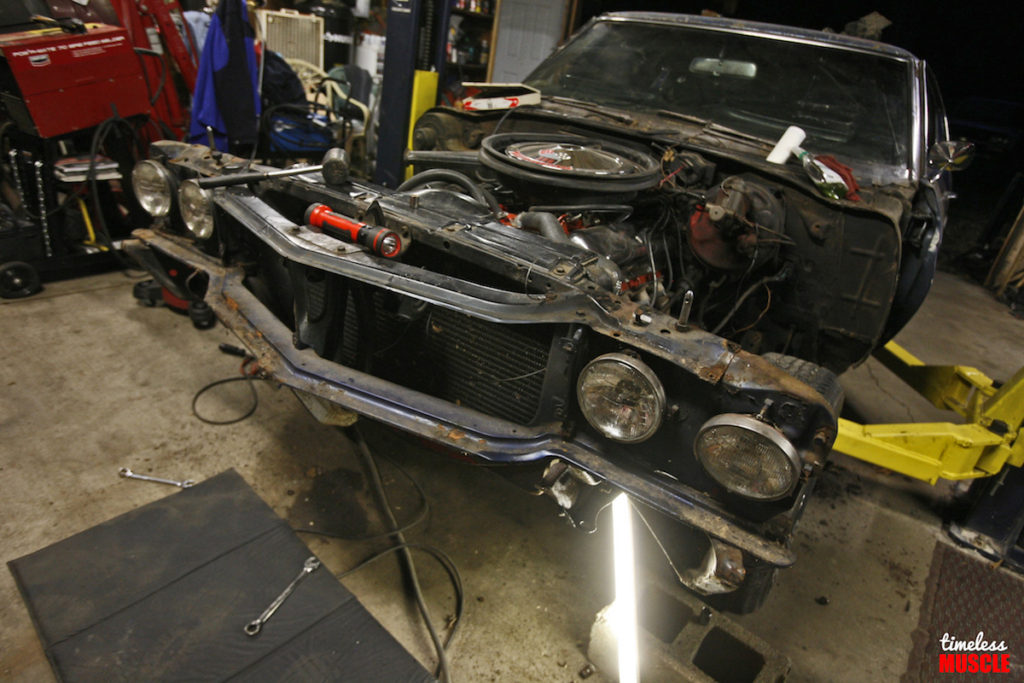
The front clip we pulled off in pieces. Usually, you can do it all in one piece, but since we were reusing a few parts and shelving others, we essentially had to pull it apart anyway; such as the parking lamp housings, one of the fenders, the headlight housings (one yes, one no) and so on. All of the parts will be bagged and tagged, anything that isn’t salvageable will be scrapped and anything that is, will be reused in the rebirth of the car.
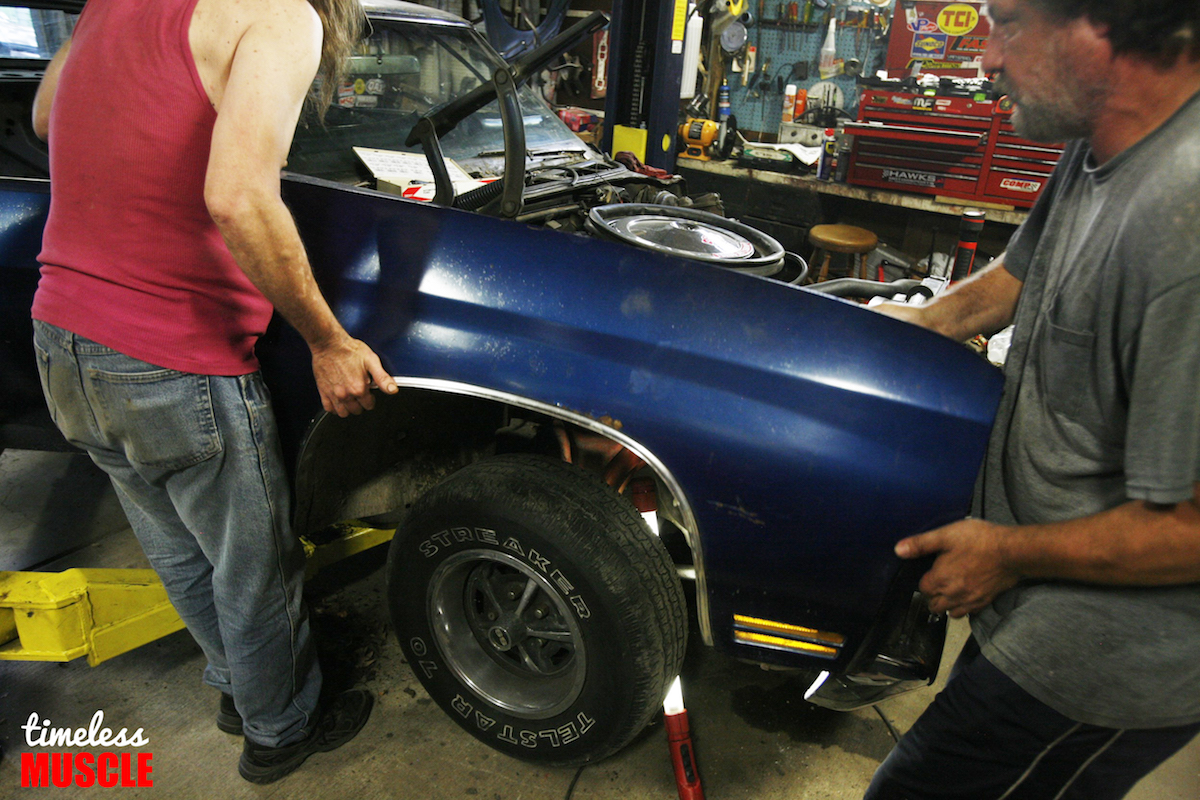
With the mounting bolts out, we pulled the passenger side fender — finally we felt like we were making real progress. You could probably do this by yourself, but having a buddy on-hand does make life easier.
-
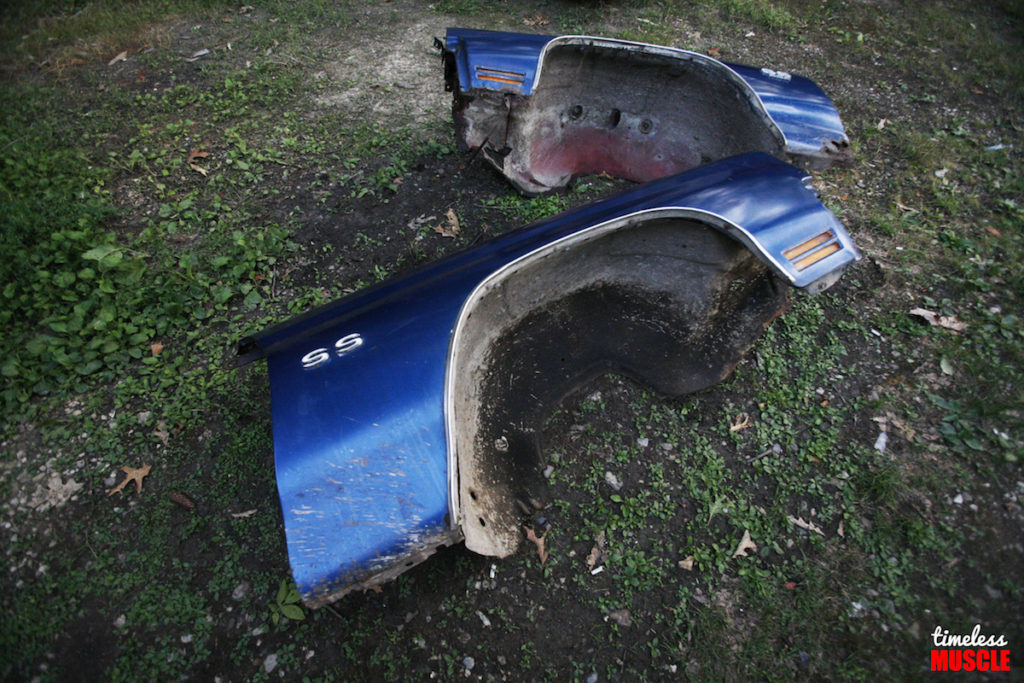
- The passenger side quarter panel, though dingy and dirty, will actually be reused for the build.
-
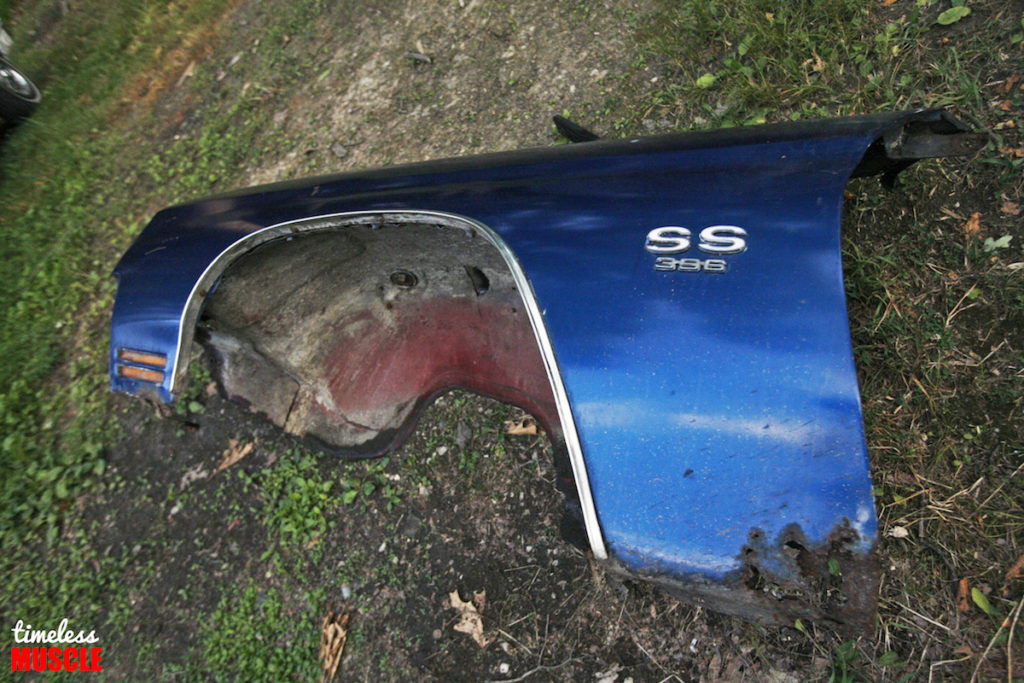
- The driver’s side? Not so much. The rot on the bottom of the fender, in addition to a few other spots other unseen places demanded that it just made more sense to replace it entirely. We’ll also be replacing all of the stainless trims, badging, etc.
-
- pull the bumper (use lots of WD40, heat and elbow grease!)…
-
- ….bumper pulled…
-
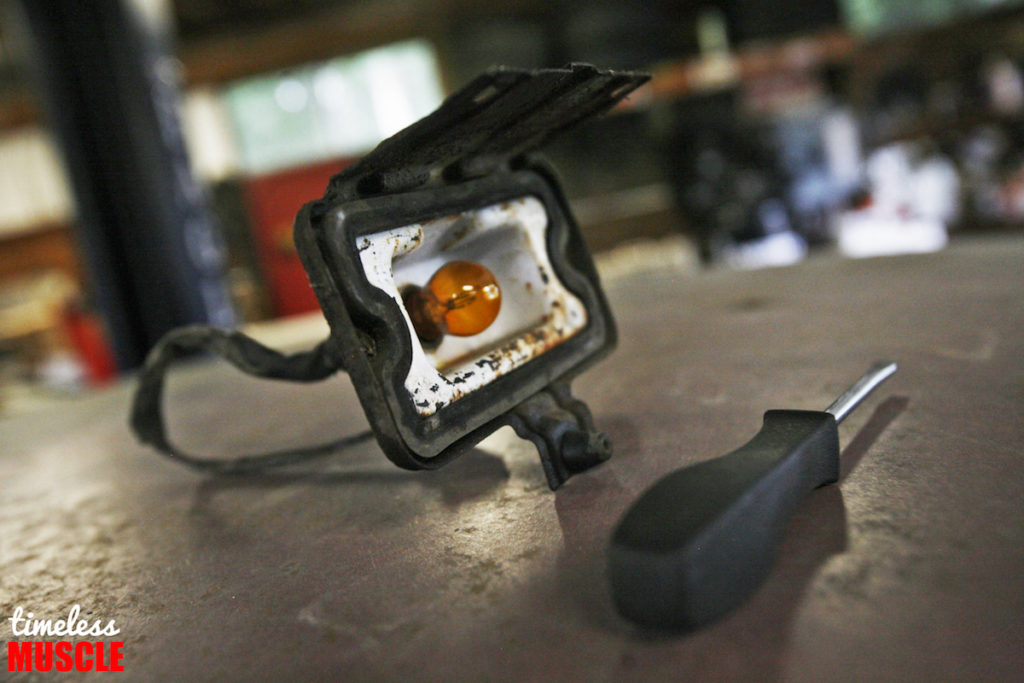
- Front turn signals out….
-
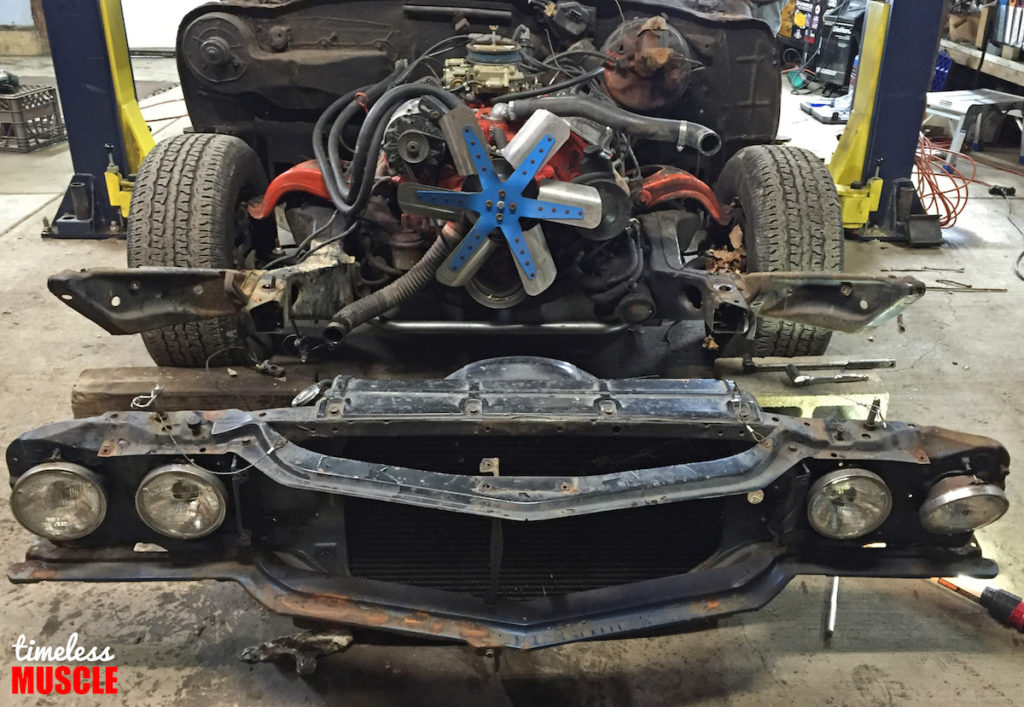
- …front radiator support off.
-
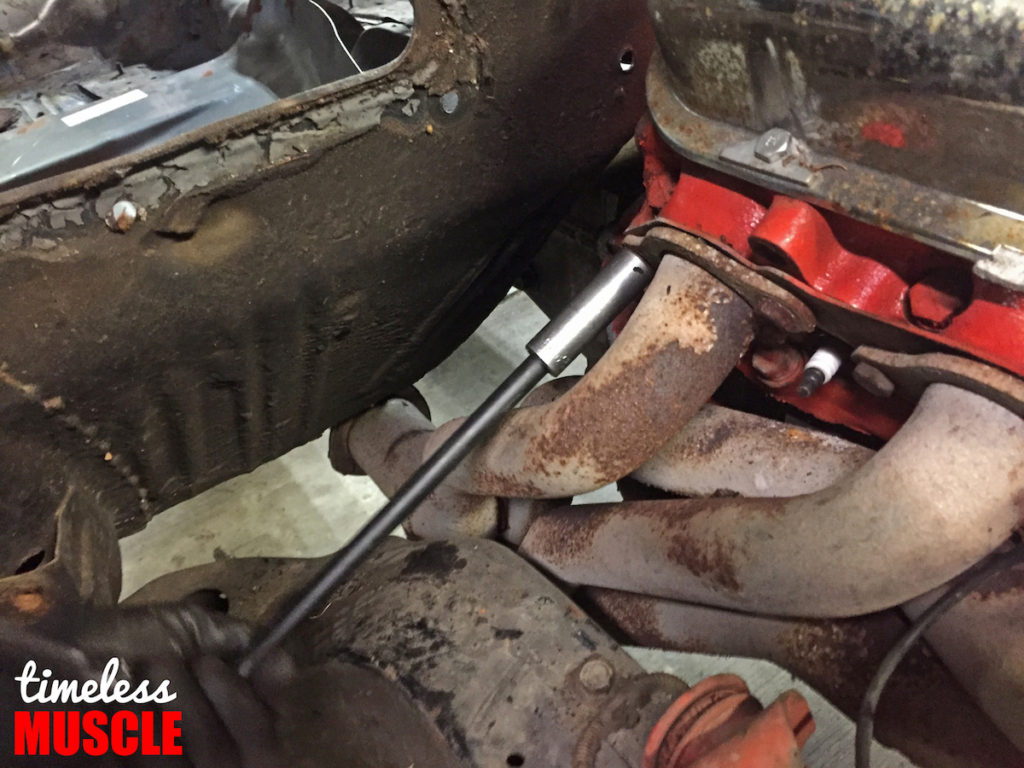
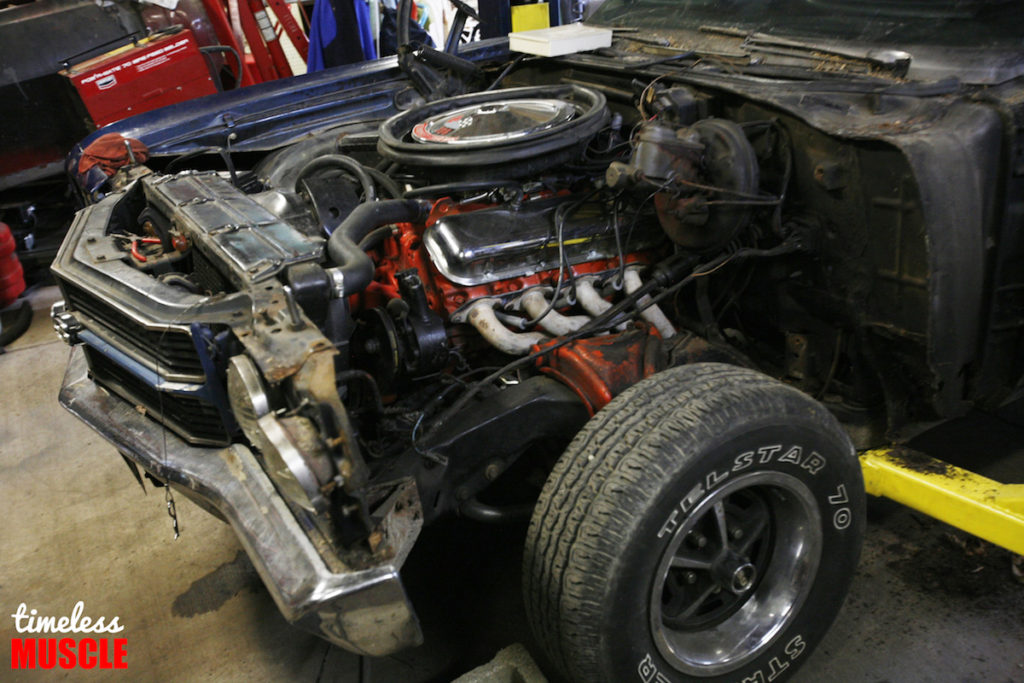
- Looking forward, we knew we would be pulling the engine from the frame. So naturally, we had to disconnect the coolant hoses, fuel lines, and headers from the engine.
-
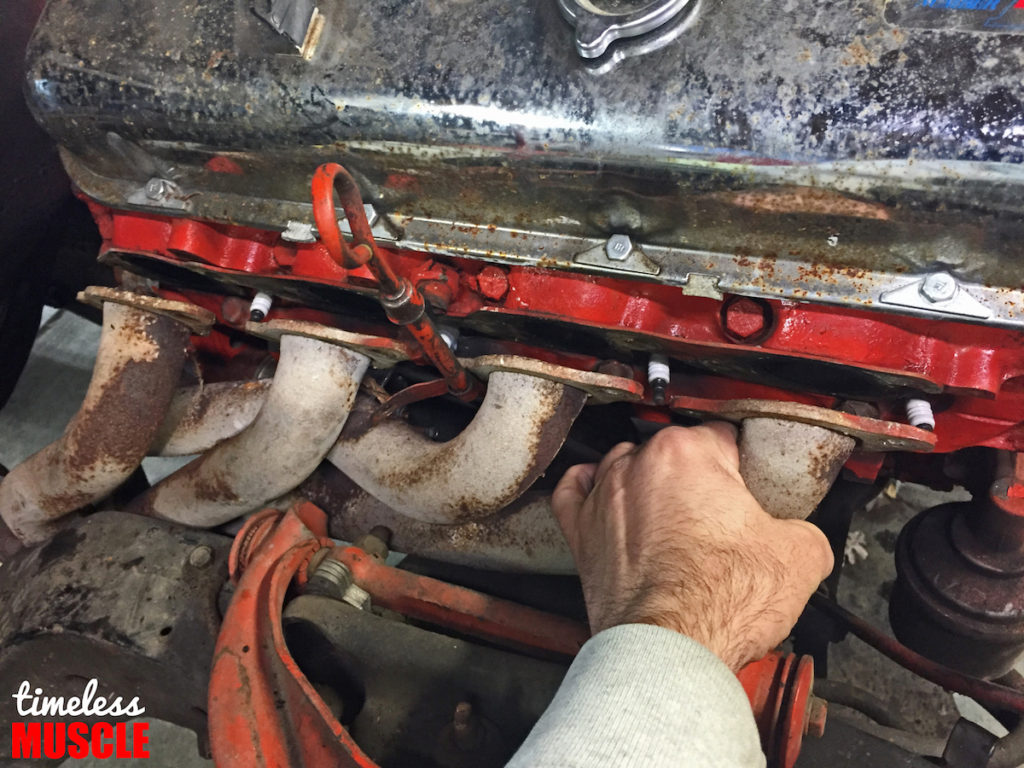
- With the header bolts out, we proceed to pull them from the chassis. Despite their rough exterior, their water is still up in the air. We may replace them, but we could always send them out to Jet Hot for fresh ceramic coating. We’ll cross that bridge when we get there!
-
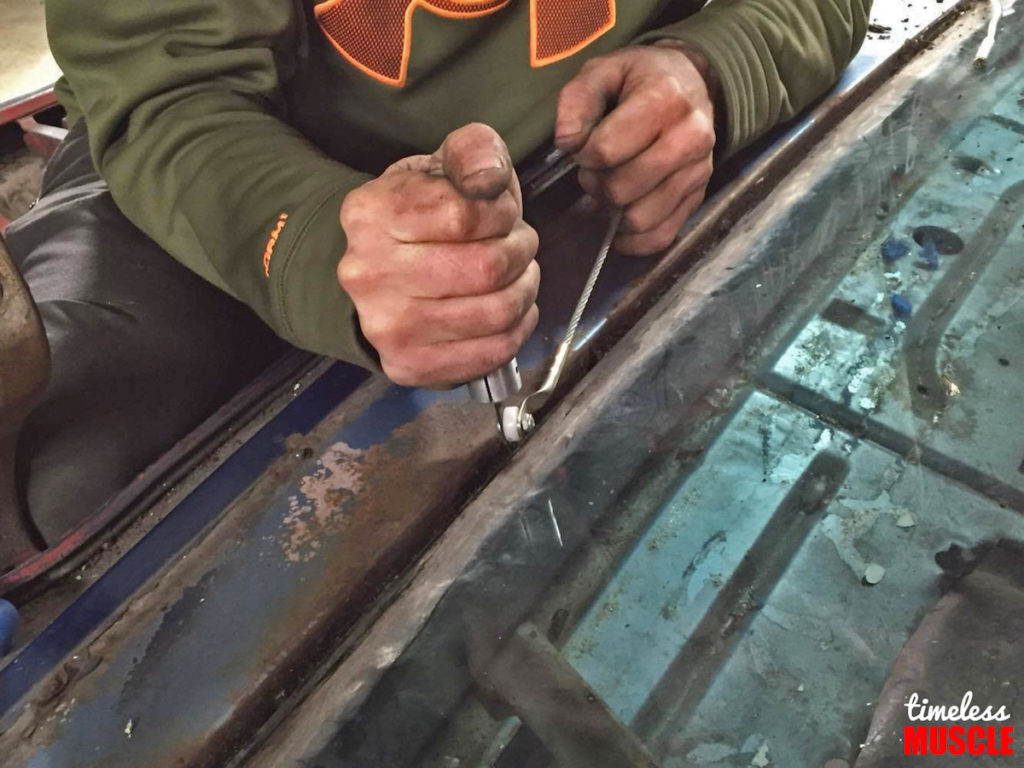
- Tearing down the body, to ready for the much-needed bodywork also means that we needed to pull the front and rear windshields out of the car. We implemented a windshield removal tool on both.
-
- Pulling out the windshields also reveals any areas of rust that the car might be hiding within the A- and C-pillars.

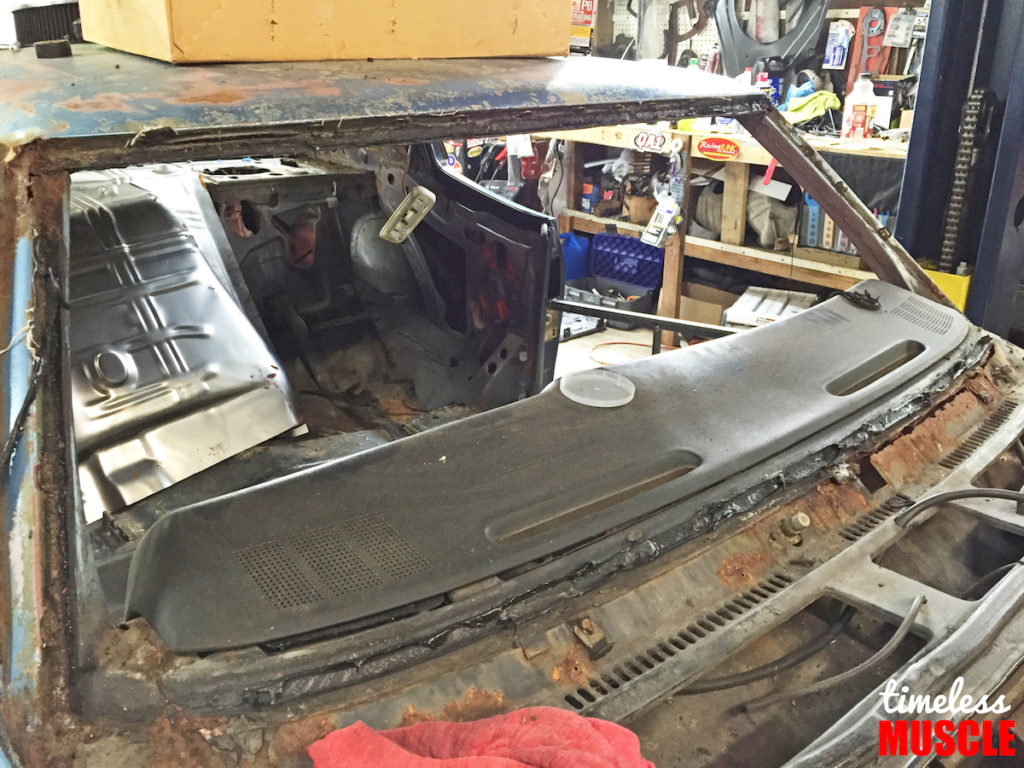
One thong we skipped over from the previous installment was the removal of the dash and the heater box. Again, it’s SO important to bag and tag everything. You don’t want to lose any of those hard to find parts!

Though it’s entirely possible to do it without a lift, we’d recommend utilizing one if possible for this step — separating the body from the frame. We’ve already loosened all of the body mounts (they were shot!) prior to capturing this image, and the body was essentially ready to be pulled.
-
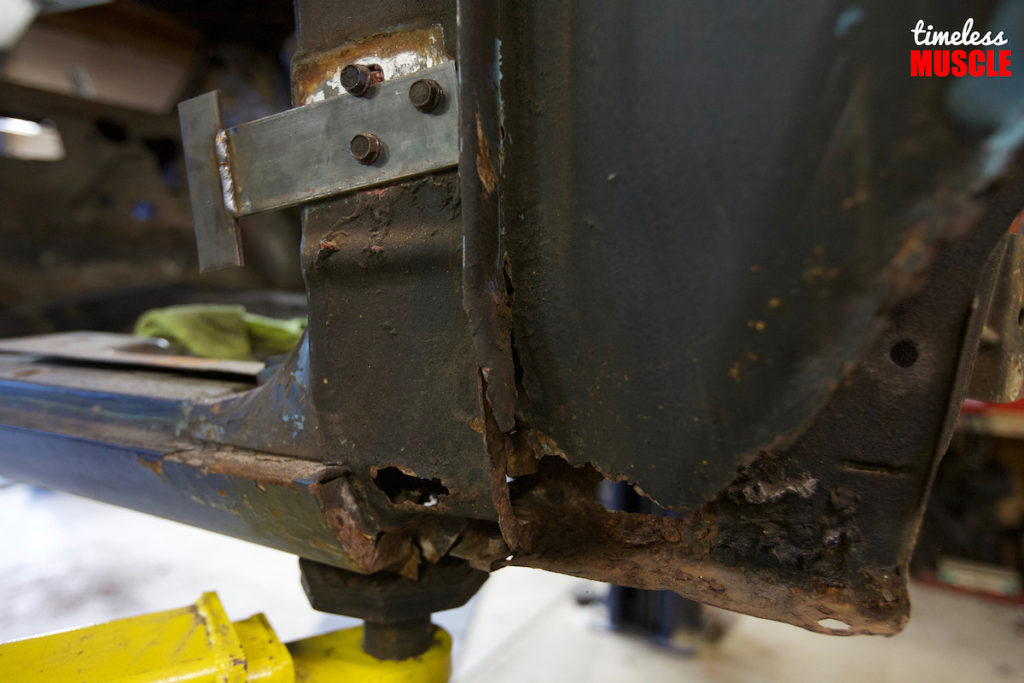
- There was hidden substantial rot found throughout the car — everywhere. The floors, trunk pan, roof, you name it. Some would have just sourced an entire shell but being the mad men we are, we elected to fix the original crusty shell we had. Besides, we’ve seen much worse come back from the brink!
-
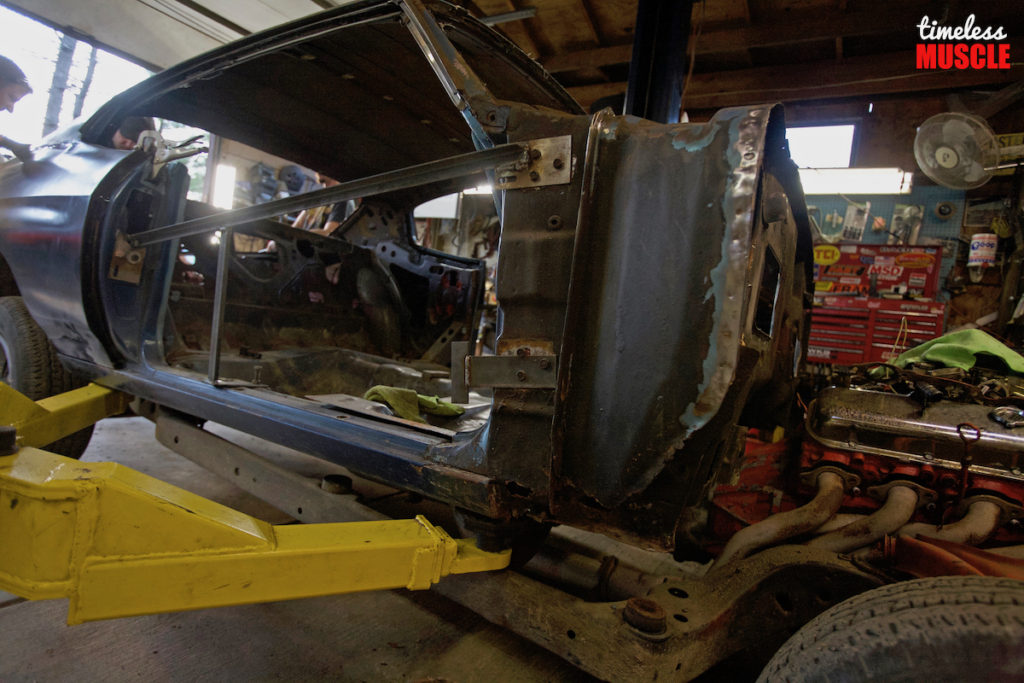
- After we pulled the doors and trunklid, we attached support bracing in the open door and trunk area. This will had some rigidity we’ll need later, when we’re cutting out section of the floor, the trunk pan, rear quarters, wheel wells, and other aspects of the body. We want to ensure the body doesn’t flex, and throw our dimensions off while we’re welding the new sheetmetal in!

After quite a bit of work, genial wrenching and avoiding getting a tetanus shot, the shell was finally “unmarried” from its frame. There’s no going back now!

With the shell separate from the body, we pushed the rolling chassis out from under the shell, to prepare for teardown, and allow the shell to be mounted on the rotisserie. We’re also getting ready to pull the 396 (402), to prep for its rebuild process.

The engine, transmission, rearend, the frame, suspension… literally everything you’re looking at here will be getting rebuilt. As of this writing, the big block is already at AES Racing in Chicago, the frame is torn down, blasted and repainted, and many of the new parts are on order. But in due time, we’ll document how everything plays out!

Here’s a sneak peek of the OPG rear quarter being mocked up. We’ll dig into the body work in the next installment. Until next time!
Rick Seitz is the owner and founder of AutoCentric Media, the parent company to Timeless MuscleCar Magazine, and has a true love and passion for all vehicles. When he isn’t tuning, testing, or competing with the magazine’s current crop of project vehicles, he’s busy tinkering and planning the next round modifications for his own cars.