


photos by: the author

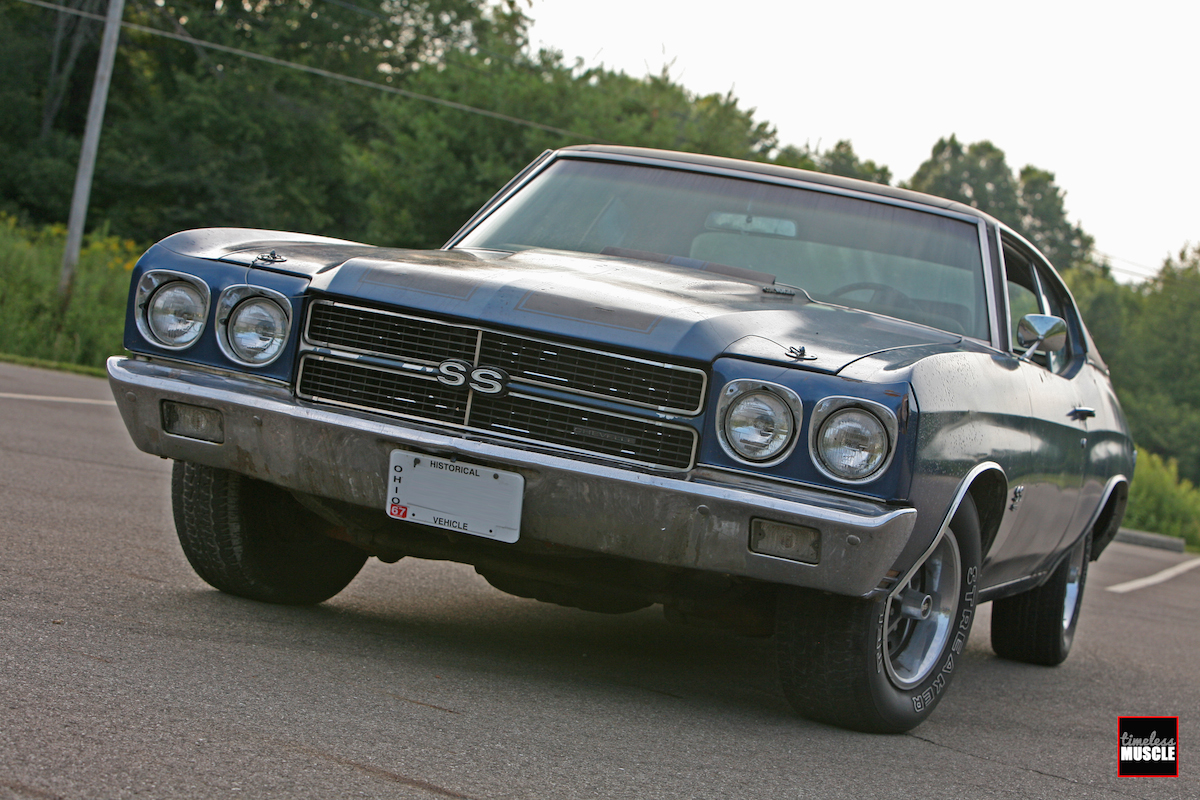
Project 88 Undergoes the First Stage of Cosmetic Surgery
It’s been a little while since we’ve brought you an update on our Chevelle project, we admit, but it’s finally time to really dig deep with this one, and remove all of the old rotted sheetmetal to begin anew. Obviously before we can implement new body panels, trim pieces and a fresh interior into the car, not to mention a fresh coat of paint, we need to tear it all down.
After have been left sitting on the shelf since our initial acquisition in 1988, just letting a car sit in storage can still have an effect on sheet metal, rubber bushings and other comports. This in and of itself lends credence to wanting to tear into the car in the first place, and will probably unveil any potential flaws we will need to address down the road.
 As a result, what started out as a casual frame-on rebuild and respray, has morphed into a full-on, frame-off rotisserie restoration. But before we could dismantle the obvious bodywork, we had to remove the interior.
Which is just as well, because it all needed to be replaced, anyway. All of it, including the steering wheel. The seats, particularly the front, the carpet, the headliner, the interior door panels — all of it — were trashed.
It had also became quickly apparent that some small creatures had taken up residency in the Chevelle, at various stages in the car’s life, as we had counted no less than five mice nests in the car. We spared you the photos, but trust us when we say that it was more than a little disgusting.
We also realized that our floorboards, which had been patched prior to our purchase, will need to be replaced this go around. Project Redrum is going to be a huge project, but we’re confident that she’ll be completed around Summer 2017. However, if we’re going to accomplish that rather lofty goal, we better set to work!
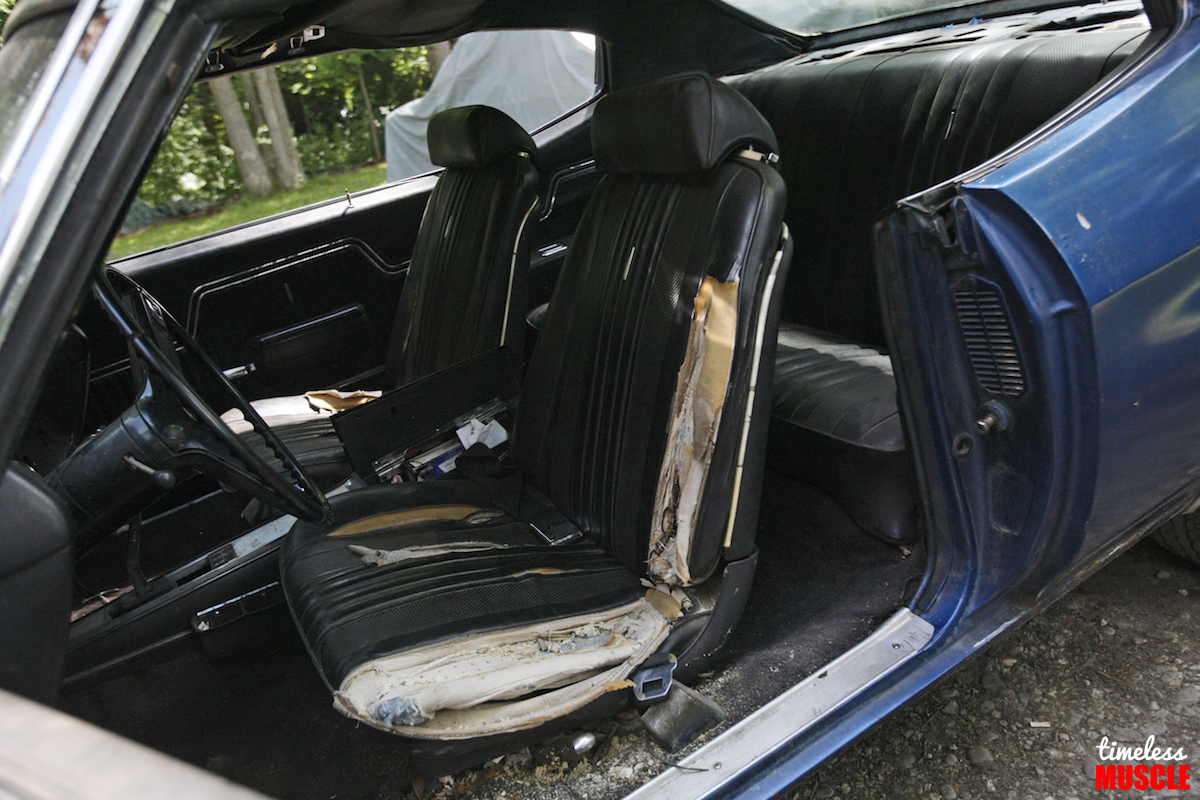

Yikes! Not that we care about concours judging, but our interior wouldn’t win us any brownie points with car show judges. In addition, the disintegrating driver’s seat barely keeps us in the seat and offers no support. It’s gotta go!
-
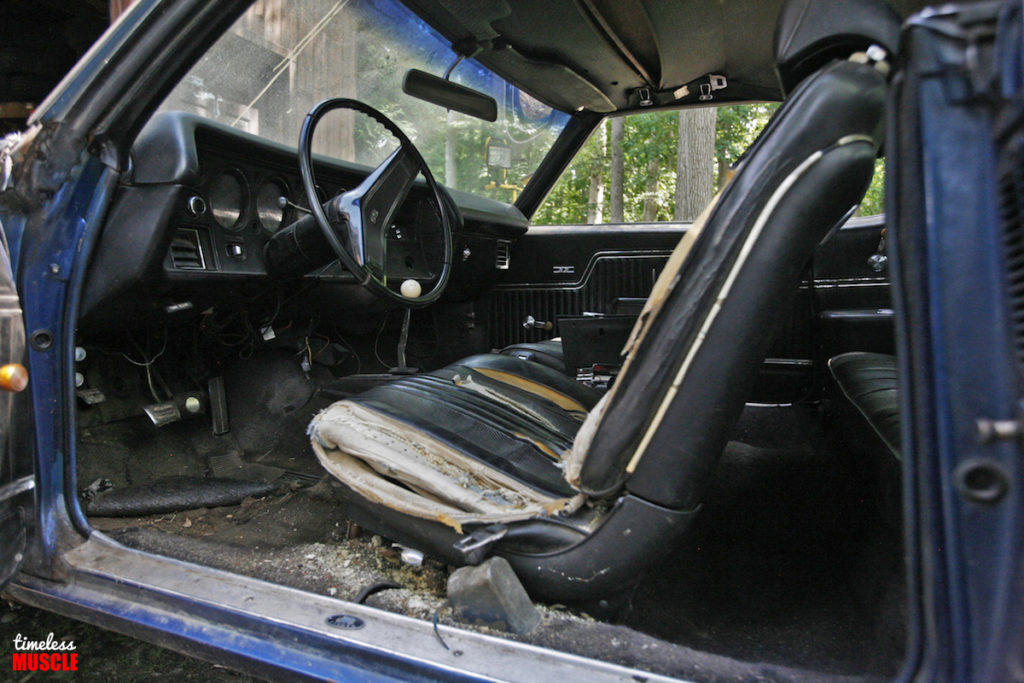
- Though the driver’s side seat is FAR worse than what’s left on the passenger side, there simply was no repairing or saving the original vinyl.
-
- Just about everywhere you looked, it was just bad. We briefly thought about leaving it a ratty/survior, at least with the exterior, but this cockpit is entirely unacceptable, not to mention uncomfortable!
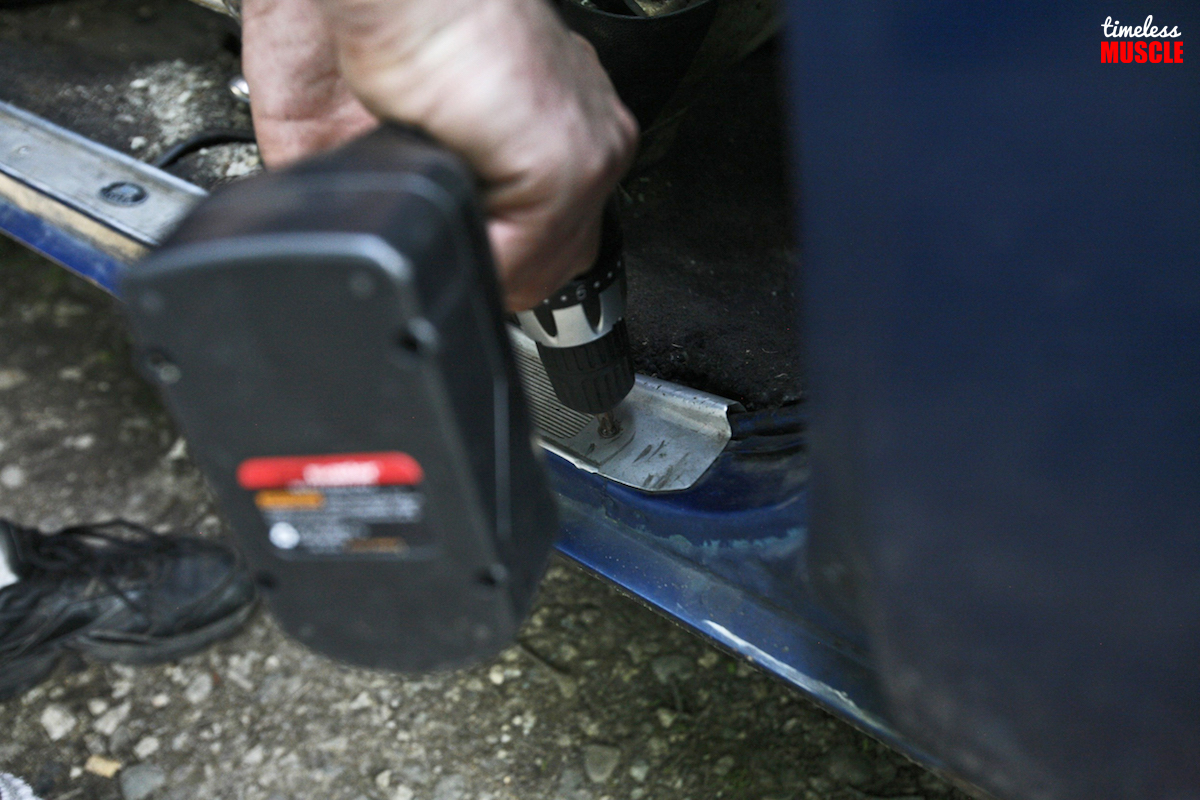
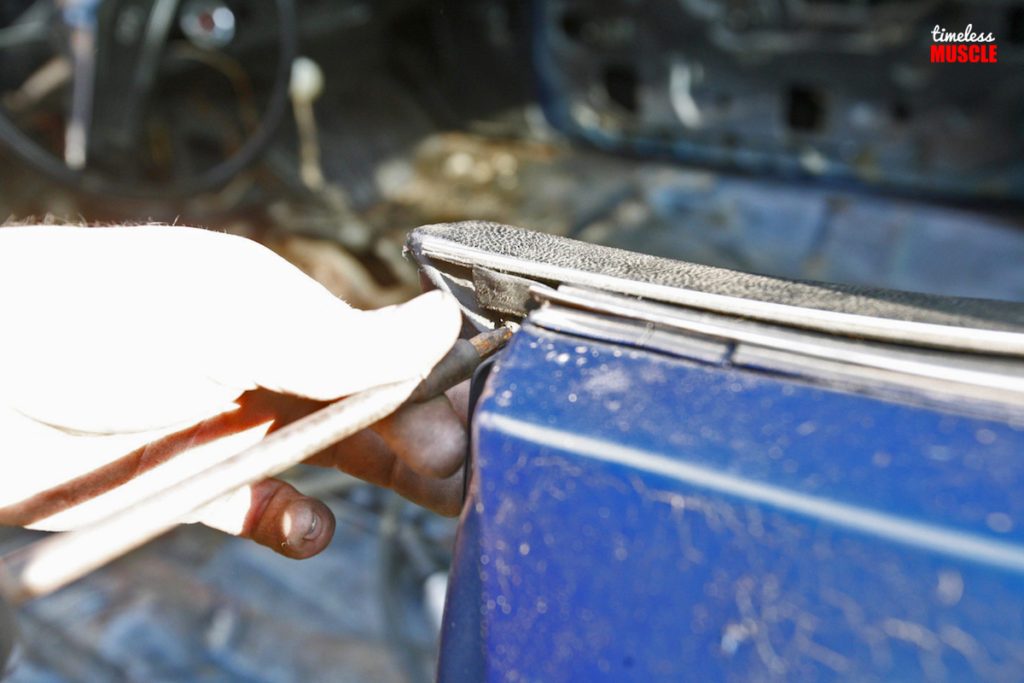
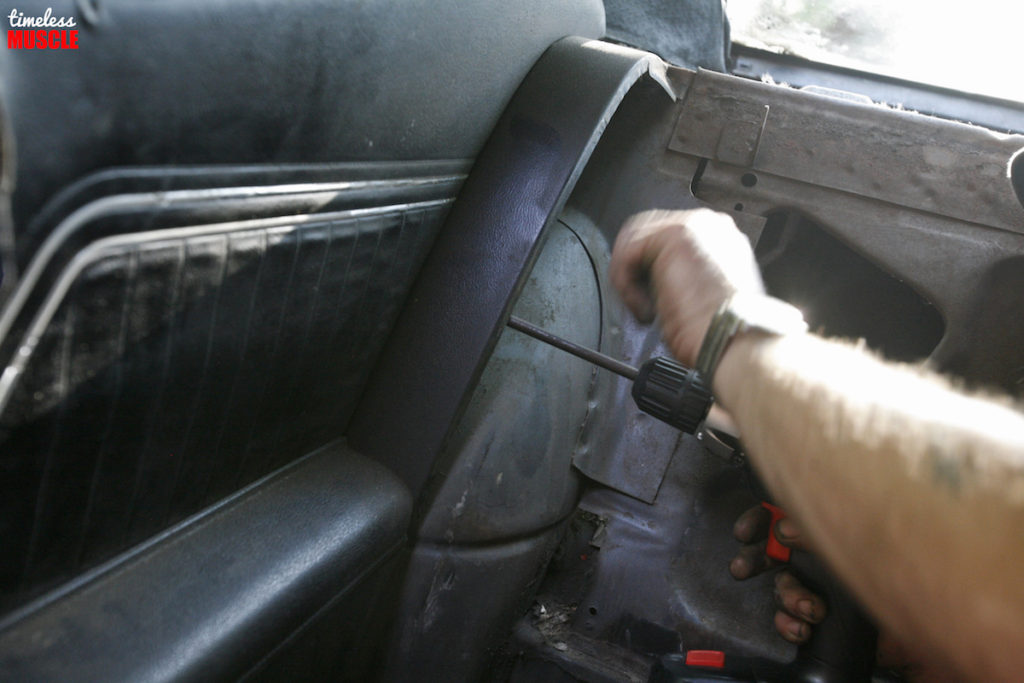
We started first by pulling the door sill plates. Technically, we could have waited until later for this step but considering we’d have to pull the carpet anyway, it really didn’t matter in this instance. They’re held in by simple Phillips head screws, and they were easily removed with the help of a power drill.
-
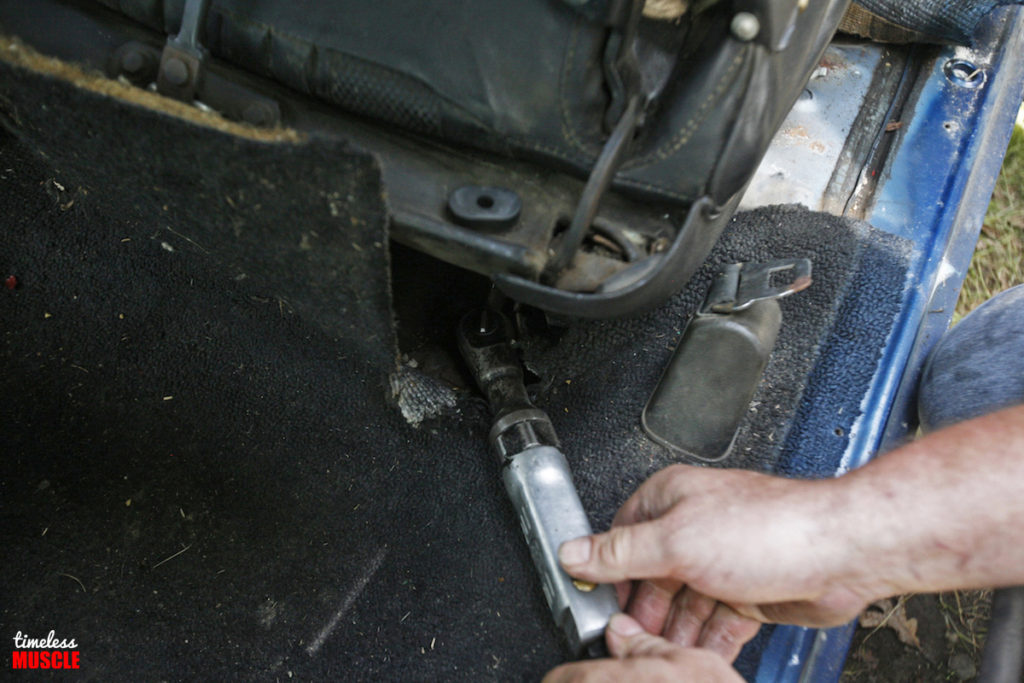
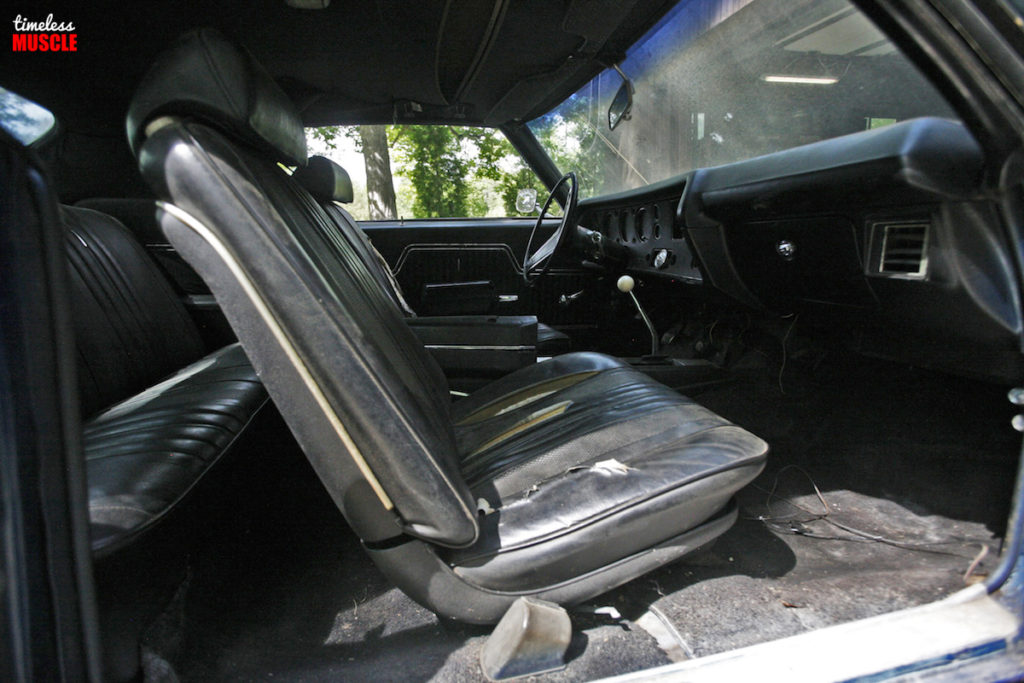
- Removing the front bucket seats is a pretty straight-forward. There are two in the front, and two in the rear.
-
- You can pull them out in a few different ways, but if you have air-compressed power tools, then we recommend that you use them!
-
- The easiest way to remove the seat, is to leave it folded down in the position it was in when you were moving the four mounting bolts.
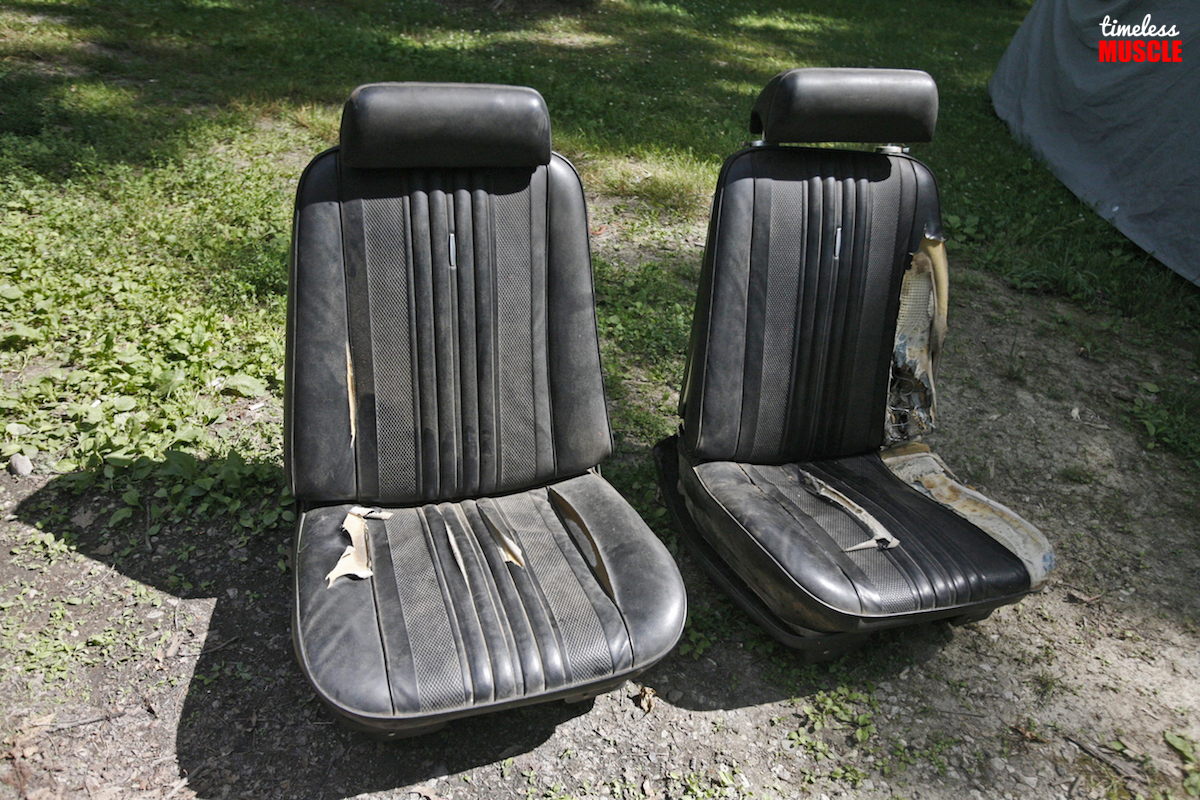
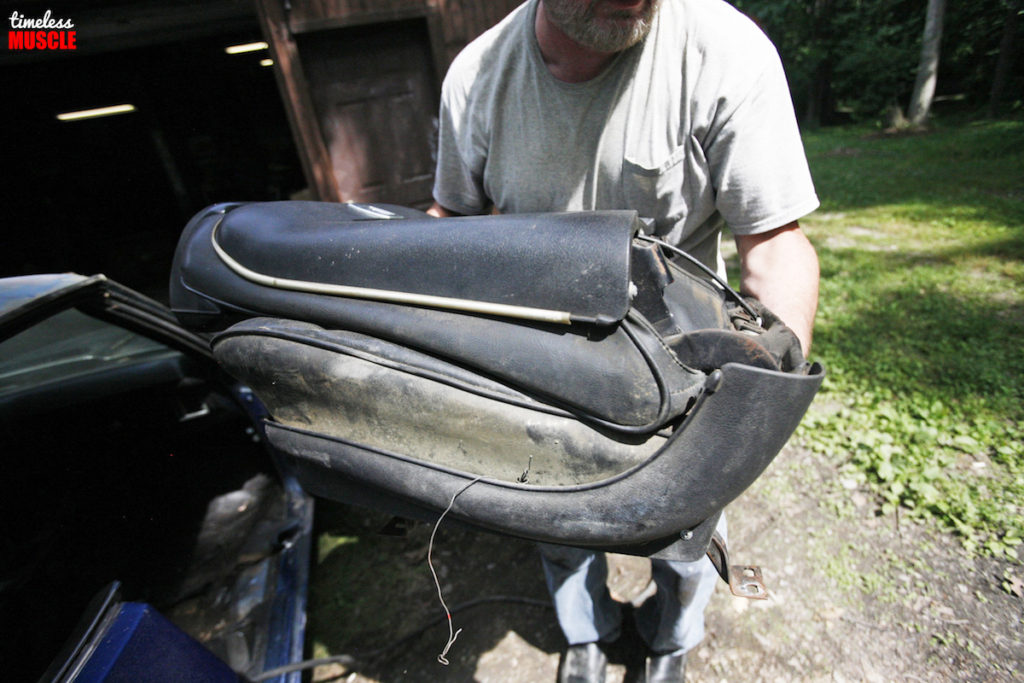
It was great to finally get these two out in the open. Truth be told, the passenger seat may have been repairable, but with new material already on order from CARS Inc., it made more sense to just replace it entirely. Plus, we wanted to use new foam since our originals were 46-years old.
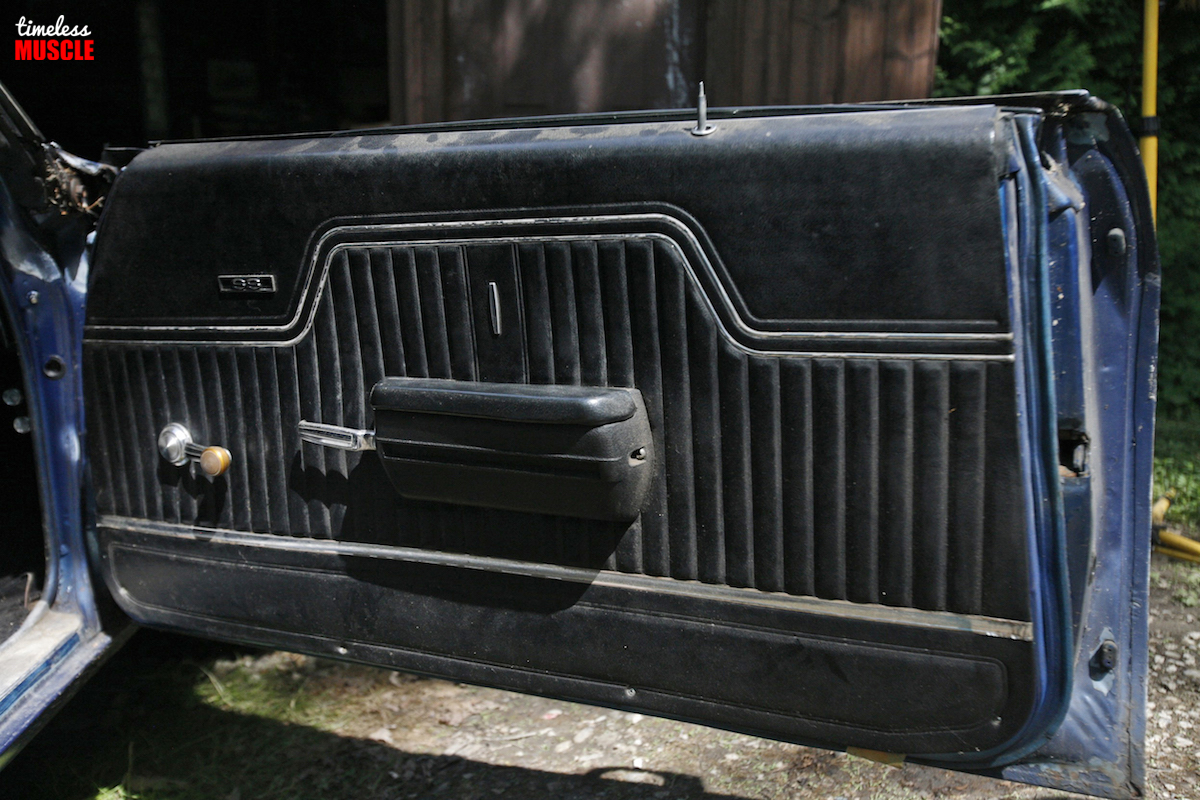
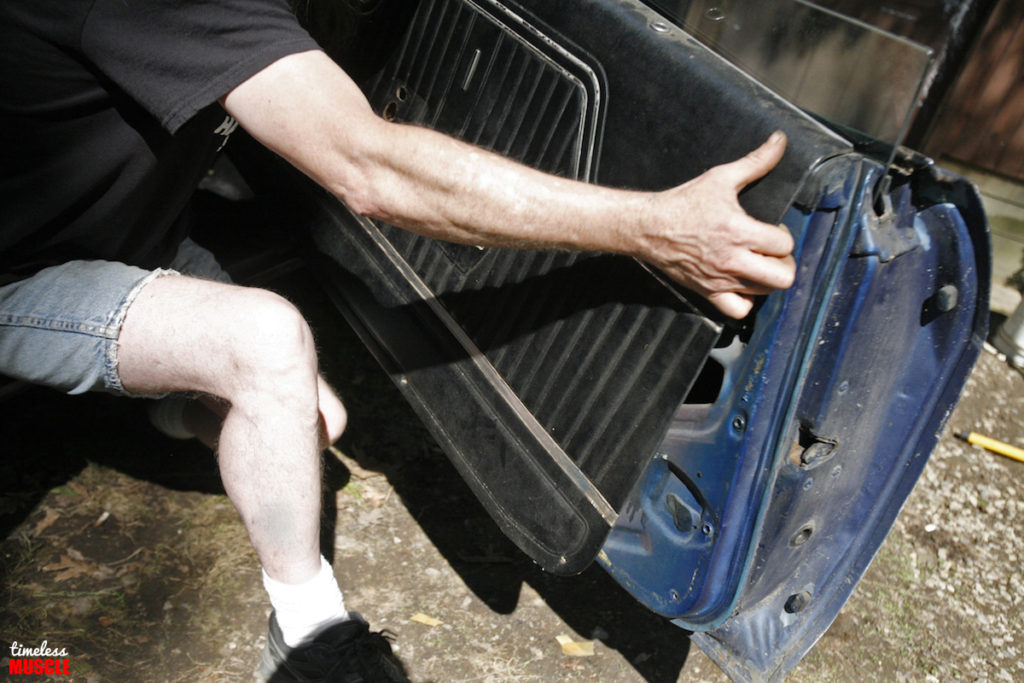
After setting the seats on the ground, we then turned our attention to the interior door panels. Although not in terrible shape, they won’t be up to snuff once we replace the rest of the interior, so they’ll be getting ditched in favor of new hides. Removal couldn’t be simpler…
-
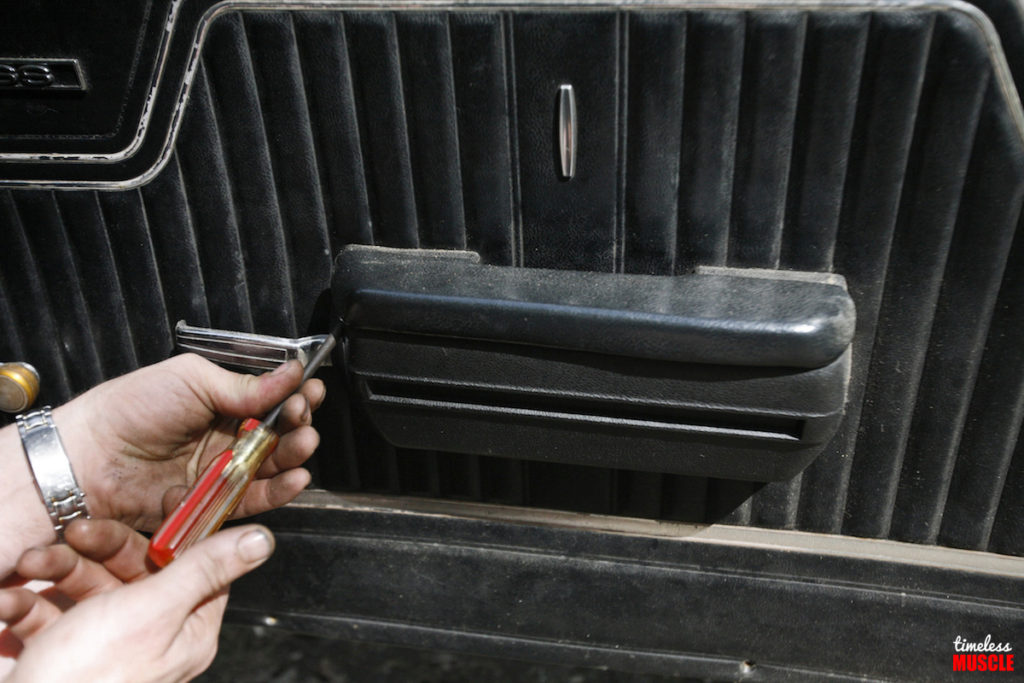
- Removing the door panels couldn’t be simpler; simply remove the screws holding the arm rest/door handle in place…
-
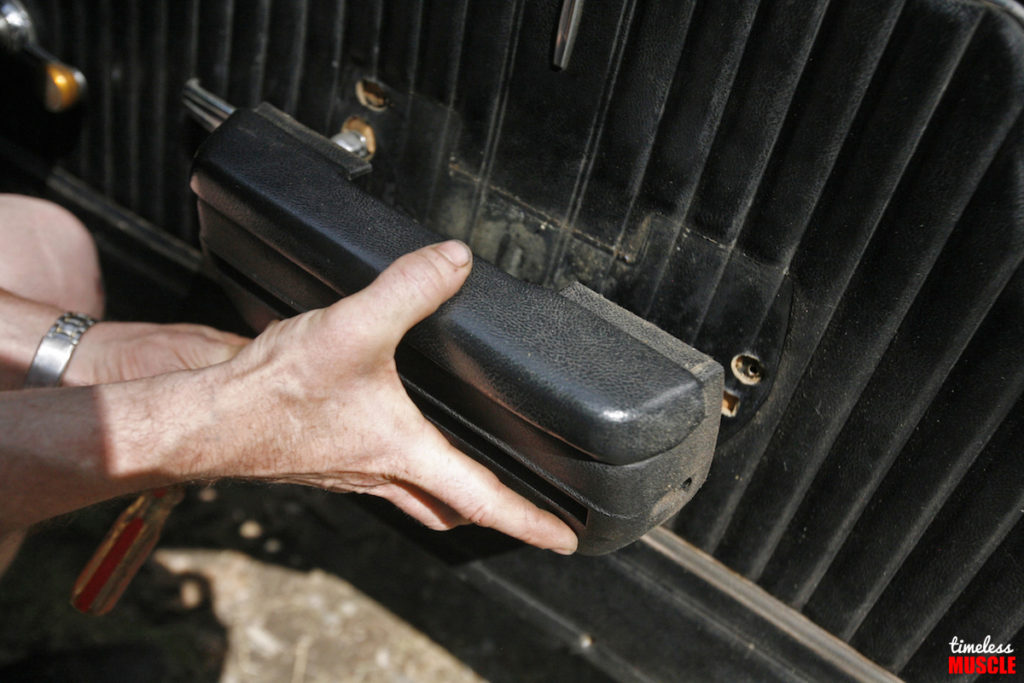
- …and remove!
-
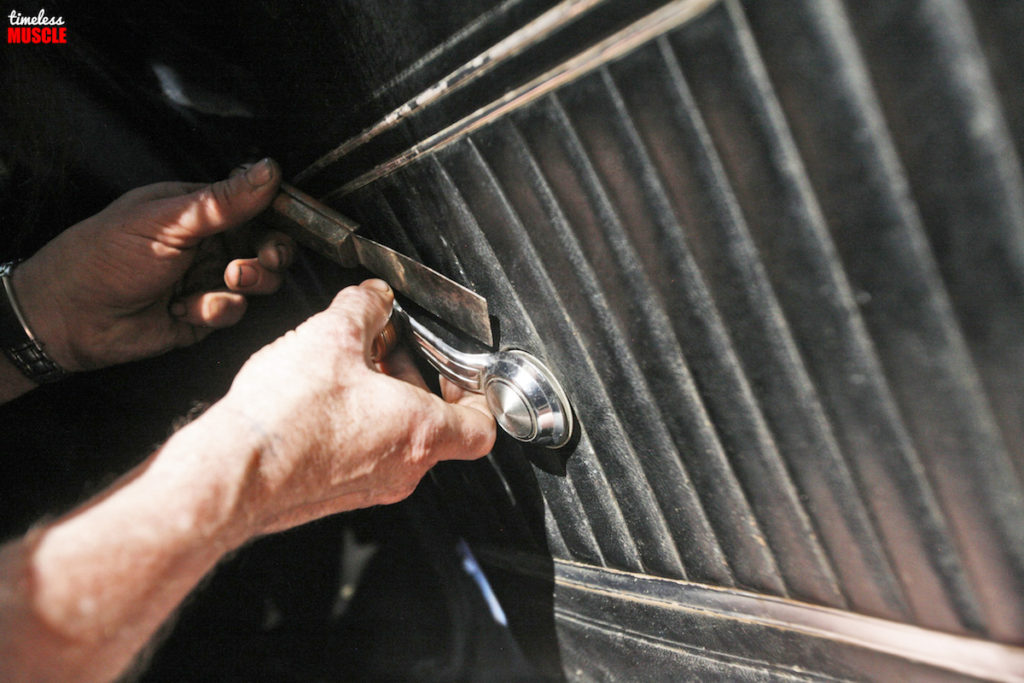
- Next, you need to pop the window crank off with either a scraper like we have here, or a specialized tool just for the task. In the case of our Chevelle, the window cranks basically slid right off. Each car is a little different, so if you do a window crank removal tool, we recommend that you use it!
-
- With the wind crank and door handle removed, you can pop the retaining clips off that hold the interior panel into place.
-
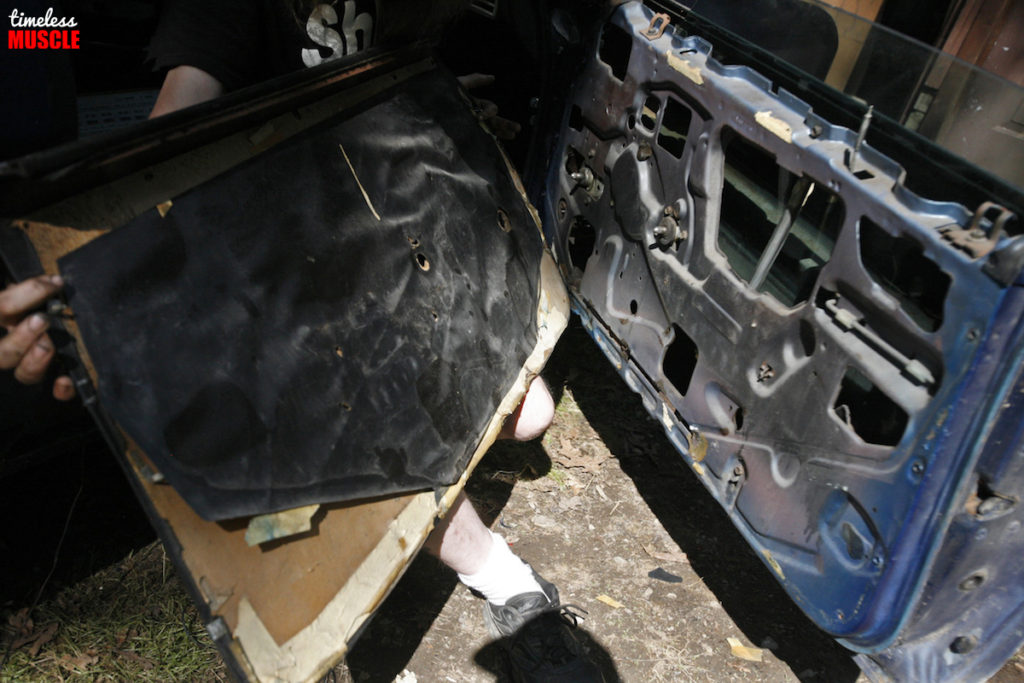
- Easy peasy!
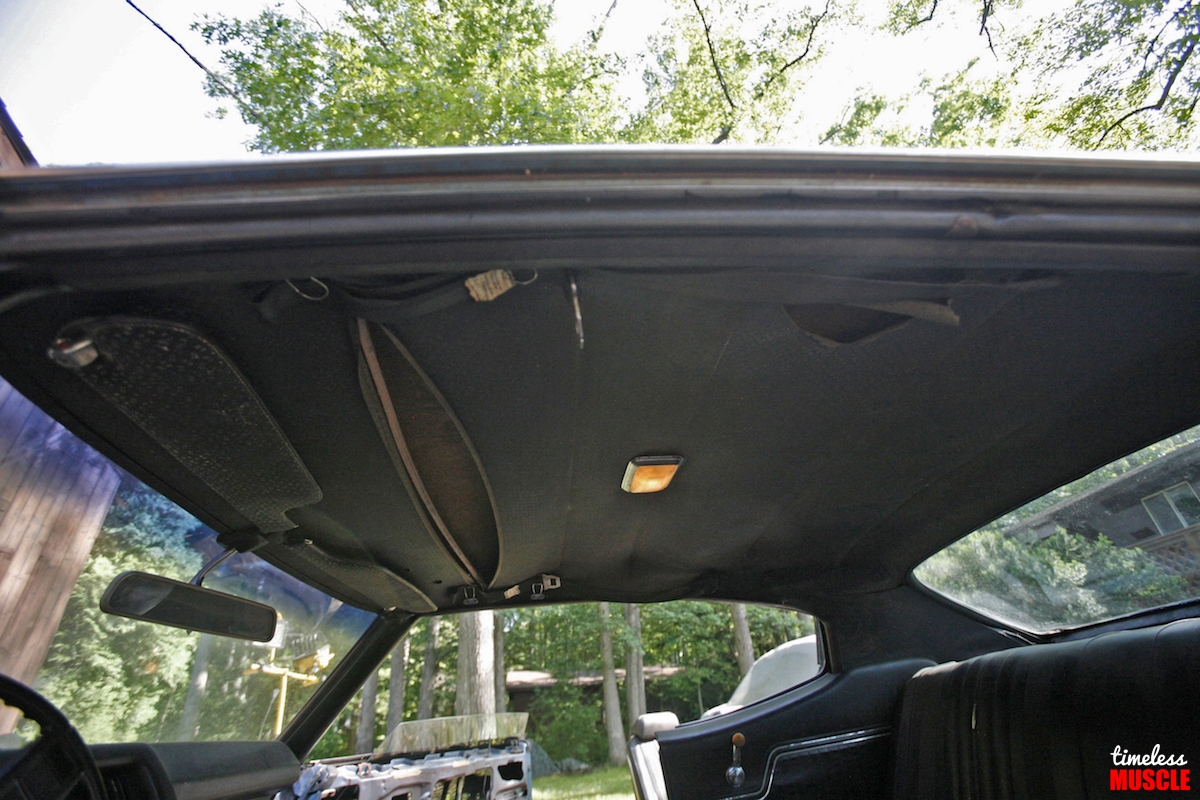
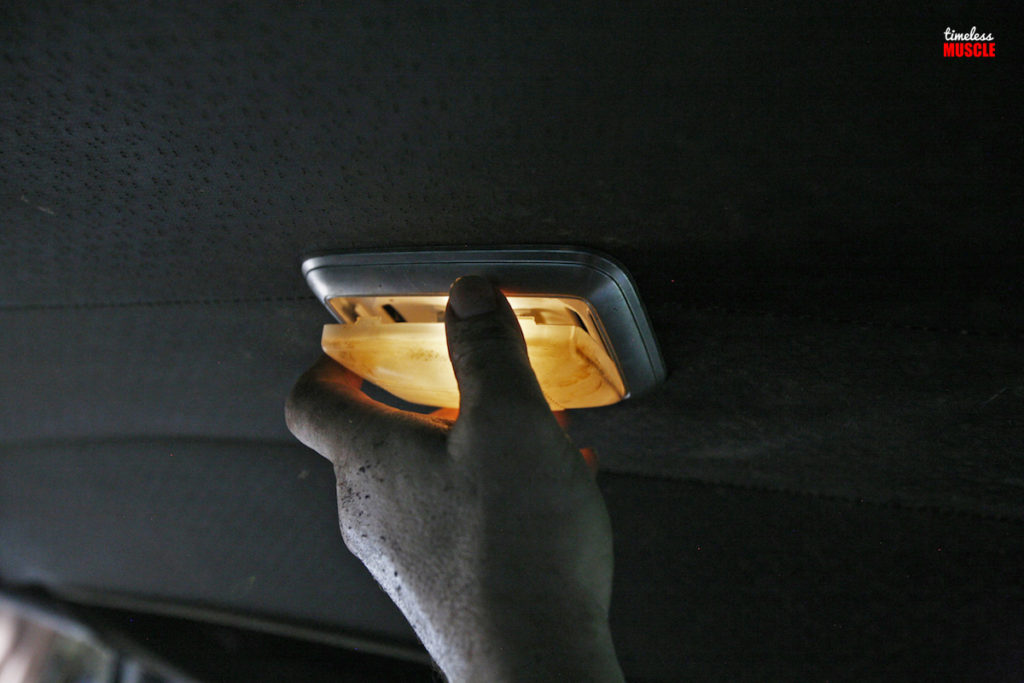
After bumping our heads onto the ripped, sagging headliner more than once, we felt published to remove it and the accompanying trim pieces next.

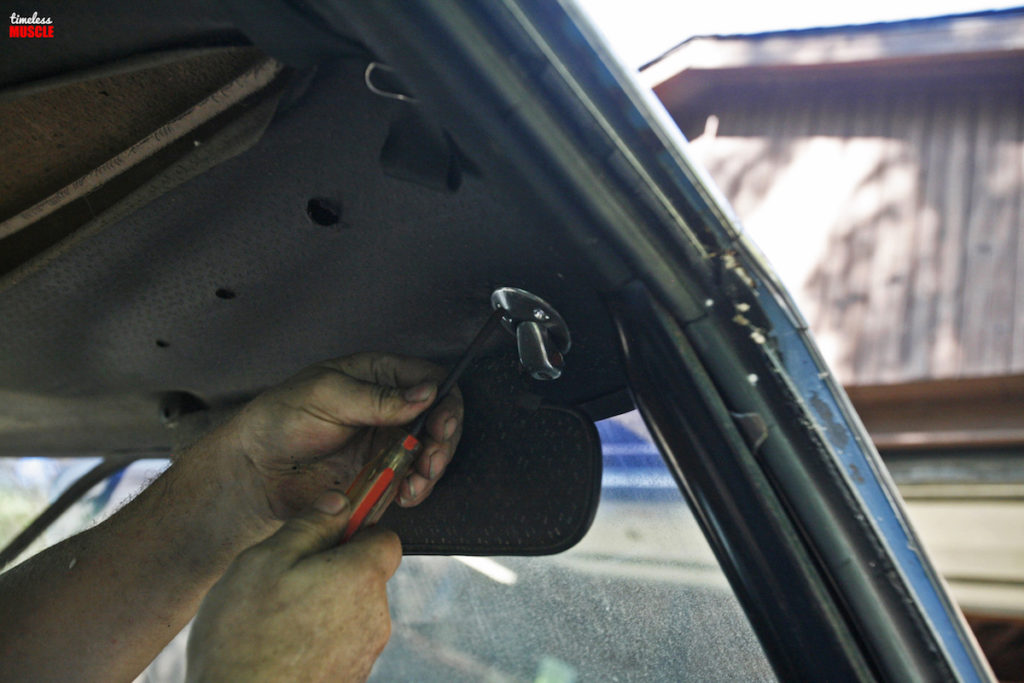
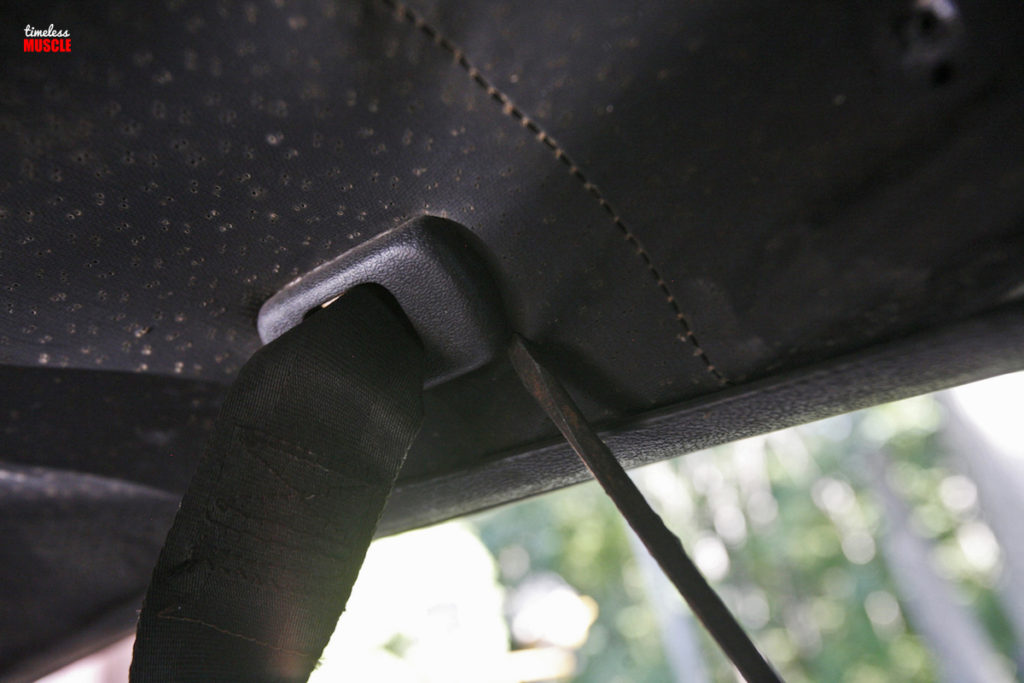
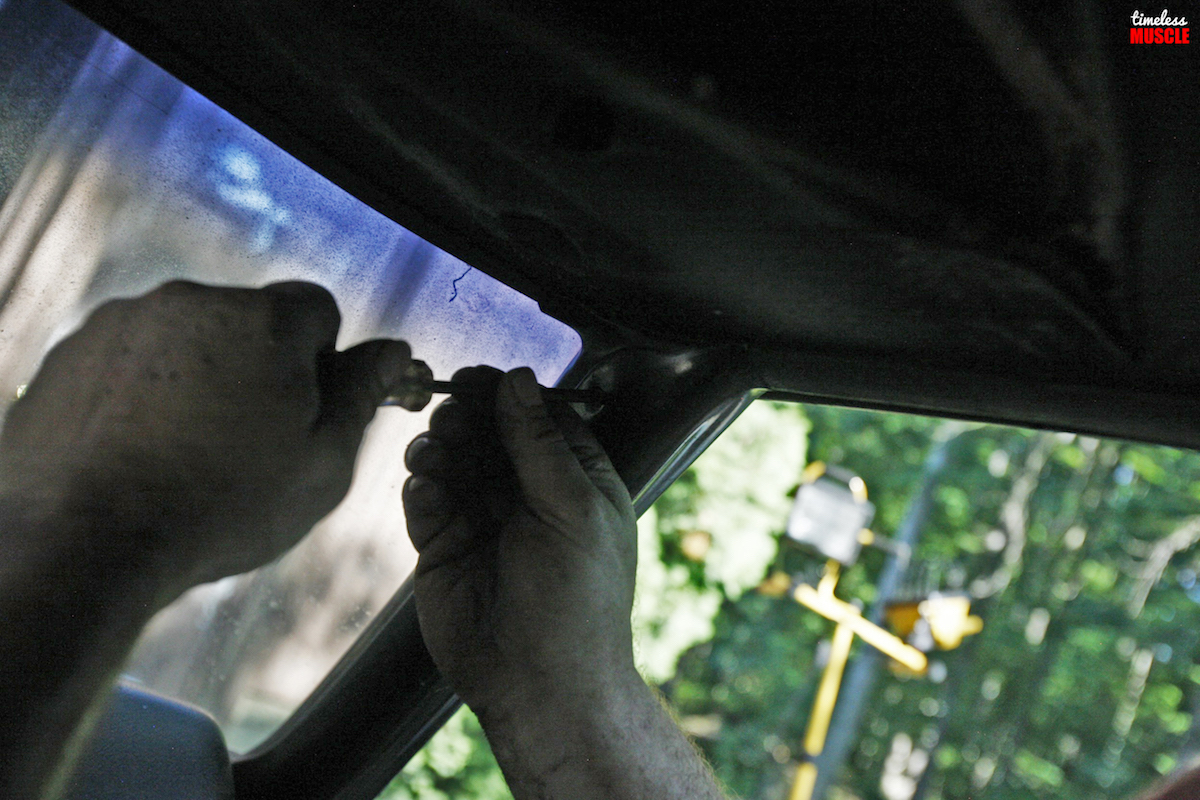
However, before we could pull the headliner itself, we would first have to remove the A-pillar trim that surrounds sections of the headliner.
The old rag that once served as our headliner basically disintegrated while we were removing it form its hangers, but typically, they slide onto the rails mounted in the roof frames. Ours came right off without much effort.
-
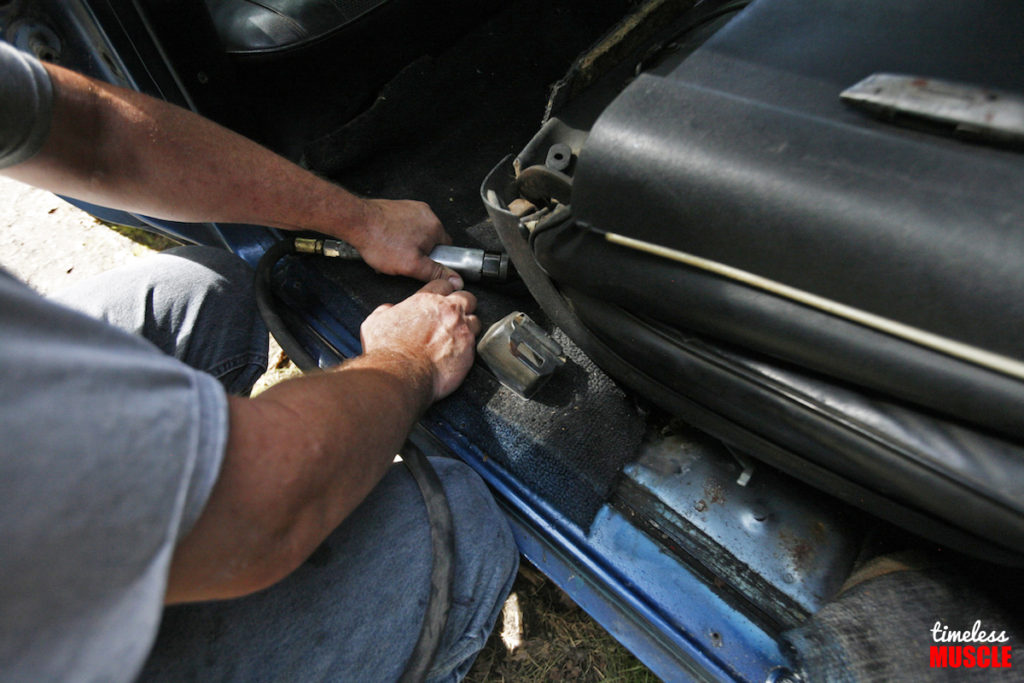
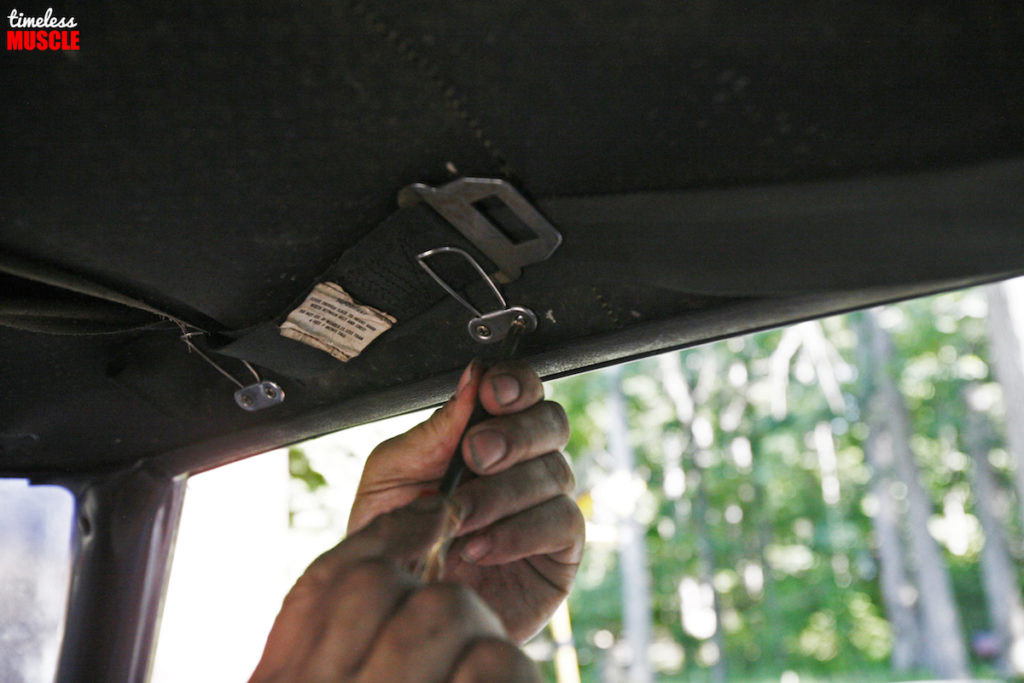
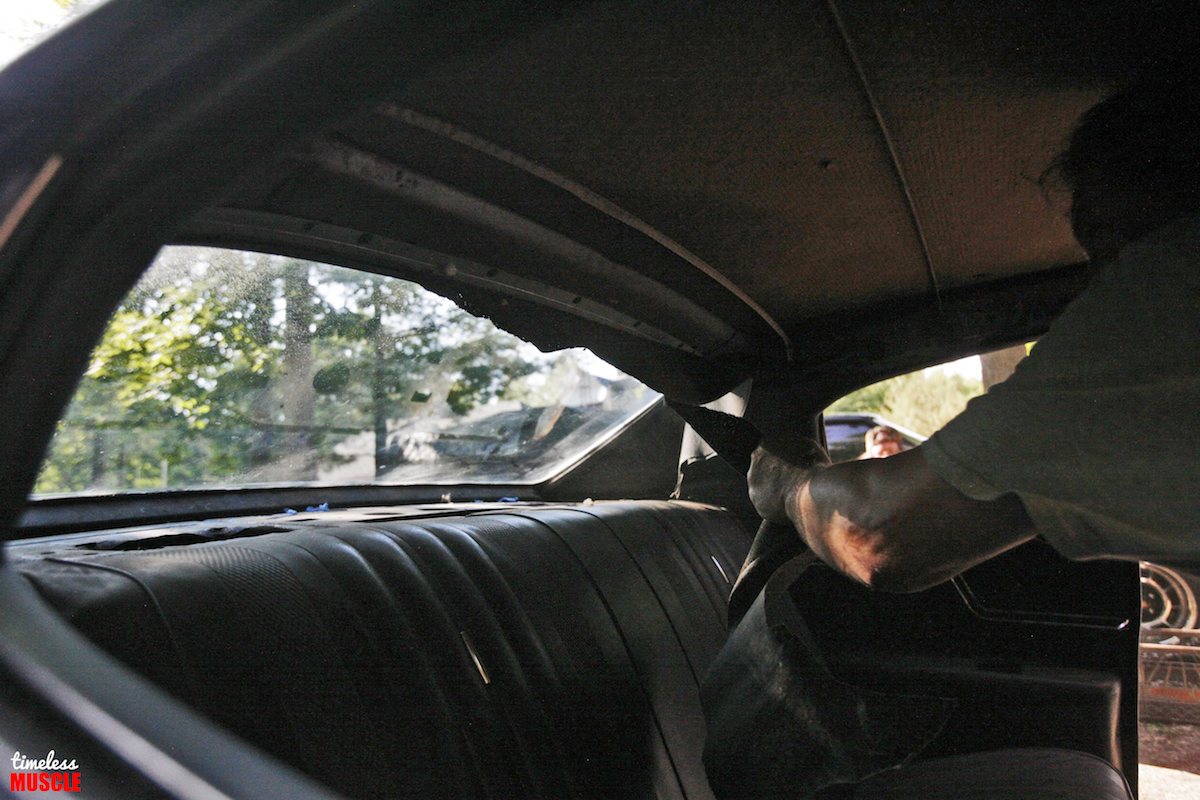
- With the seats out of the way, the next step was to pull the accompanying seat belts.
-
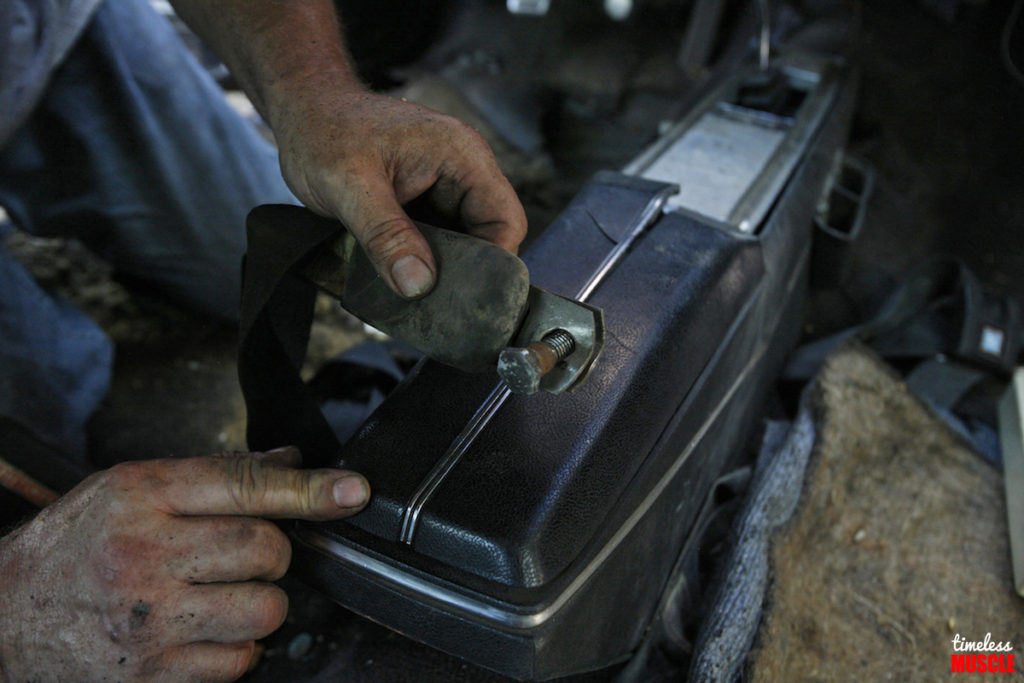
- It was a straightforward step that simply meant removing the mounting bolts ; two for each front seat.
-
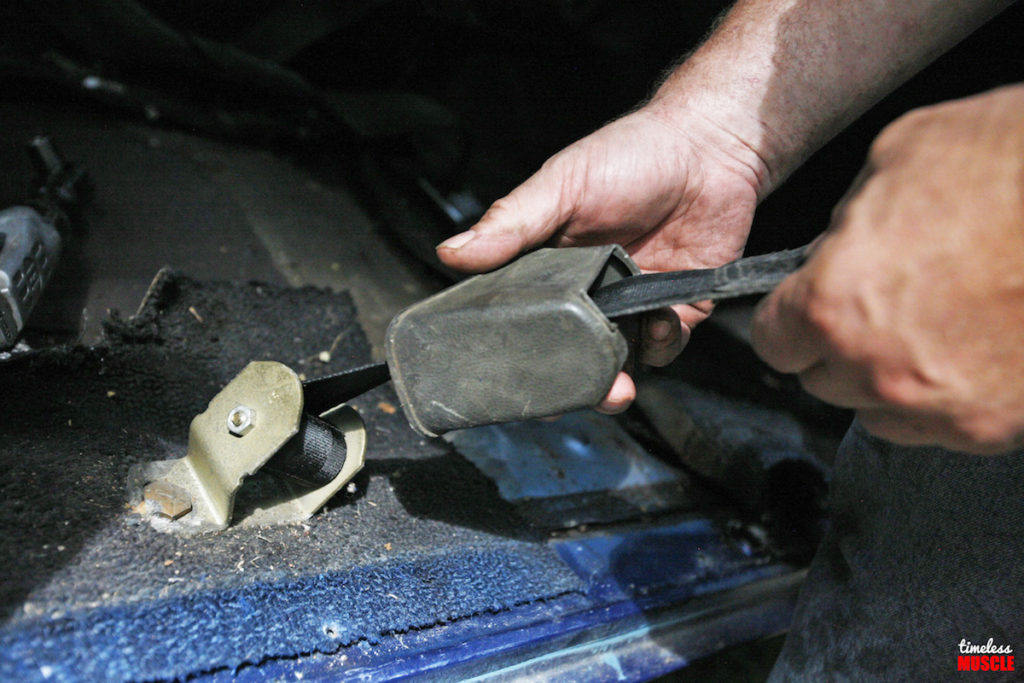
- One near the center console, the others near the door frame.
-
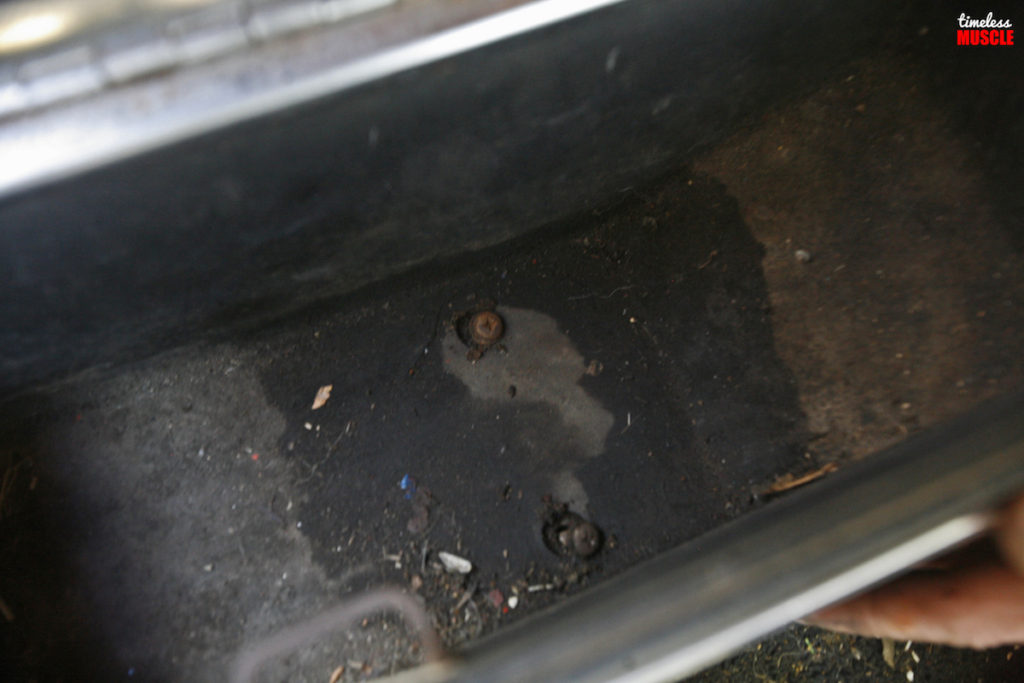
- Removing the console removing all of the mounting bolts; including these two that are tucked away inside the storage compartment.
-
- Before you life the console out of the interior, bestsellers sure to unplug the dome light that’s mounted in the rear of the piece.
-
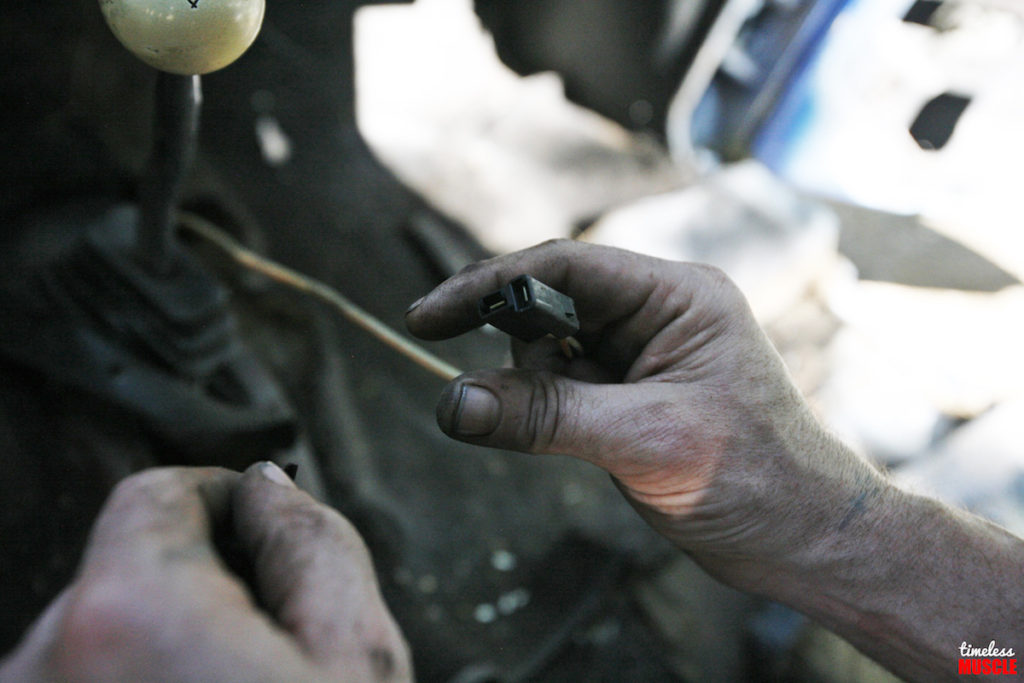
- With the console out of the way, we unplugged the wiring that leads to the bulb honnects to the main interior harness — be sure to unplug it and stick it in a bag for reinstallation later.
-
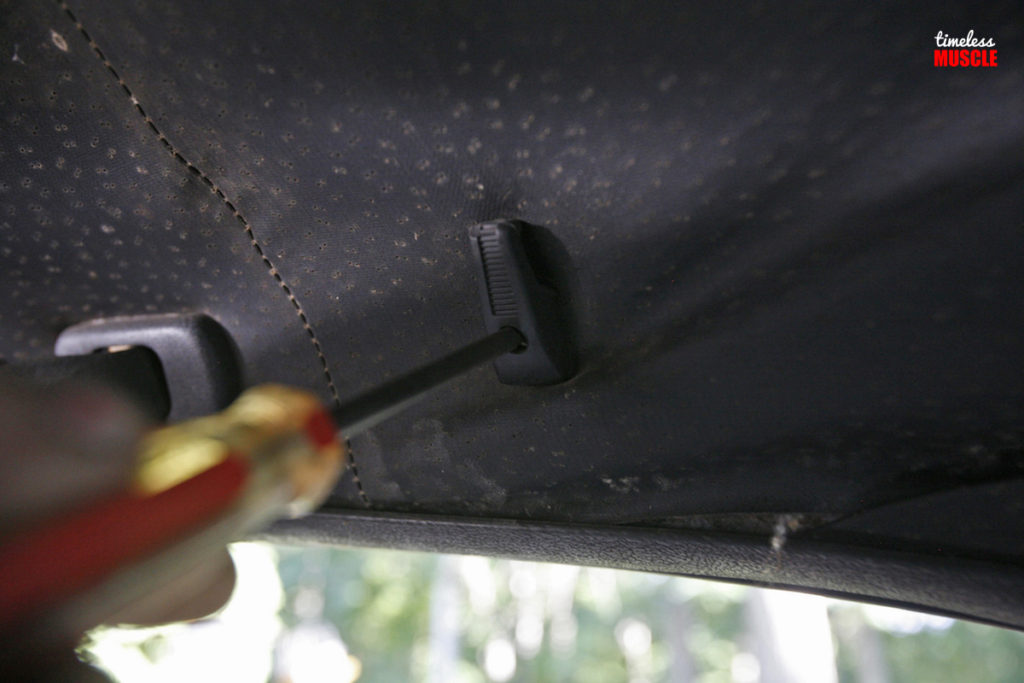
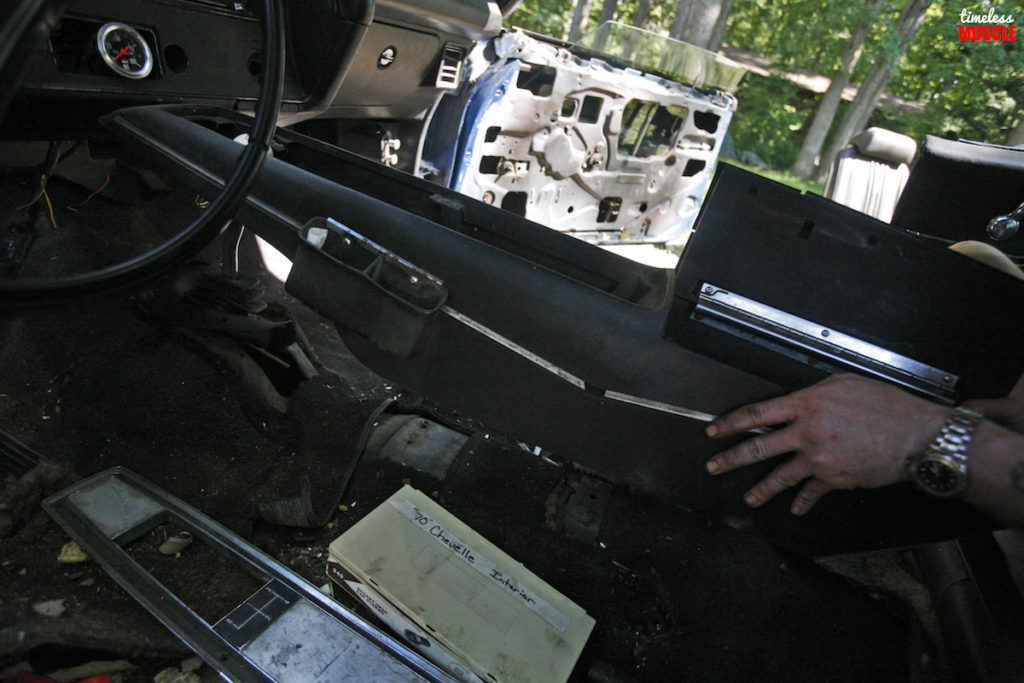
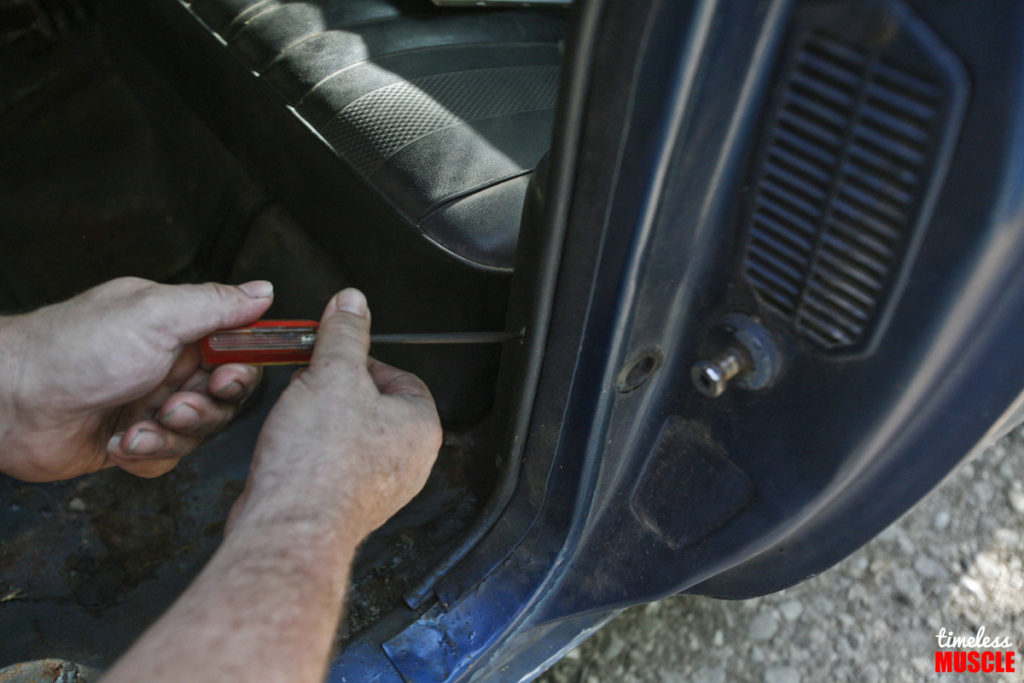
- The great thing about classic GM vehicles, is the fact that the entire interior is held together by screws — including most of the trim.
-
- This makes removing normally difficult pieces like the rear passenger side panel…
-
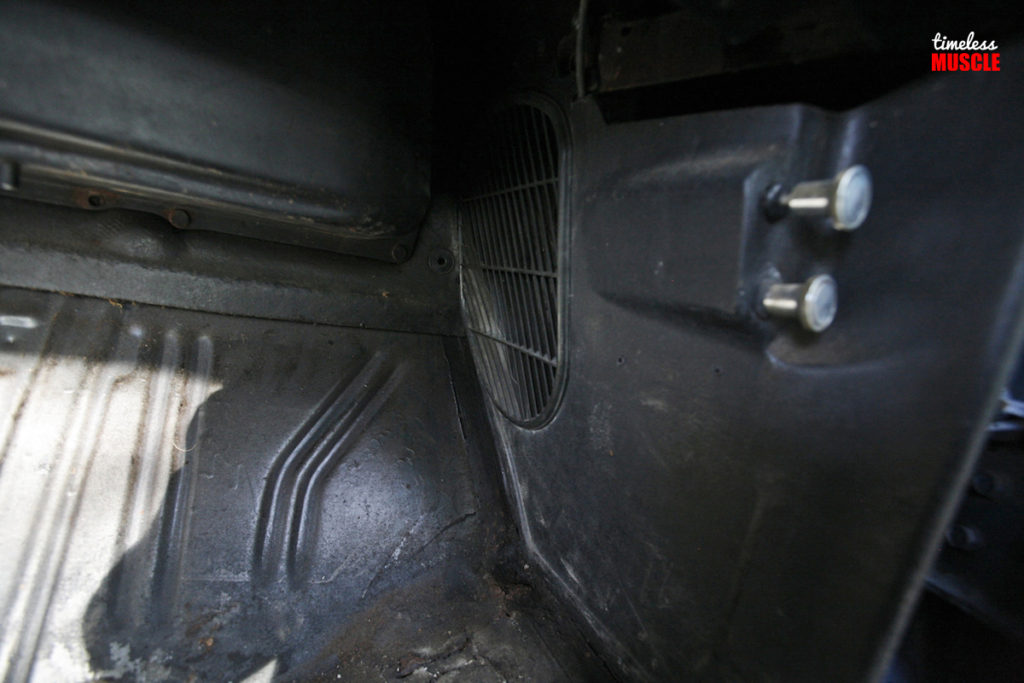
- …and front passenger kick panels relatively easy to remove.
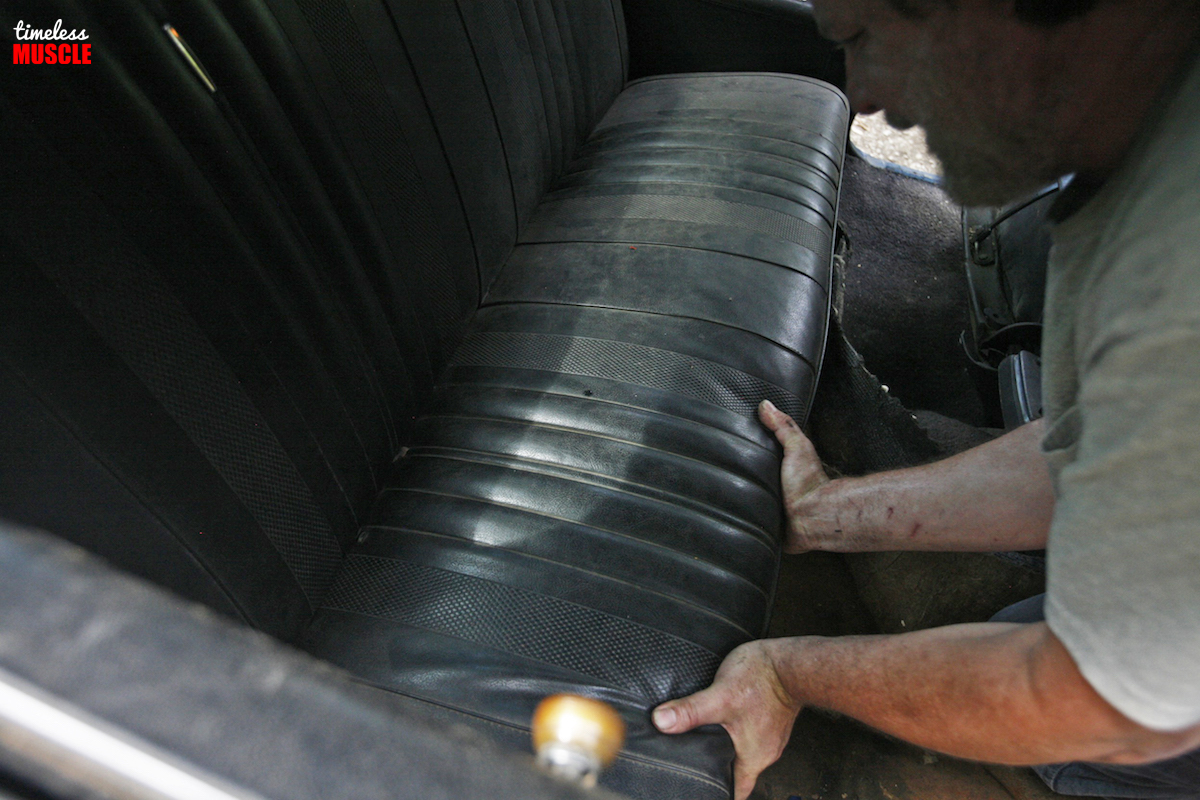
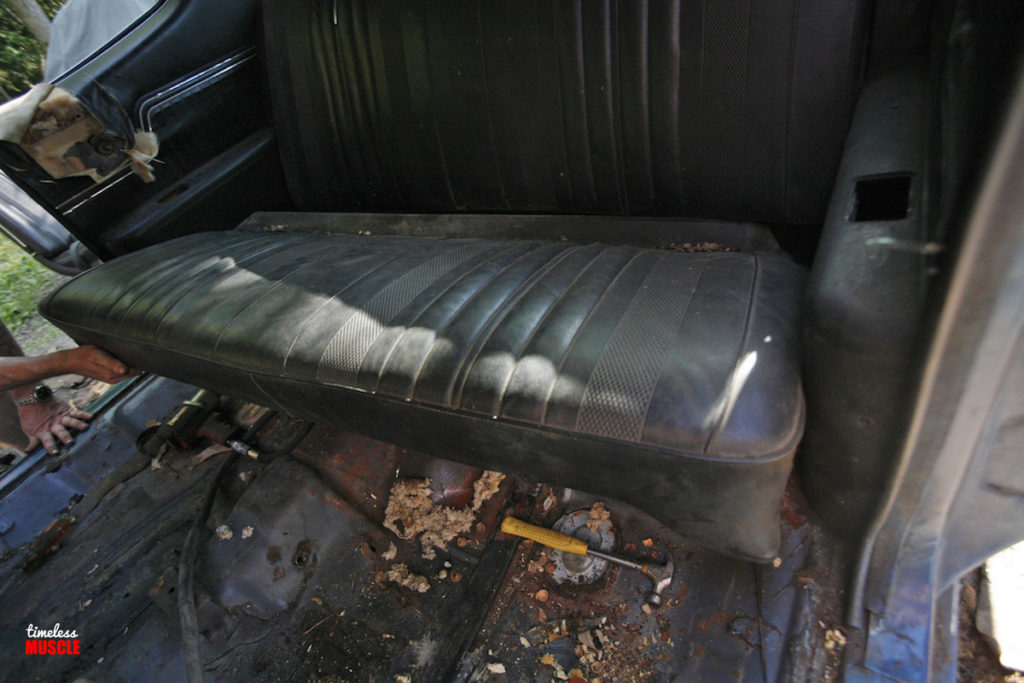
Turning our attention to the back seat, the bottom was a simple removal trick that consisted of a push in and lift arrangement. Which is how most cars are, but since ours has been installed by an unterminated amount of time, they put up a decent fight and the metal bracket springs holding them in seemed to have rusted. The backrest is bolted in.
-
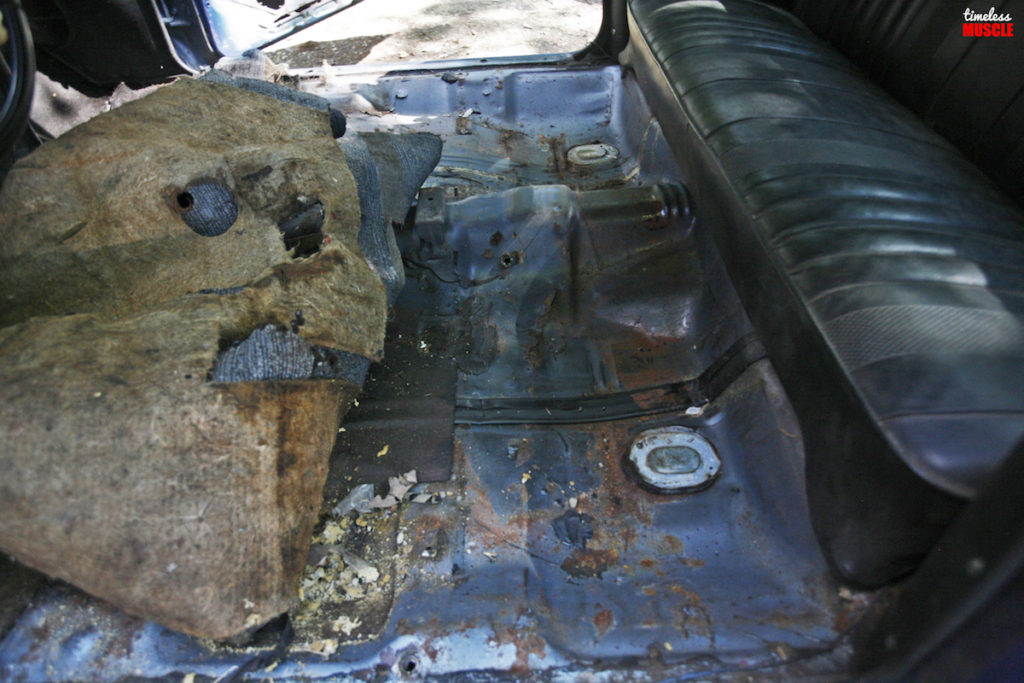
- Peeling back the factory carpet and sound deadening revealed the original Astro Blue hue the car was painted when it rolled off the assembly line some 37 years ago.
-
- Nuts, mice nests, you name it… it all surfaced once we tore into the Chevelle.
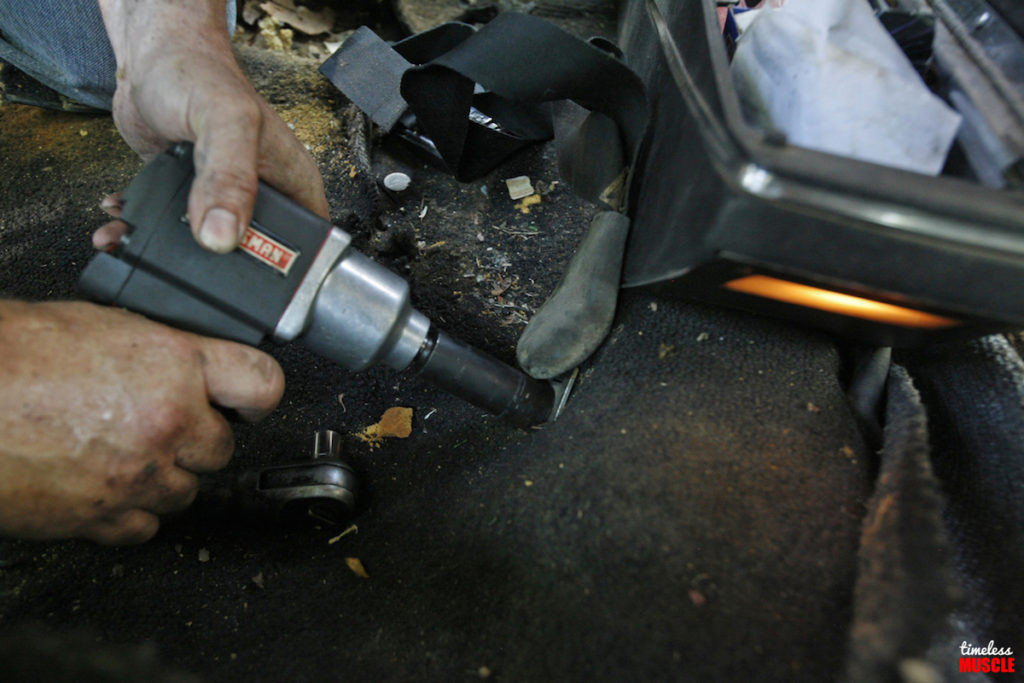
-
- Much like the front seat belts, the rears are mounted inside the floorboard with SAE bolts. Simply remove accordingly and keep in a safe place until reinstallation.
-
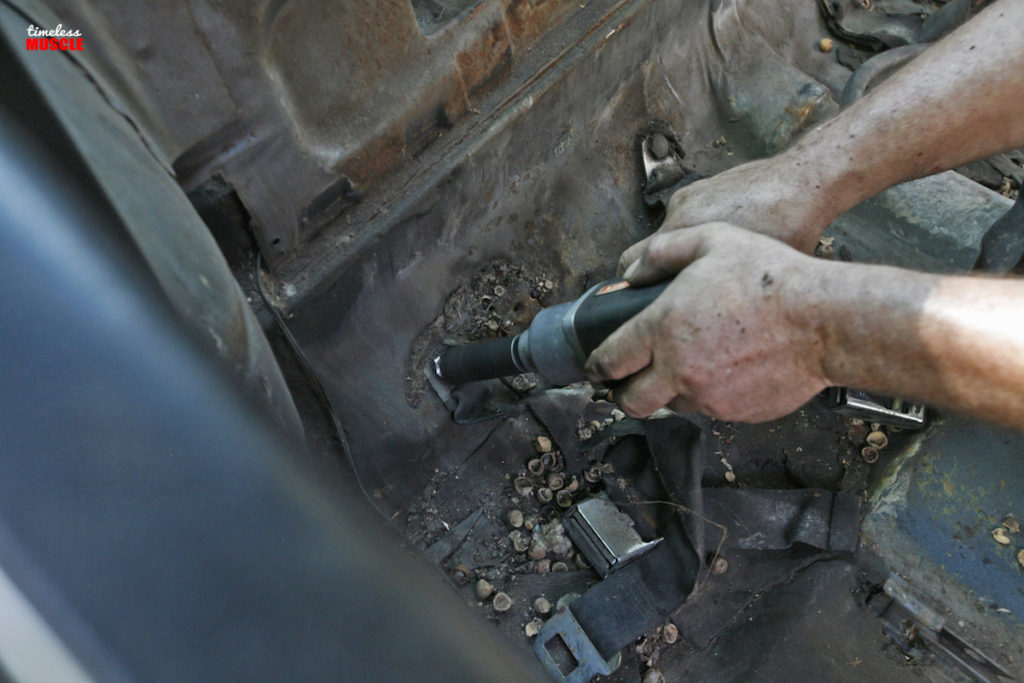
- With the rear seat removed we finished out removal of the rear indoor panels, as the the removal of the rear seat unveiled a few more bolts that had to be removed.
-
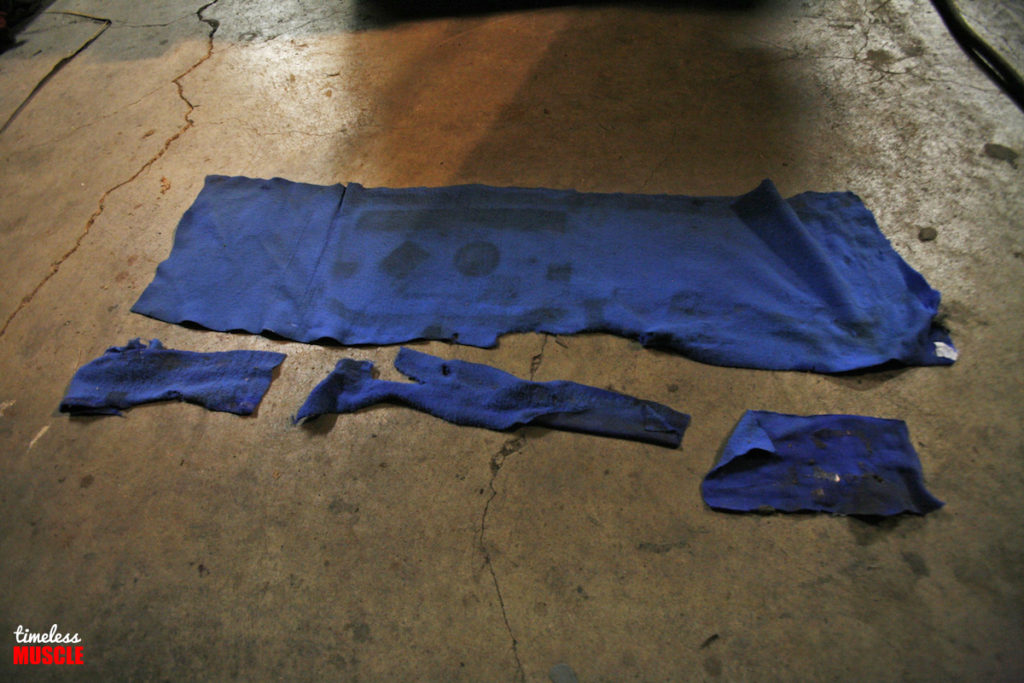
- This raggedy semi-shag blue carpet was serving as the windage tray for our Chevele for quite some time. Installed by a previous owner oh-so-long ago, we have no idea what they are thinking. That being said, it’s going straight to the trash pile.
-
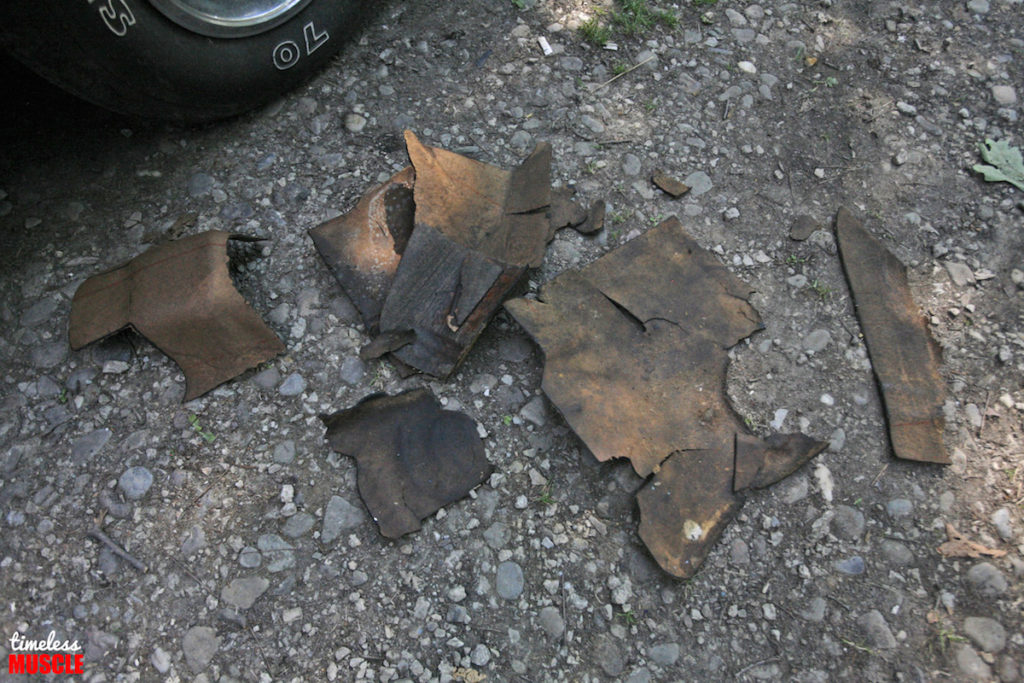
- We found various types of original sound deadening inside the cabin, and needless to say, we won’t be reusing any of it. Instead, we’ll be equipping our Chevelle with product from Heatshield Products!

…and there you have it! A completely gutted ’70 Chevelle SS interior. In the next installment, we’ll be turning our attention to the exterior, in preparation of removing the body from the frame. See you next time!

Rick Seitz is the owner and founder of AutoCentric Media, the parent company to Timeless MuscleCar Magazine, and has a true love and passion for all vehicles. When he isn’t tuning, testing, or competing with the magazine’s current crop of project vehicles, he’s busy tinkering and planning the next round modifications for his own cars.