


photos by: the author
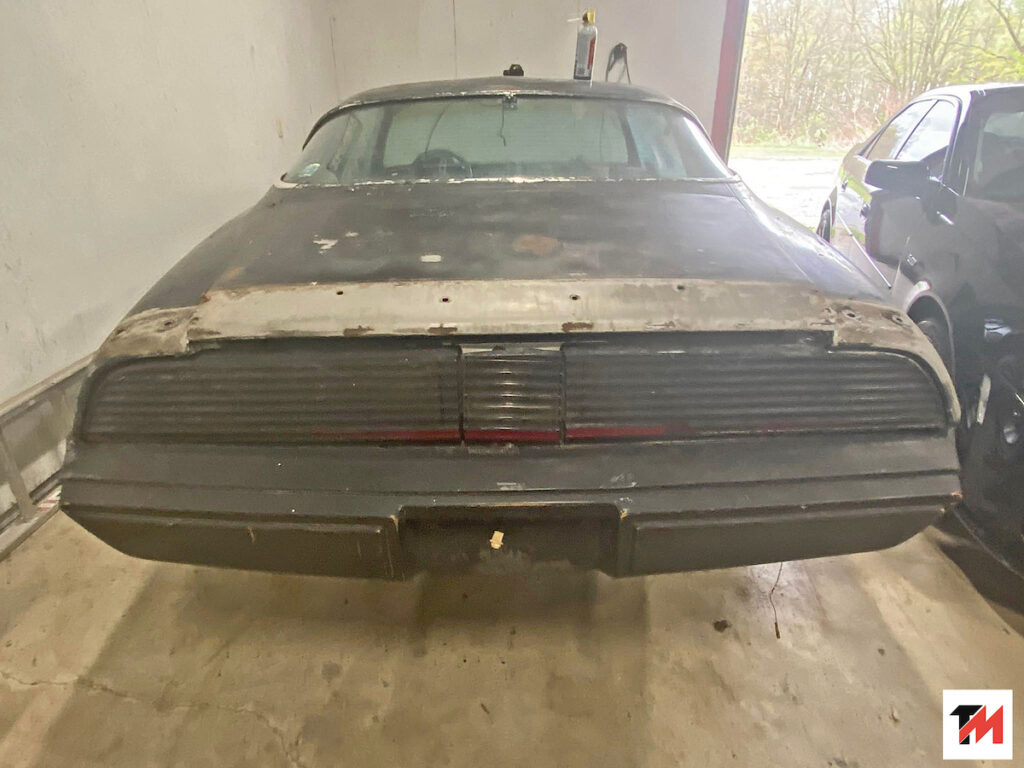
Getting Our ’79 Trans Am Project Back On Track

..but first, we need to continue tearing it down. And that’s exactly what this quick segment is all about. After being sidelined, sidetracked, backlogged and backtracked from COVID, we’re finally able to get this project back on task.
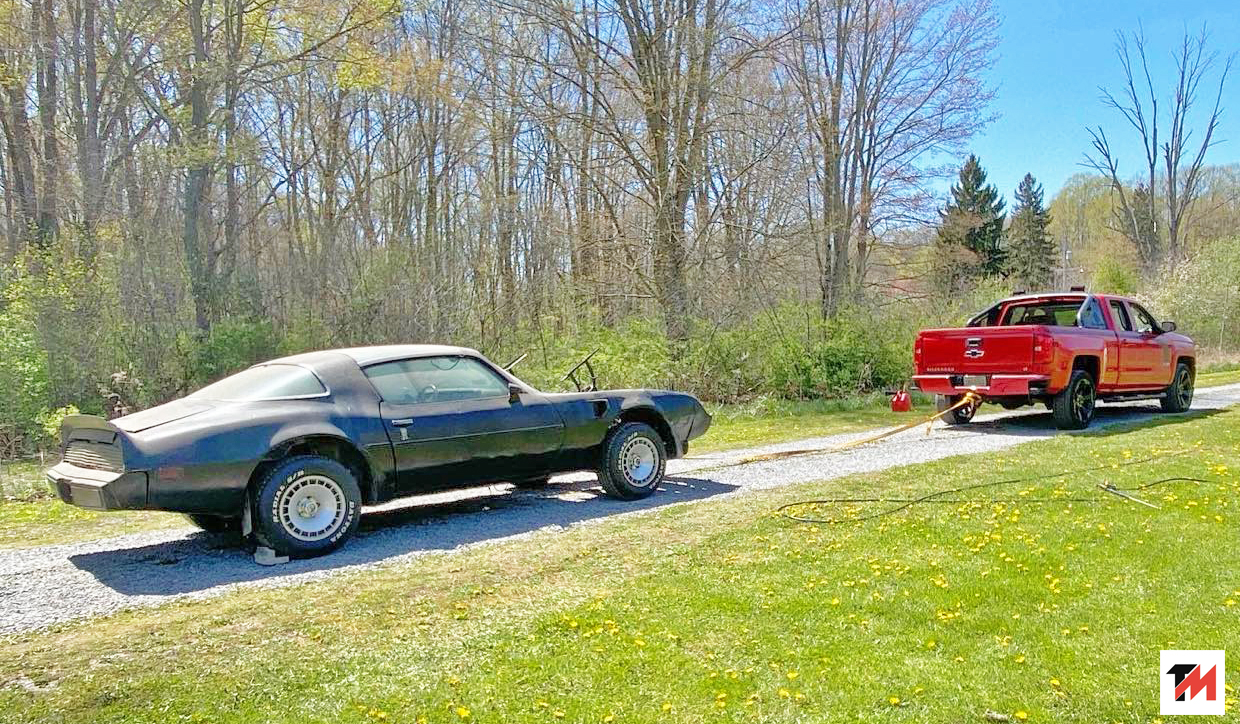
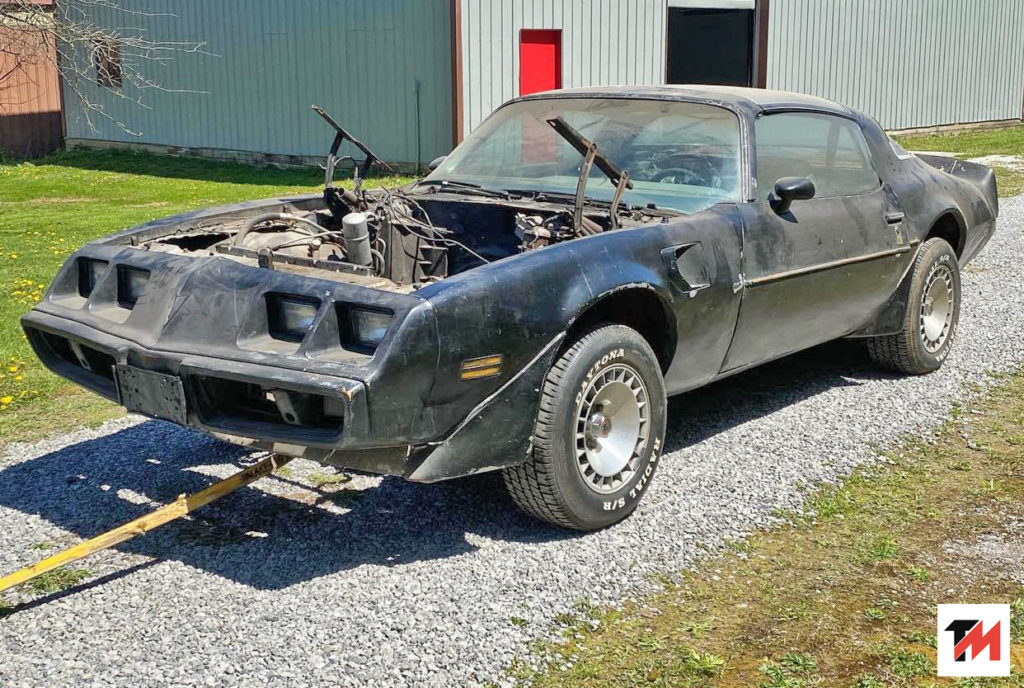
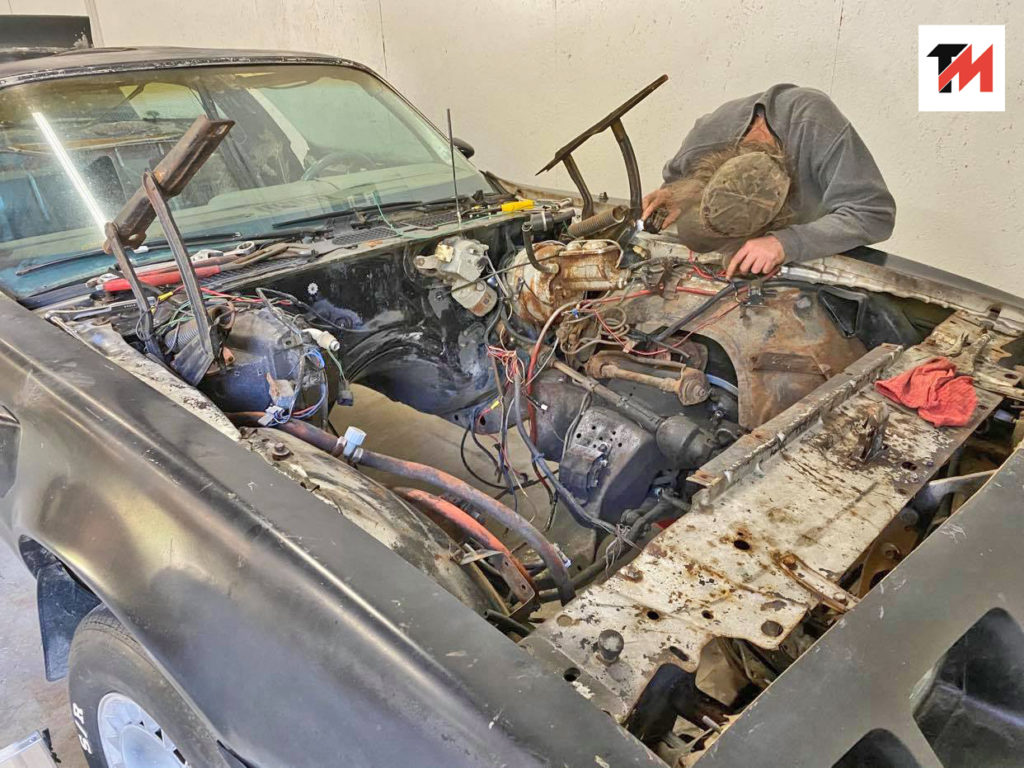
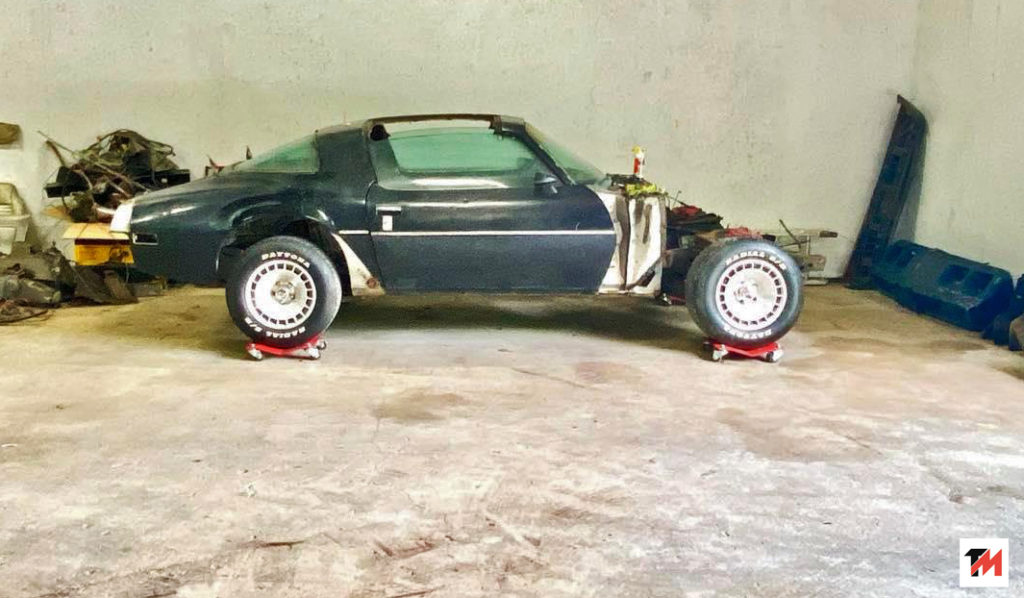
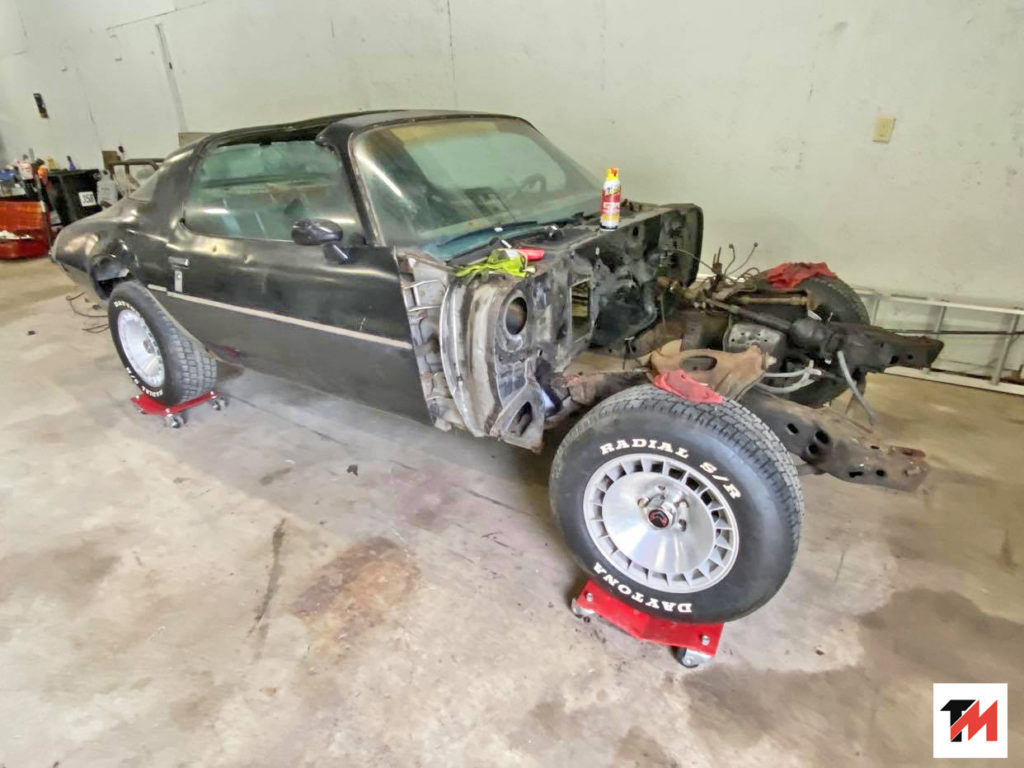
A big part of the setback was the shutdowns, lack pf parts availability, budget constraints and so forth. We kept on task with other projects where we could, but our ’79 Trans Am project simply collected dust. Now that we’re all caught up with some of our other projects, it became time to roll up our sleeves and set to work. The first order of business was to pull this thing out of the corner and put of the shop. It was still covered with barn dust from the previous owners, some bird dung, and a lot of grease inside the engine bay from when the power steering pump, and various seals of the engine were leaking fluid.
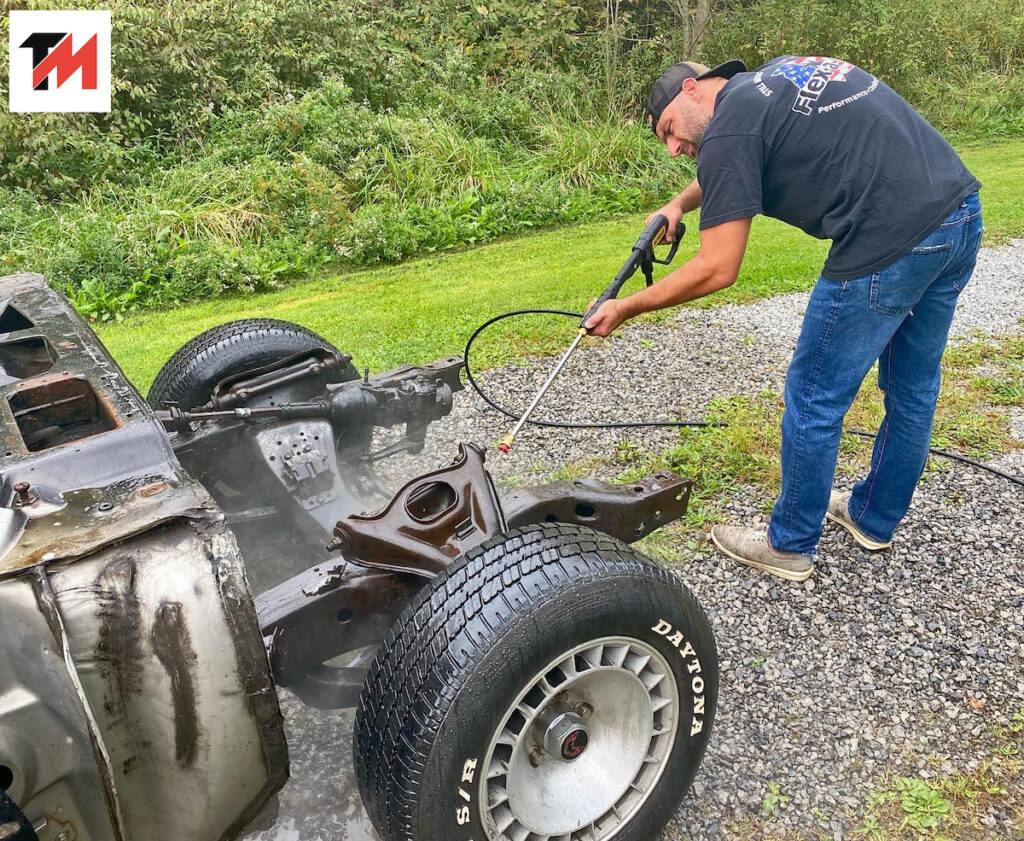
Since the engine was already pulled in the previous installment, we had to hit a tow strap to The Mule to get it out of closed quarters and outside to where we can pressure was the shell. Looking to try something new, we ordered up Sweet Patina‘s degreaser (code GMEFI57, at checkout) which when applied by force, will help spray away most of the crud on the car.
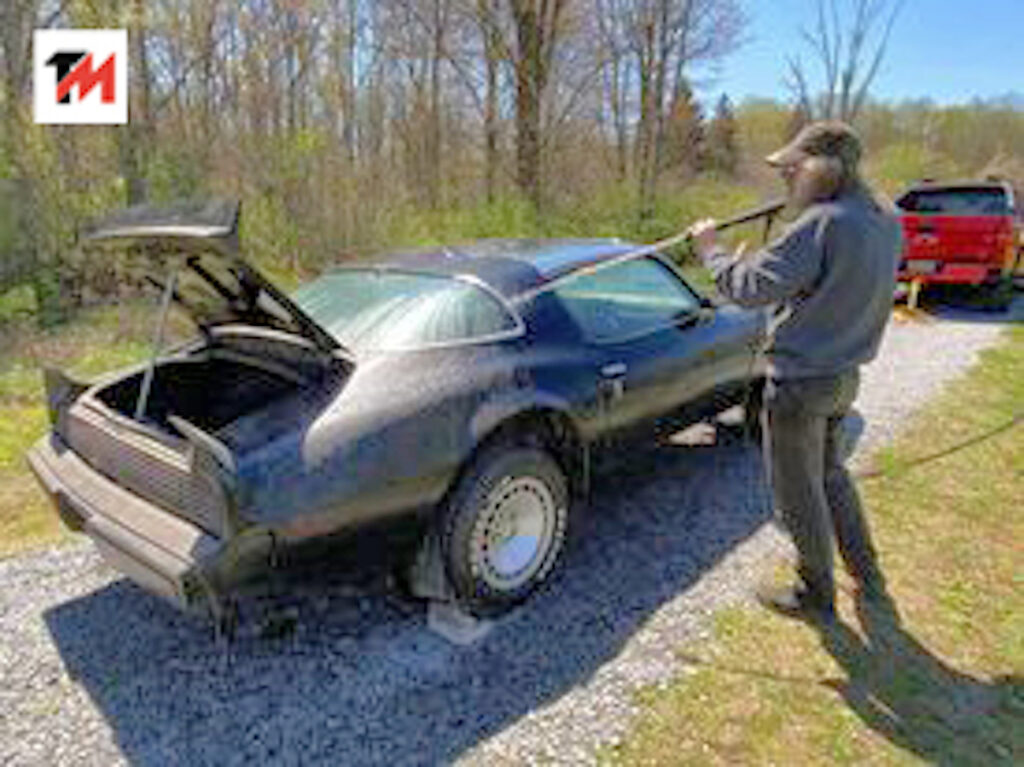

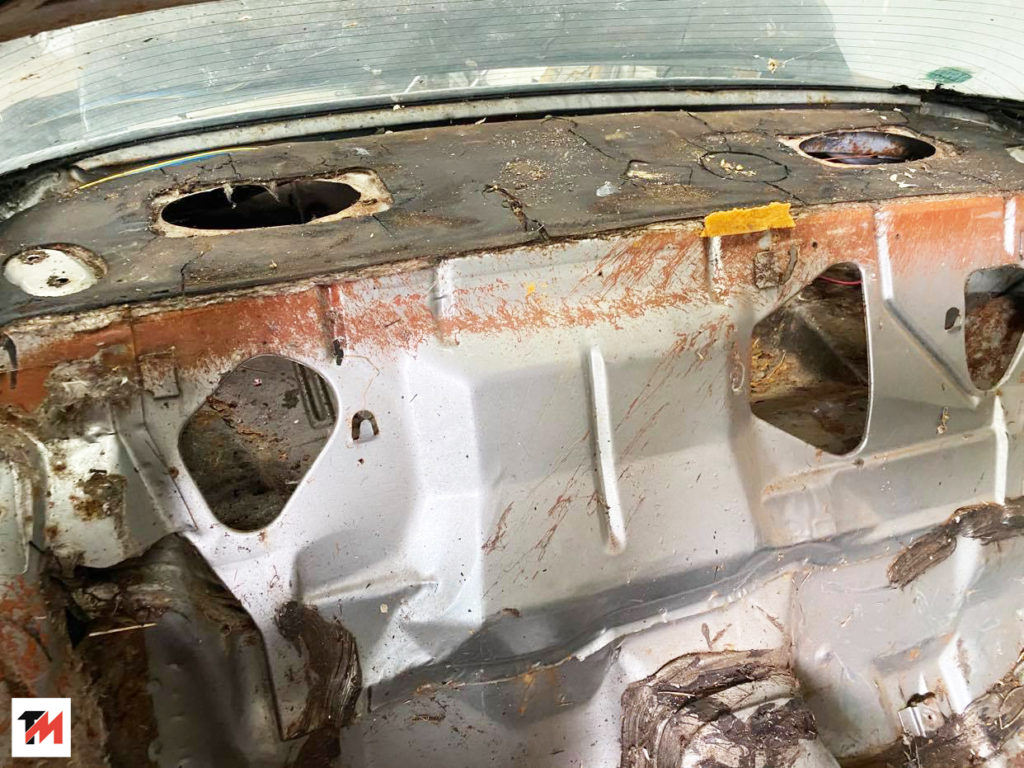
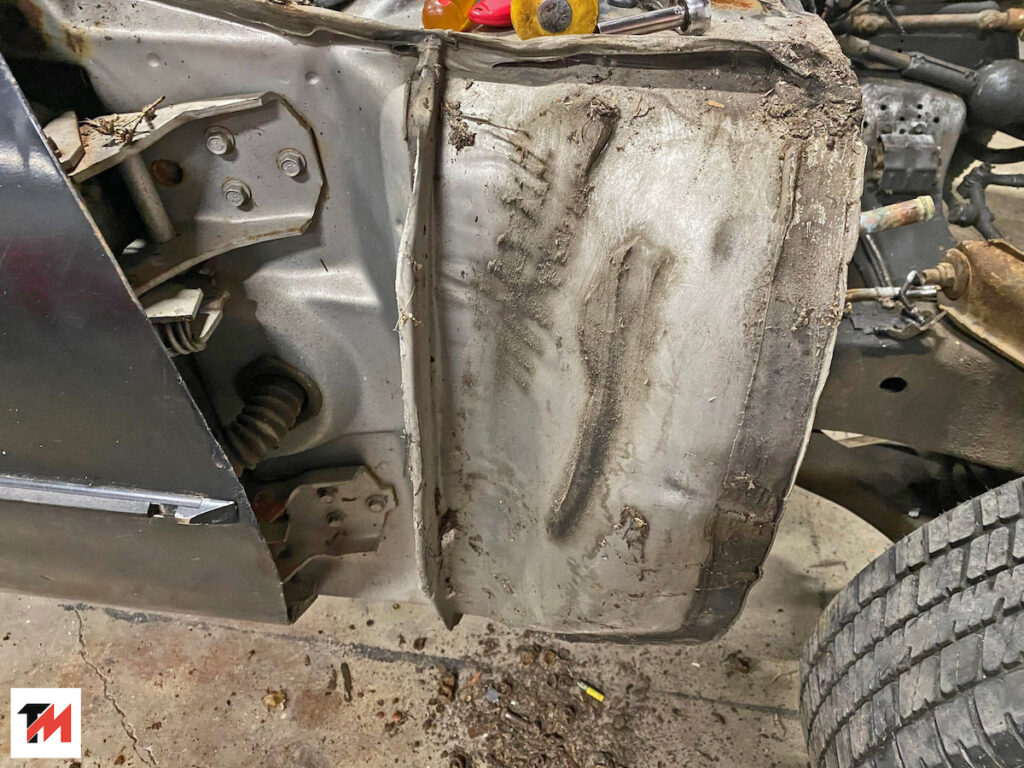
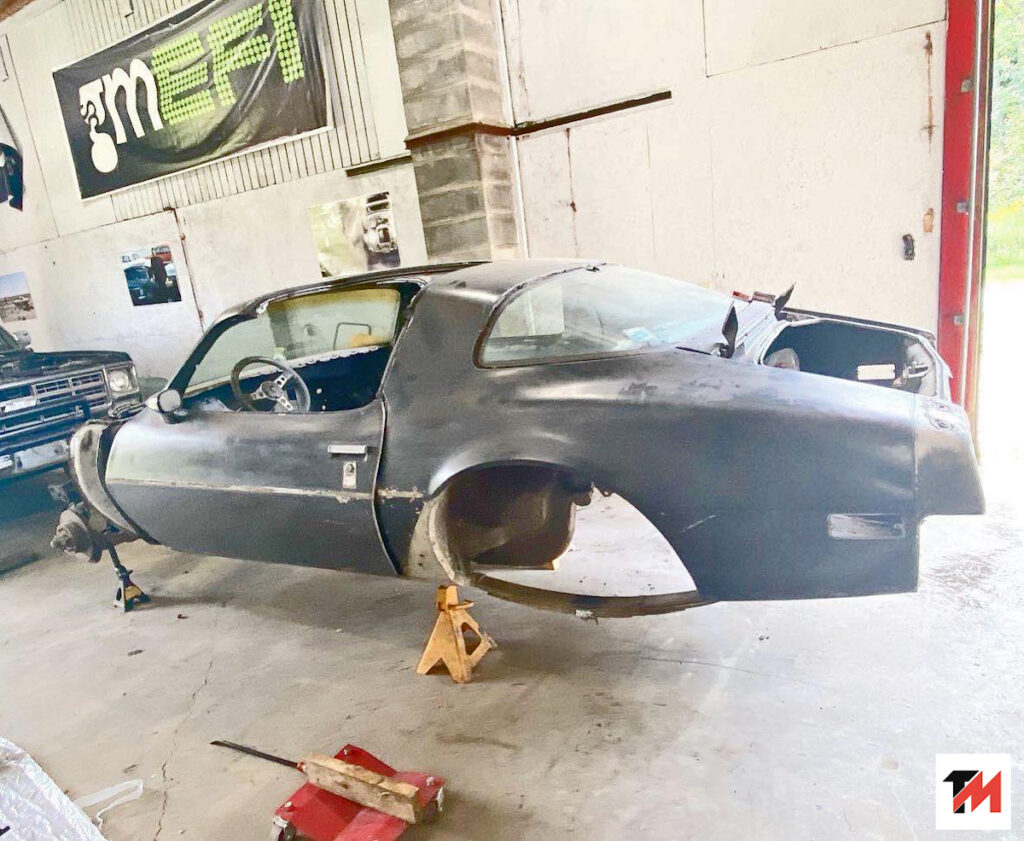
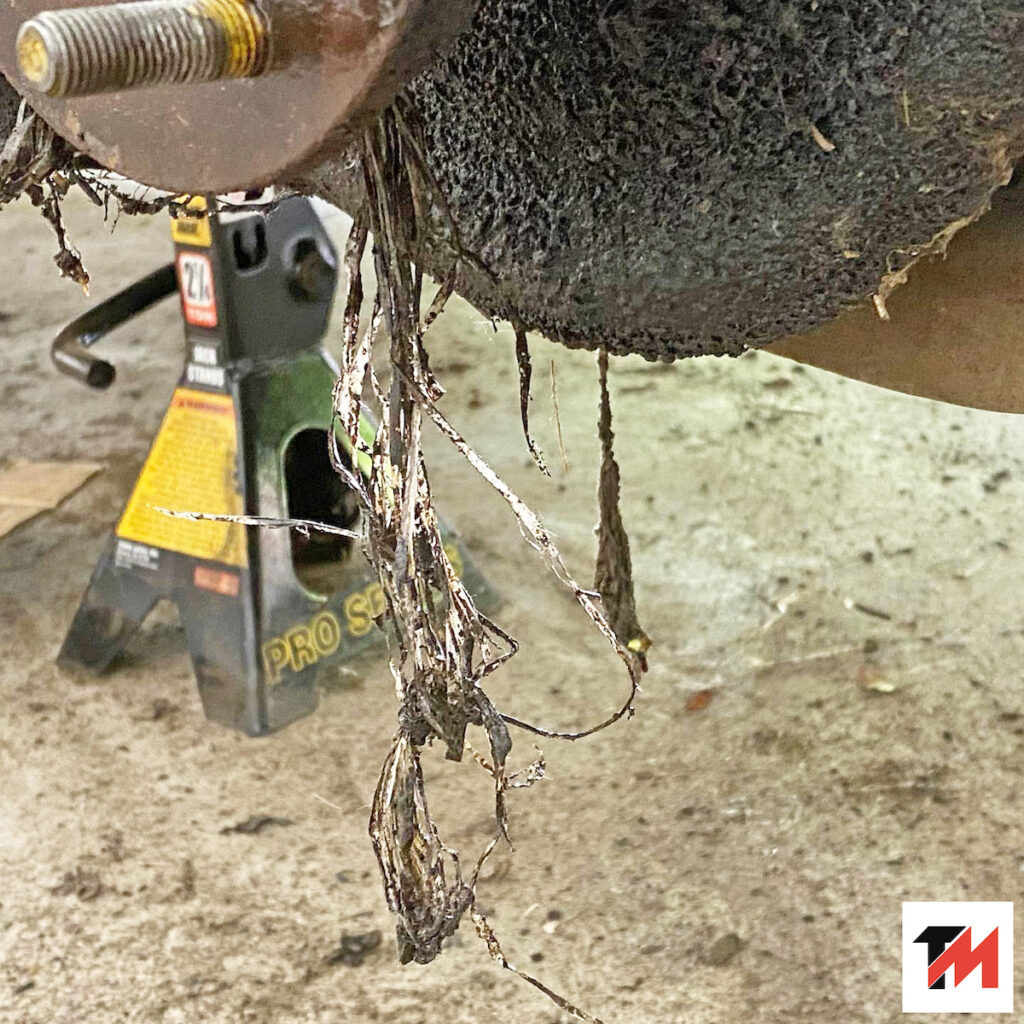
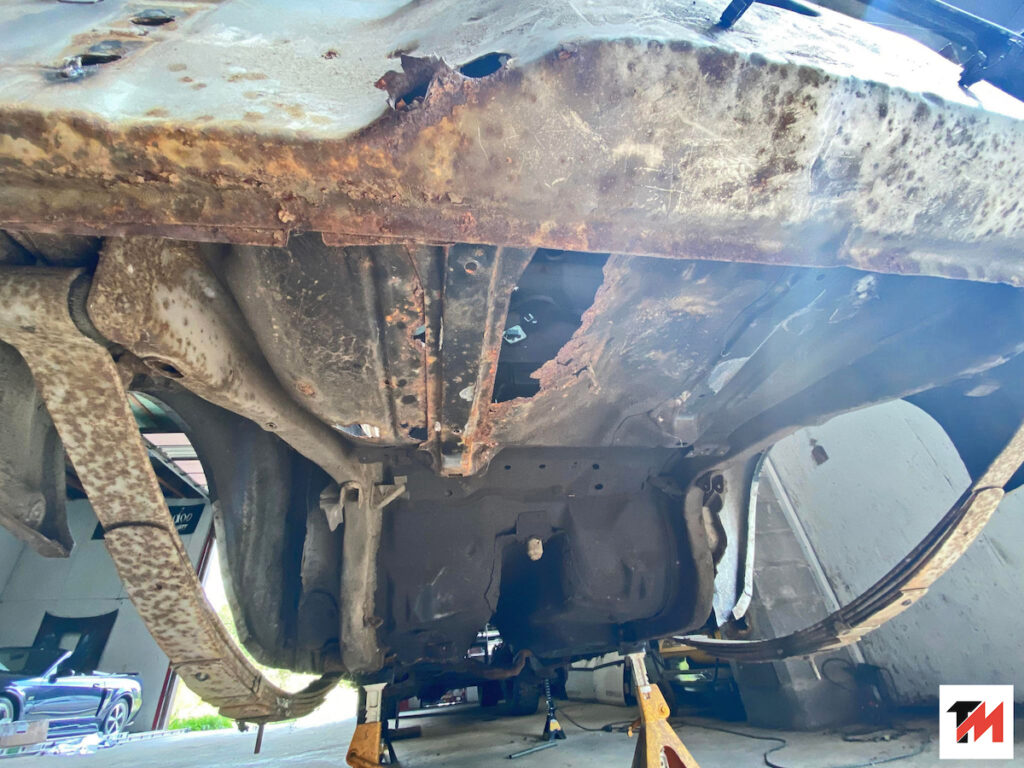
Now like we’ve said before, this car is quite solid, apart from the trunk pan and a small hole in the floor pan. After we had sprayed the car down, we pulled it back into the shop and wanted to dig deeper, just to be sure. It’s not uncommon where you think there may just be one or to spots in the shell, only to really that there’s a hidden mess elsewhere.
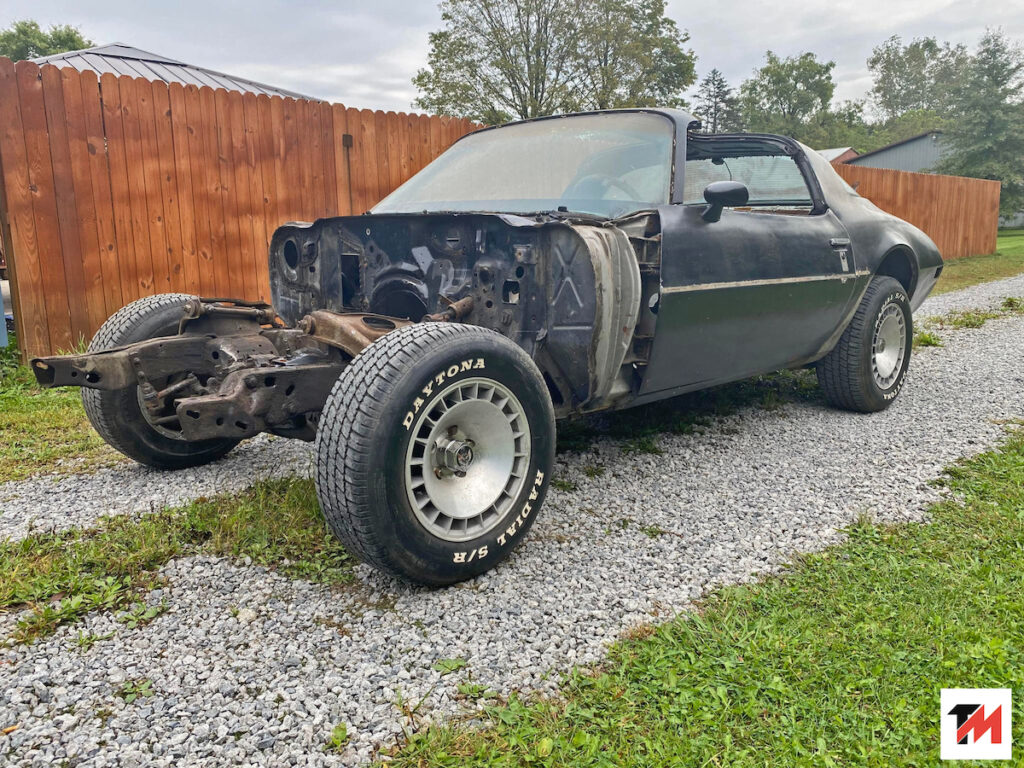
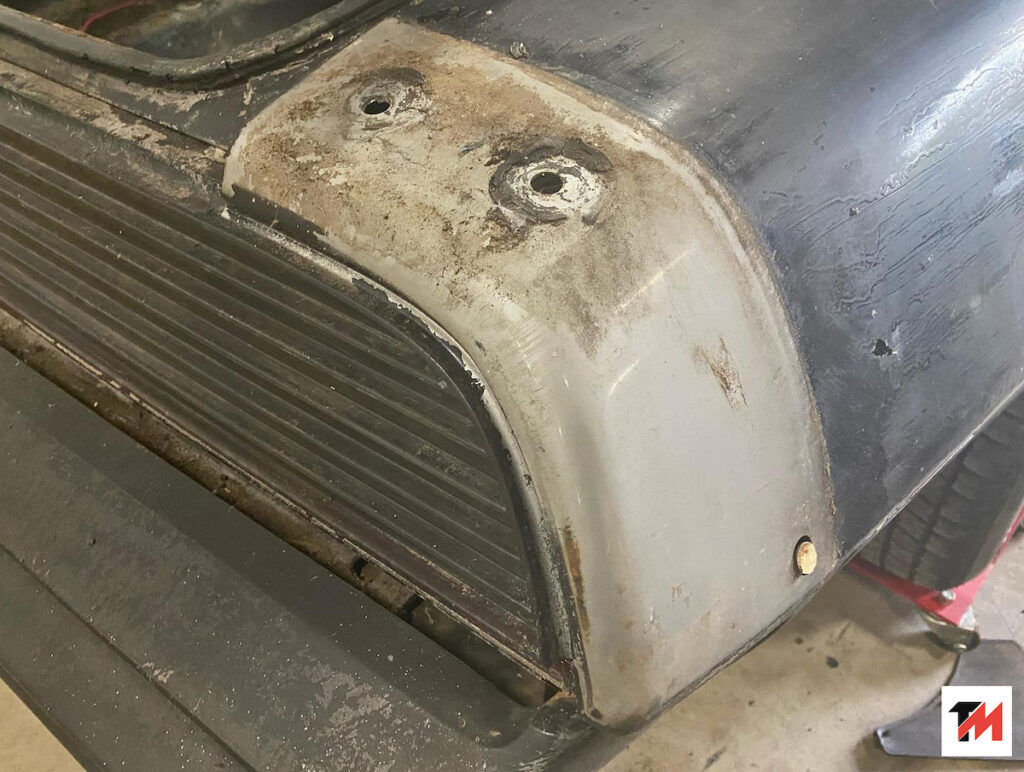
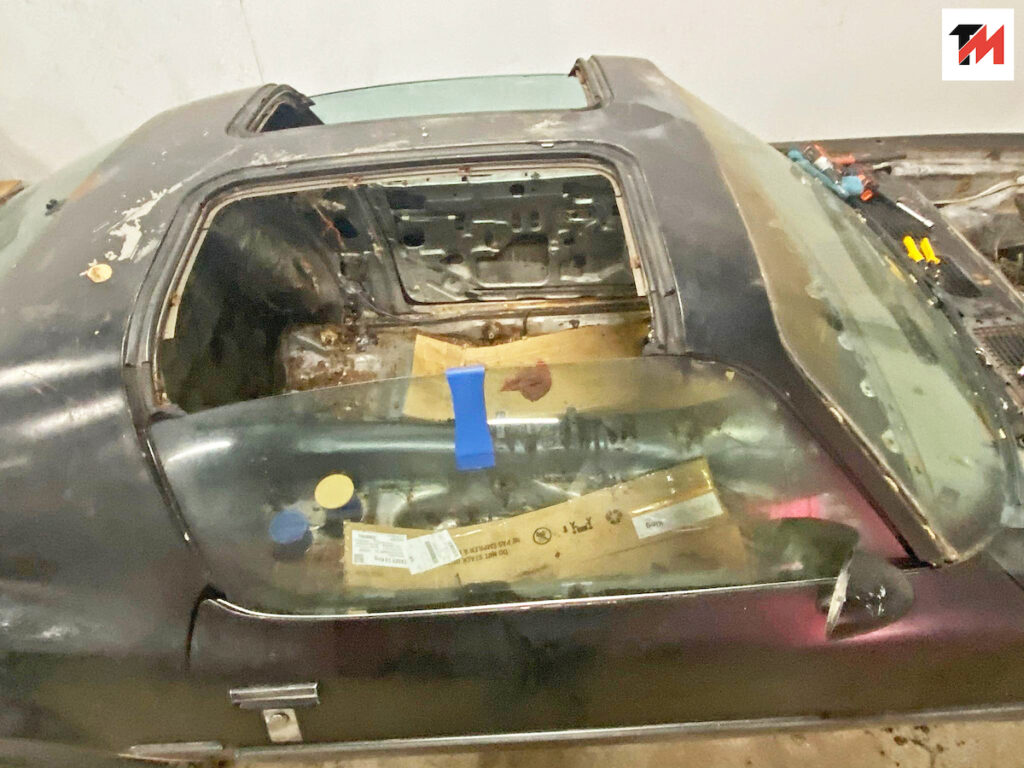
As it turns out, the only rust that wasn’t noticed prior to our teardown was is a small spot on the rear passenger side quarter panel, behind where the wheel flare is. This also made us realize how truly offer the black respray was, as it was clearly evident that next to no prep was performed on the car. Under the rear spoiler, rear wheel flares and various other portion of the car, was the silver metallic paint seemingly untouched.
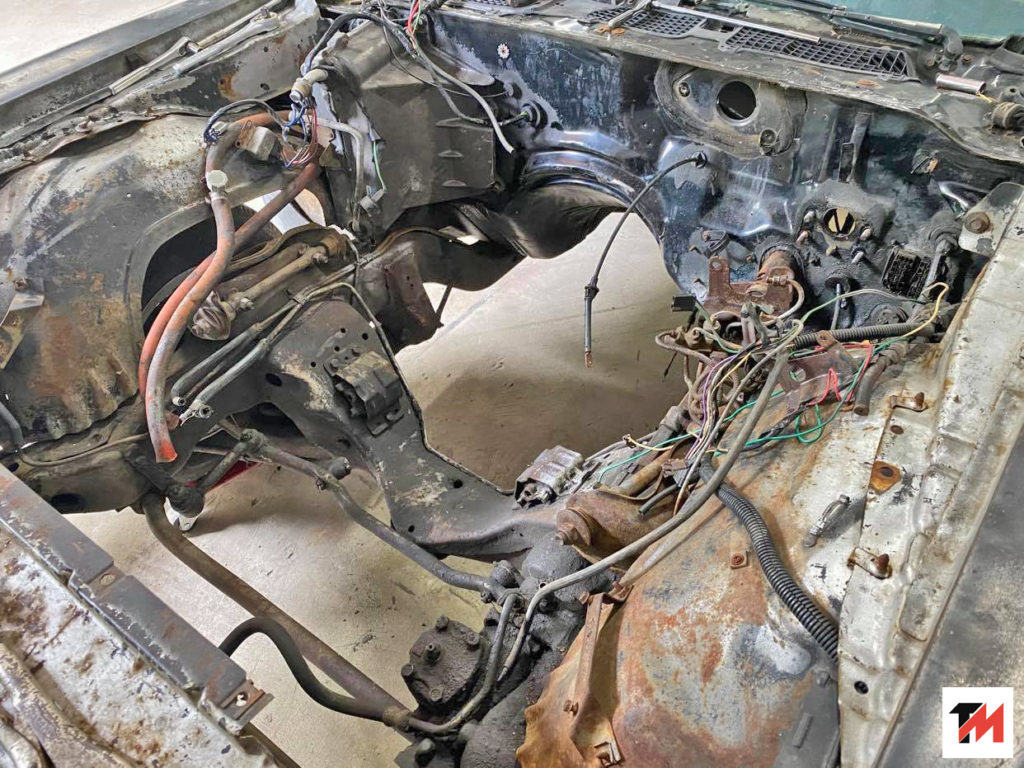
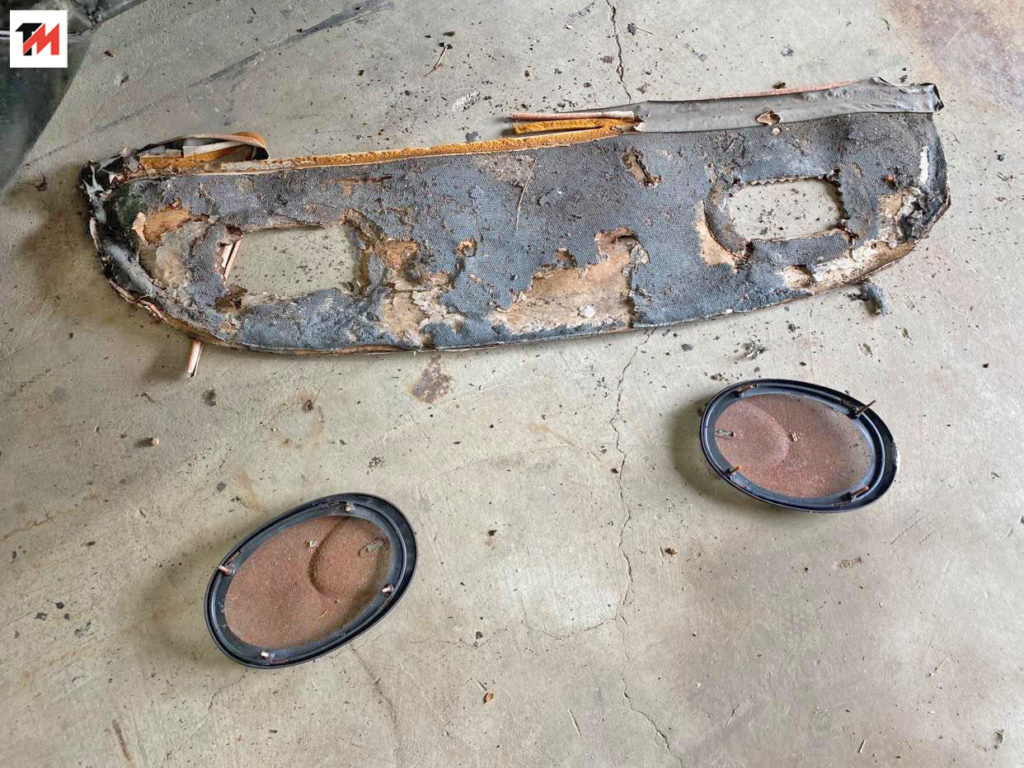
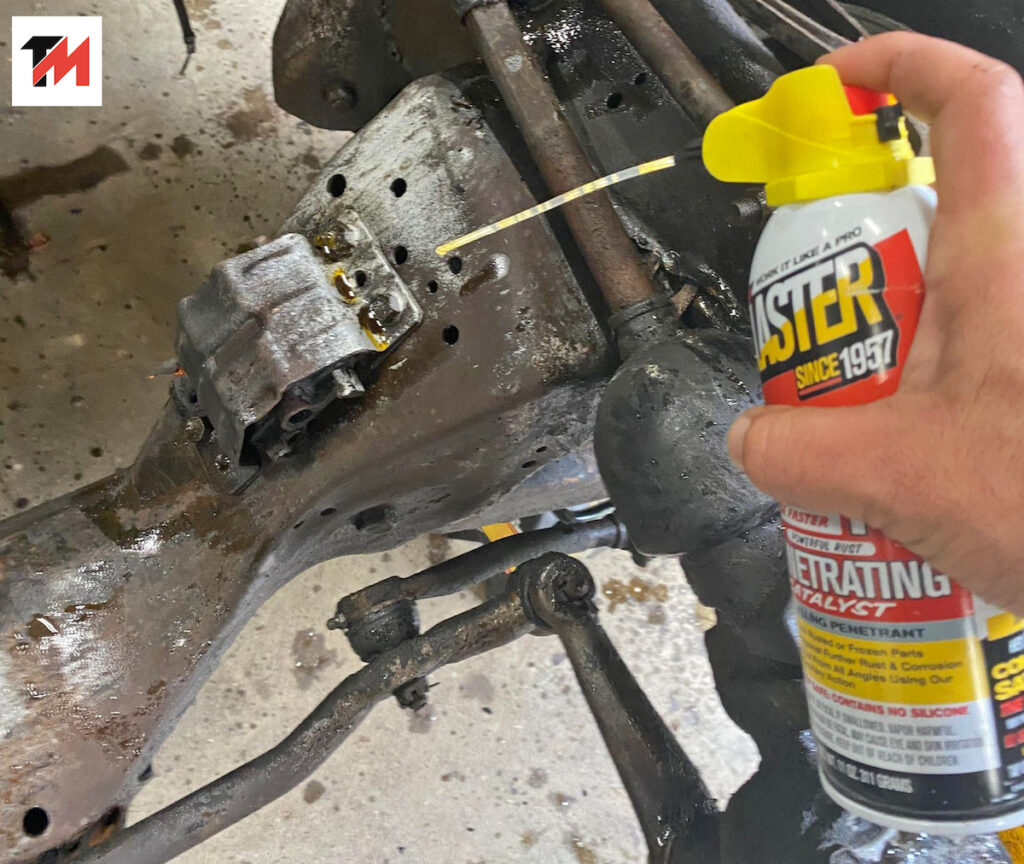
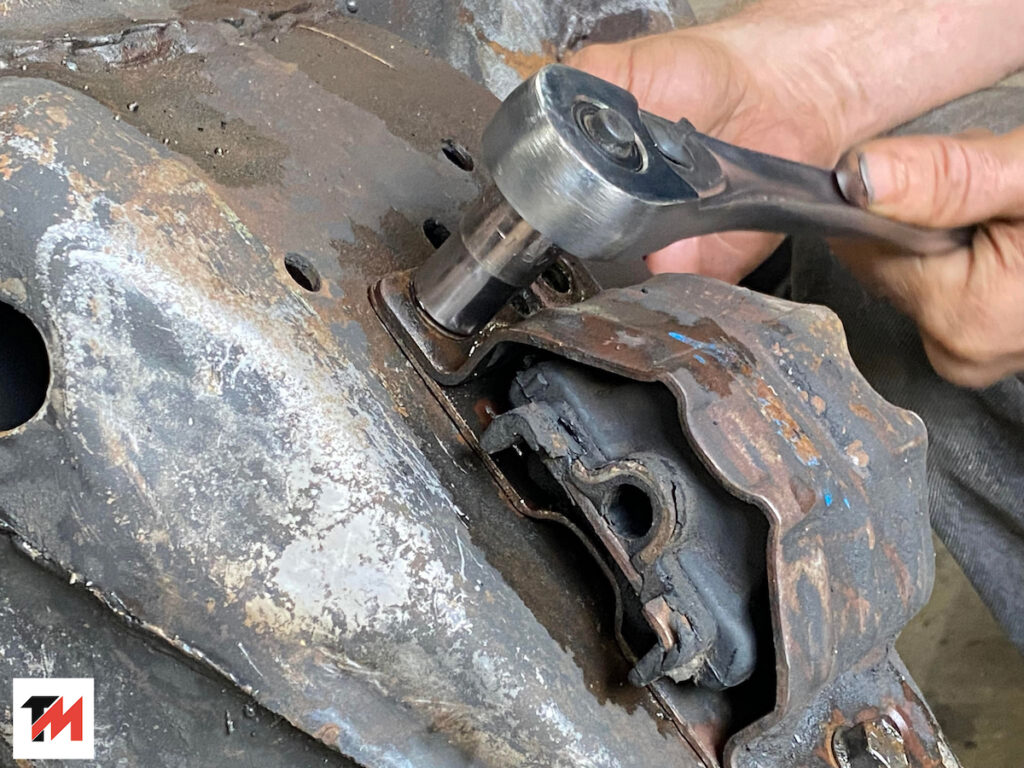
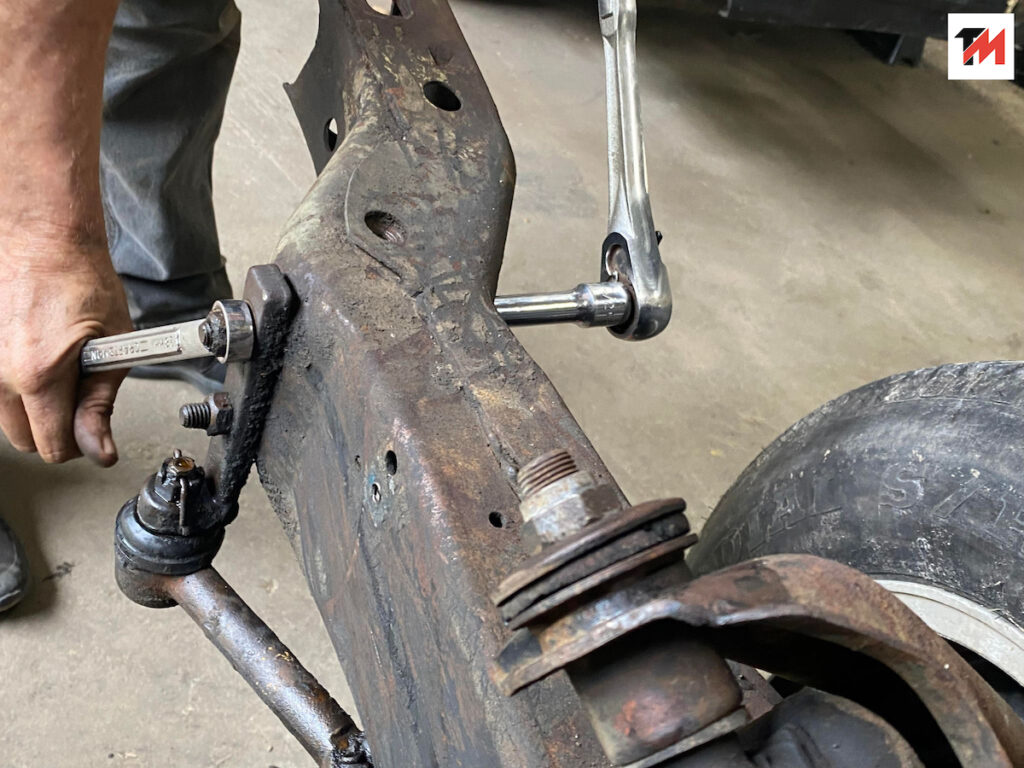
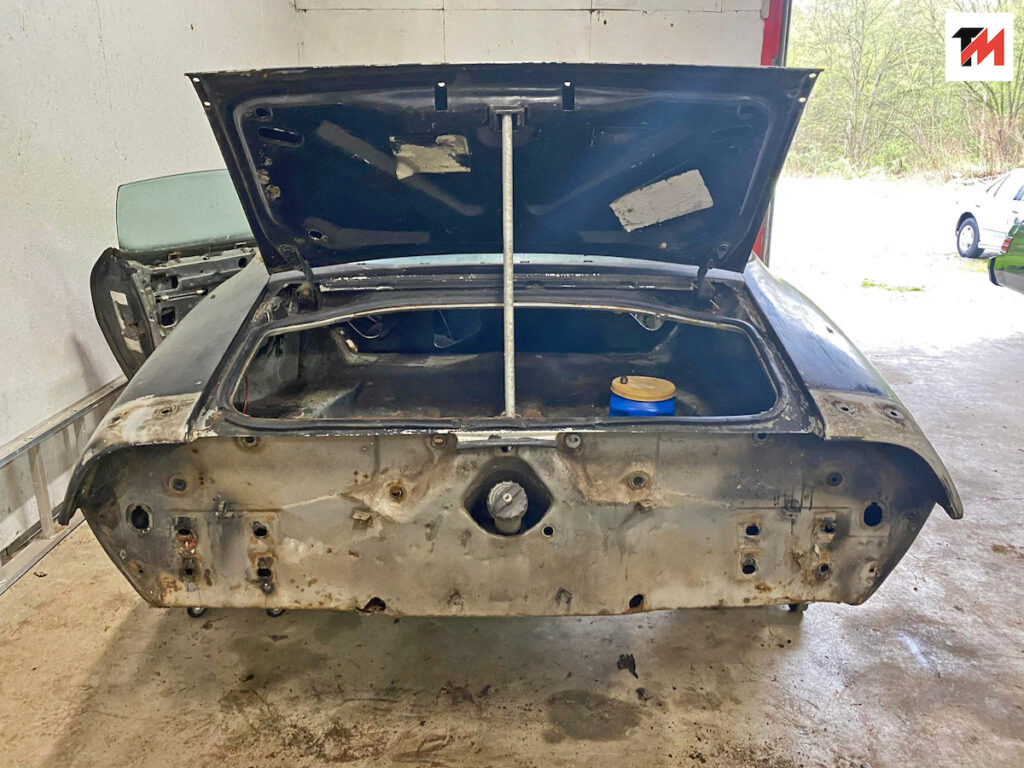
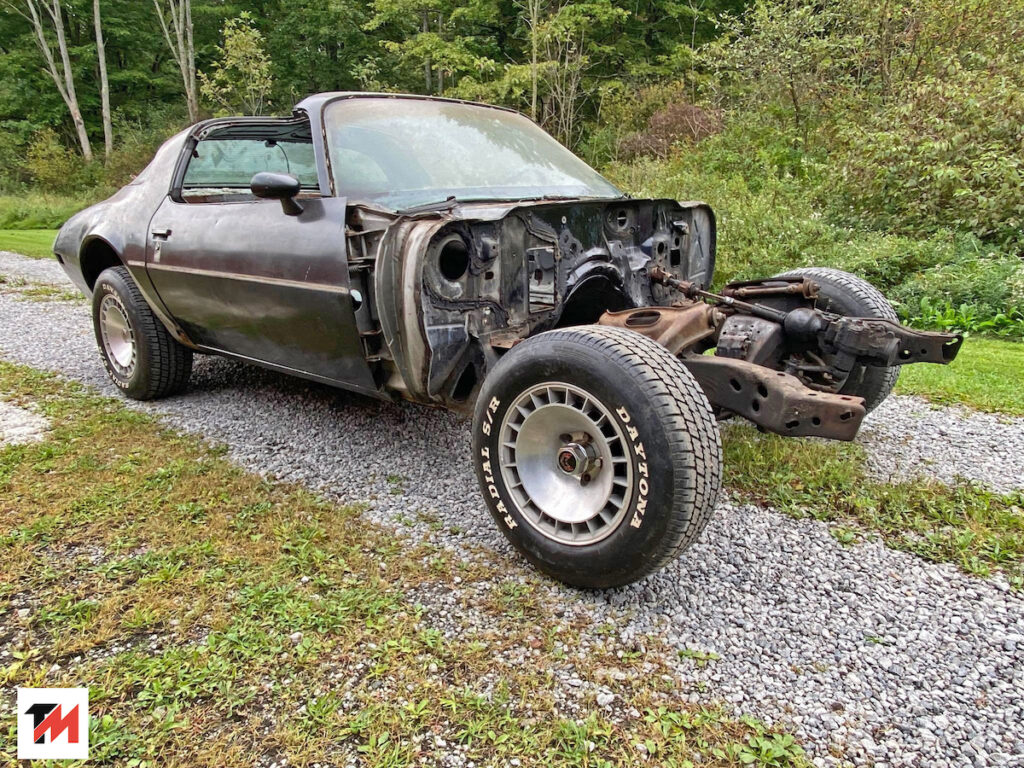
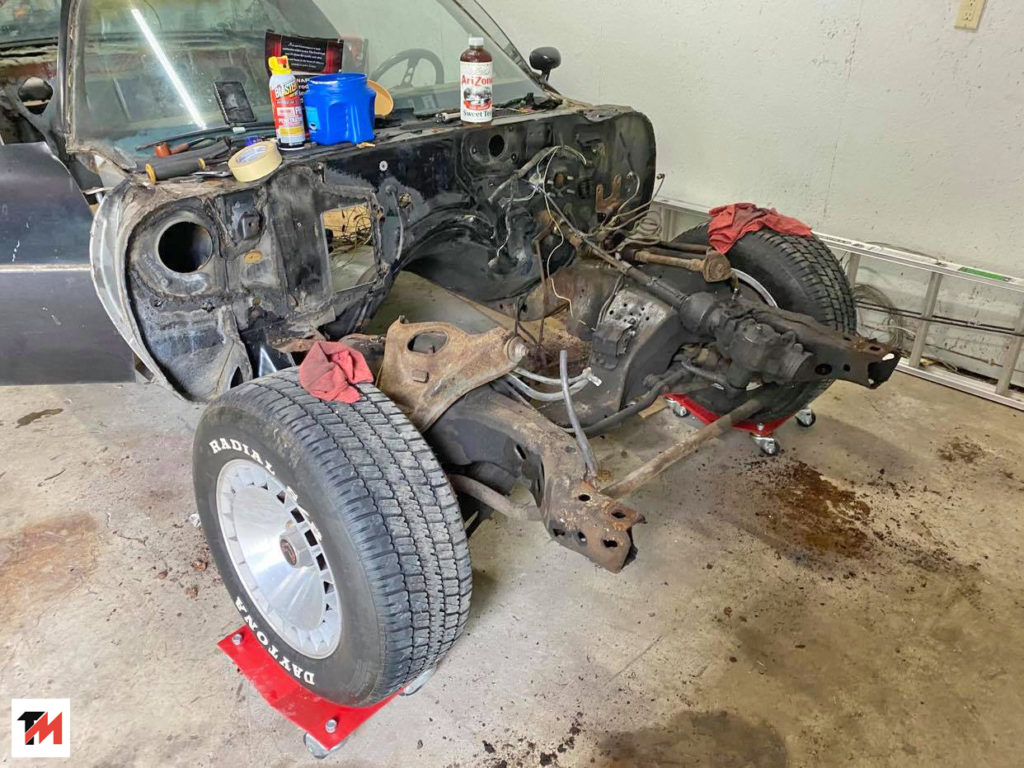
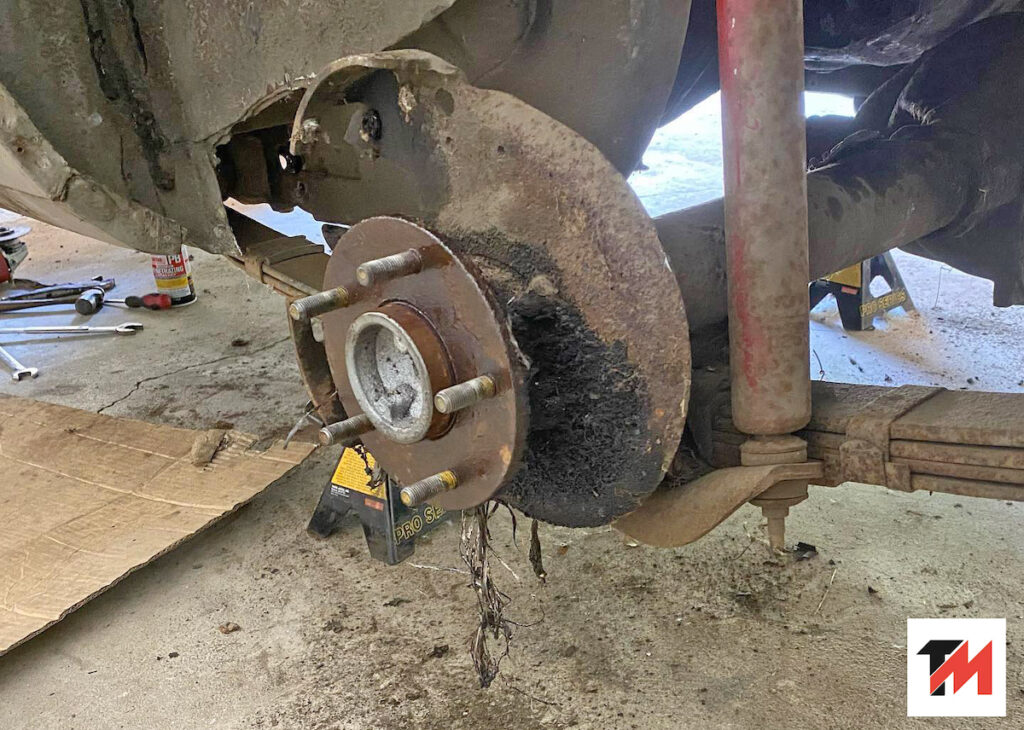
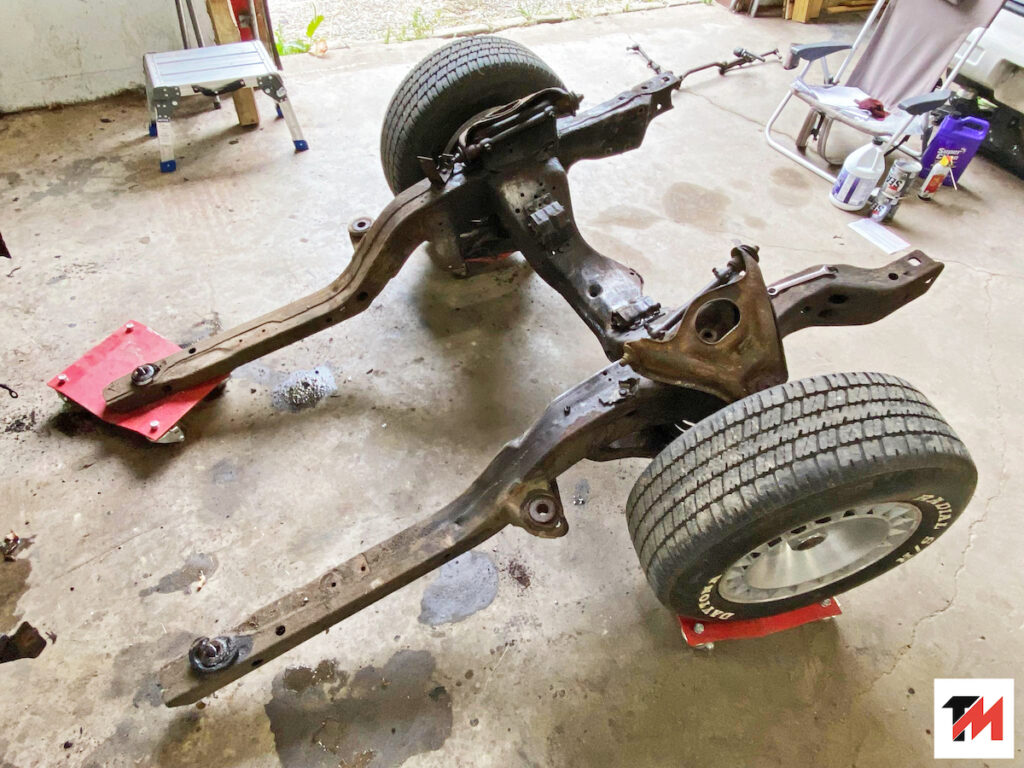
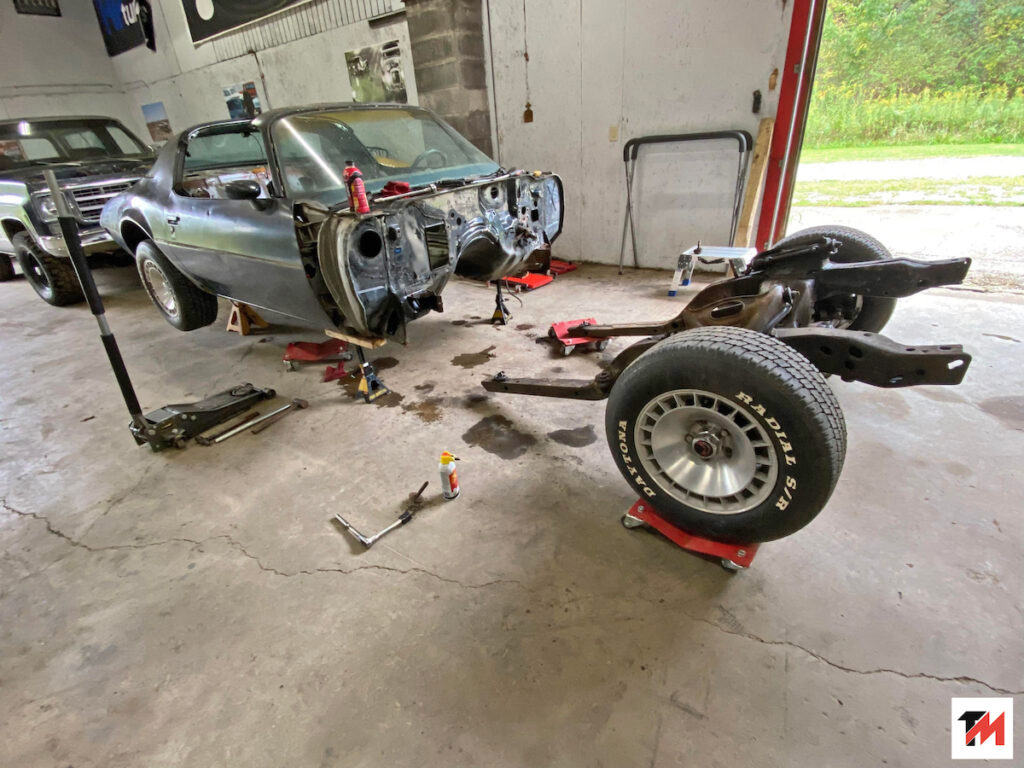
Since the car was going under the knife anyway, we went ahead and pulled the fenders, trunk lid, doors and will be soon enough, the glass. We also dropped the rear axle, pulled the front subframe took off all of the old suspension and brake systems, and stripped out everything that wasn’t part of the physical structure of the car’s shell.

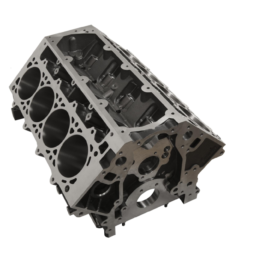
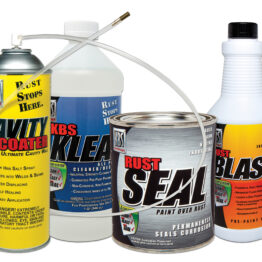
While we wait for some additional parts to come in, we’ll be tackling the rear axle freshening, Gearstar rebuilding of the TH350 gearbox, and the build of the Olds 403 short block in the next few installments. We’ll also take a closer look at the Vintage Air A/C system that has just arrived, the Baer Brake Classic Kit, the new Aldan American shocks, struts and front springs, as well as how some components have undergone a refreshing with the help of KBS Coatings. Until then, we’ll get this thing on a rotisserie and start sandlblasting.

Rick Seitz is the owner and founder of AutoCentric Media, the parent company to Timeless MuscleCar Magazine, and has a true love and passion for all vehicles. When he isn’t tuning, testing, or competing with the magazine’s current crop of project vehicles, he’s busy tinkering and planning the next round modifications for his own cars.