*photos by: the author
Getting our Project Chevelle to corner with the help of Hellwig Products
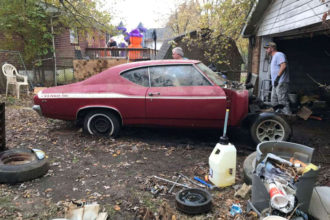
There’s no getting away from the fact that the ’64-72 GM A-body is one of the most popular musclecars out there; with the Chevelle, Skylark, Cutlass, and Tempest/LeMans being among them. We have a couple A-bodies sitting around the Timeless Muscle Garage, but the one that’s been getting our undivided attention lately is Project: 88, our ’70 Chevelle SS396. Just in case you’ve missed the introductory story on our ’70 Chevelle, you can check it out here.
Since we’ll be restoring and modifying our Chevelle project as we go, we wanted to start small with our modifications and make the current format just a little more fun (and safer) to drive. Surely we could have installed modern brakes, upgraded wheels and tires, as well as a quick-ratio steering box but we wanted the best bang-for-the-buck, and we felt that Hellwig Motorsports‘ 1-5/16-inch tubular front bar (PN 55703) and the 1-inch solid, factory-style, 5800 rear sway bar fit the bill perfectly.
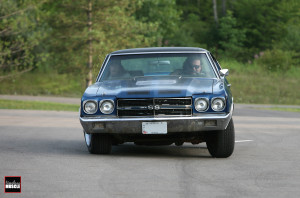
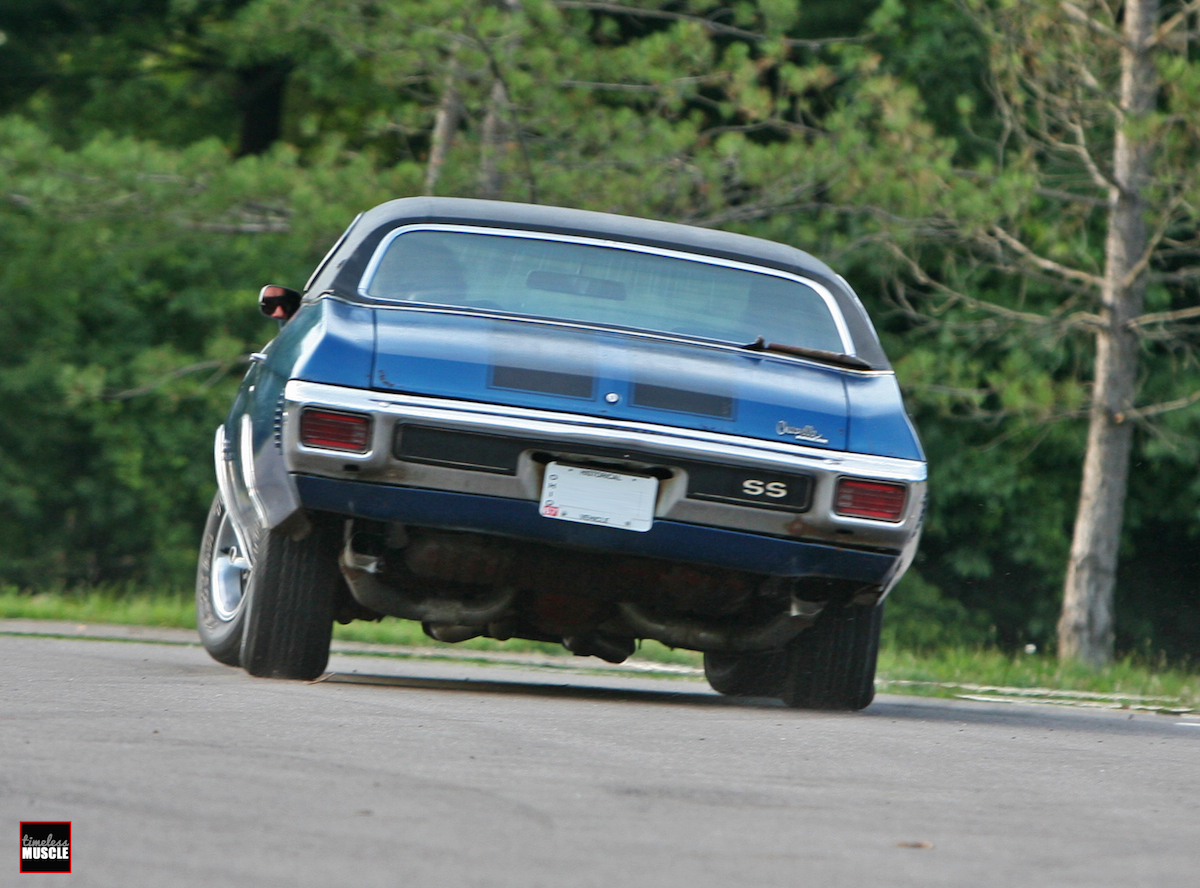
We baselined the Chevelle at a nearby parking lot close to our shop. As you can see in the photo. the body roll is diabolical.
Why the suspension? Because one of the things that have always irked us about these old A-bodies was the way that they handled. The suspension was sufficient if all you wanted to do was cruise through town or run the 1320′ at your local dragstrip, but forget trying to put any speed through the corners. These cars were known for thier looks, straight-line performance and their soundtrack – not their handling prowess. We get spoiled with the technology found in today’s cars, and going from a 21st-century Camaro or Mustang and into something that was designed in the 1960s can leave you with something of a culture shock. We’d like to remedy that.
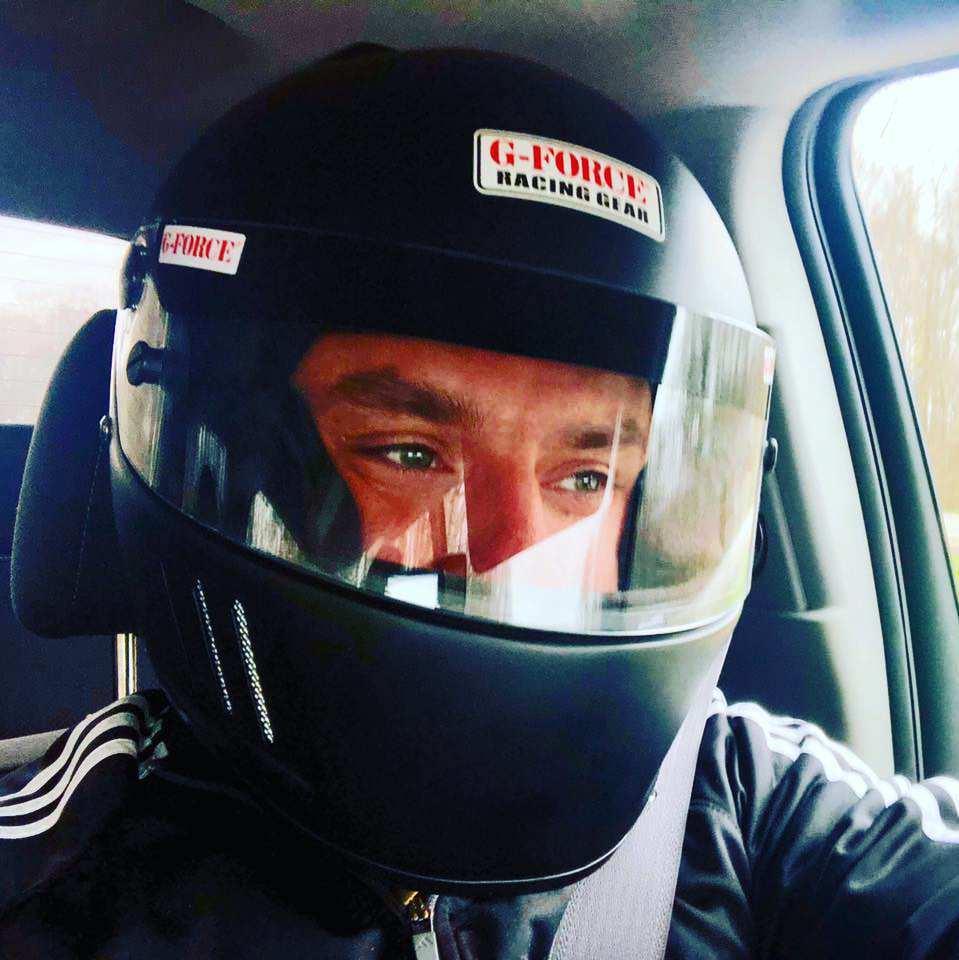
But before we started tearing into the car, we took our Chevelle to a parking lot down the street from our shop to baseline test the handling – just to get an idea of what we were up against. It wasn’t pretty; particularly with the lack of the factory rear sway bar, the remaining front sway bar proved to be a little overwhelmed and behind the times. The body roll was immense, almost laughable, and the occupants, as you can see in the photos, even struggled to keep themselves planted to the factory bucket seats. We should probably point out that these baseline turns were performed at speeds of no greater than 20 mph.
Obviously the original, dry-rotted rubber bushings would have an effect on handling, as would the older end links, but even with those components being a determining factor with our car’s handling characteristics, there’s something that’s to be said about the sway bar the car had left the factory with in the first place. You have to remember, these cars were designed at a time where the American population was a fraction of what it is today and the corner-carving European cars weren’t even at a level to compete with the Big Three in regards to market share. Times have certainly changed…
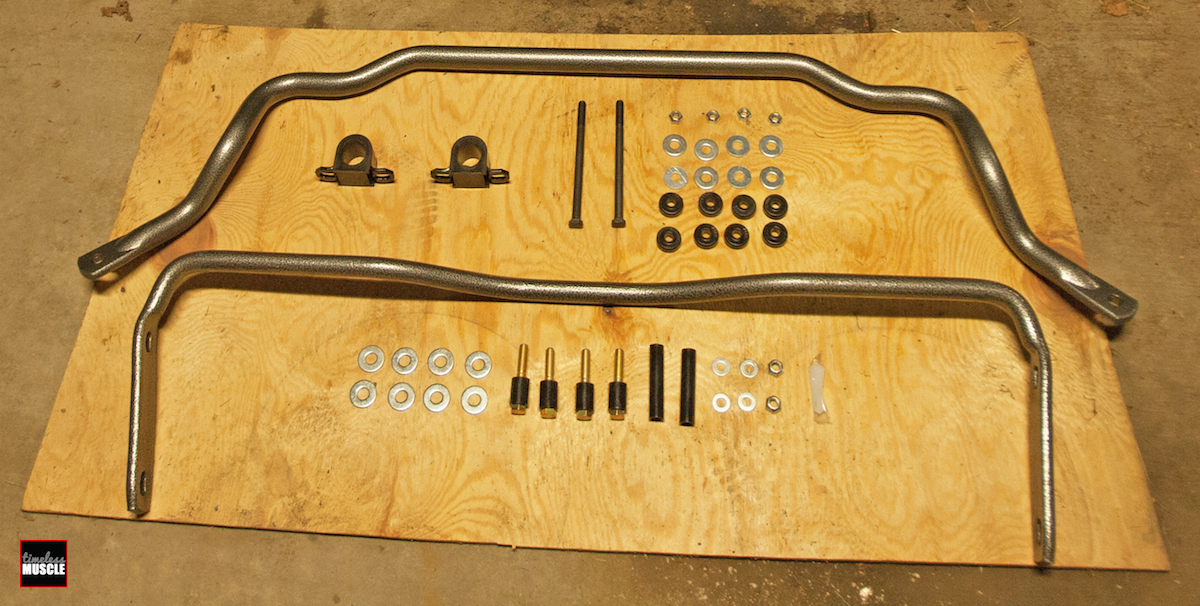
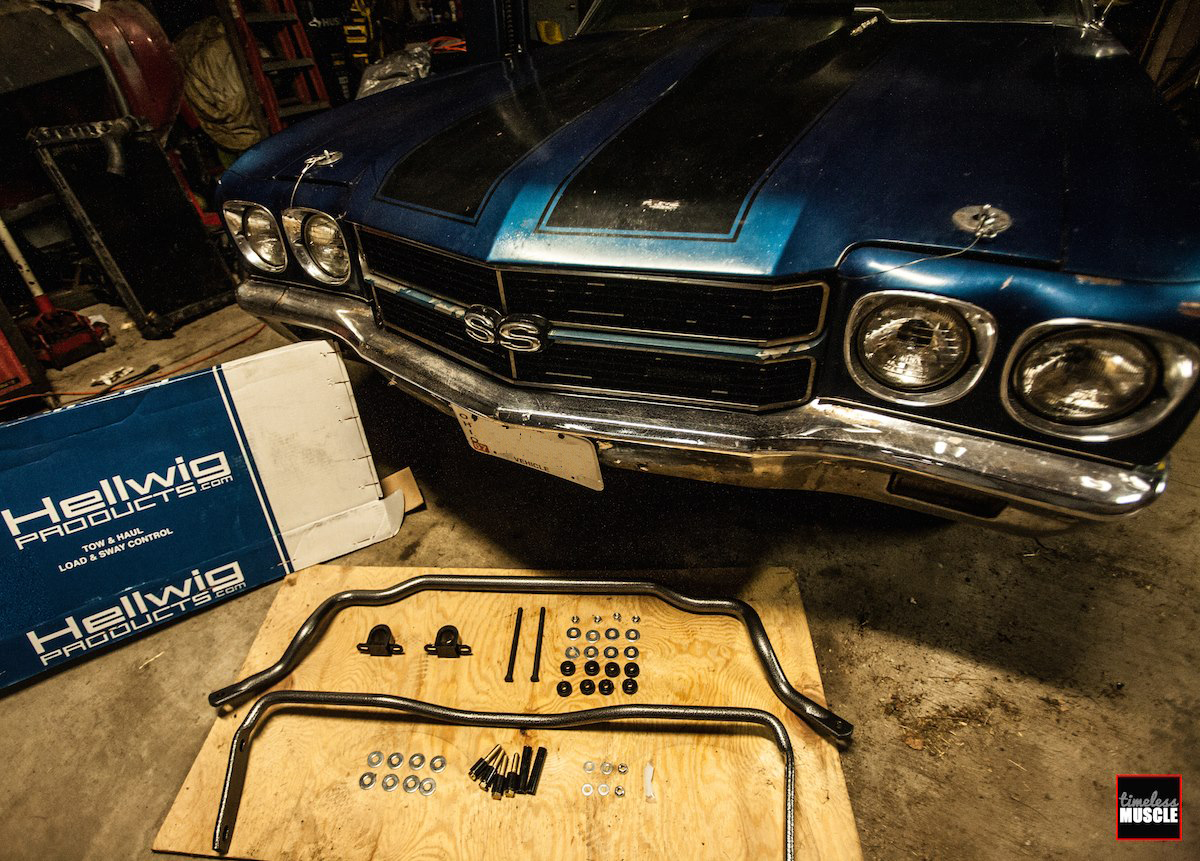
Here’s the front and rear sway bar kit we’ll be installing. Sourced from Hellwig Motorsports, the 1-5/16 tubular (PN 55703) and a solid 1-inch, adjustable factory style sway bar (PN 5800). Both bars included all of the hardware, polyurethane bushings and bushing lube – everything we needed, minus the tools, for our install.
Looking for more insight before we installed the kit, we reached out to Hellwig’s very own Ben Knaus, their in-house Director of Engineering for his expertise. As Ben tells us, “when choosing a sway bar, the diameter is not the only thing to take into account. An 1-1/4 inch diameter bar can be a huge range of rates depending on how it’s mounted, the arm length, its wall thickness, the width of the bar, etc. We get a lot of guys comparing our bars with another company’s, and asking why our bars are a different diameter. Truthfully, they may actually be the same rate, since they’re different shapes.”
“When choosing a sway bar, the diameter is not the only thing to take into account.” – Ben Knaus, Hellwig Motorsports
He continued further, “the other trick is that some companies list rates as bar-only and some list the installed rate, which can be 20% different from losses in bushings and other factors. So [when you’re comparing our components to those of our competitors] just make sure you’re comparing apples to apples.”
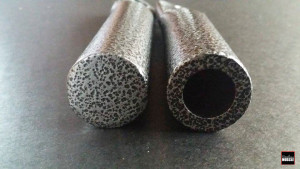
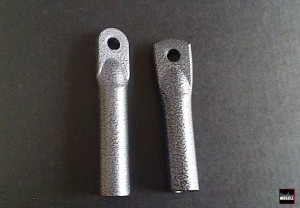
- We had Ben send us these cut sway bar ends to show you the thickness of the front solid bar (left), and the rear hollow bar on the right.
He also added, “the other big thing is that bigger is not always better. Most of our bars are bigger than stock, but we tune them to the vehicle to get it to handle correctly. Just because someone else’s part is a larger diameter, it doesn’t mean it’s going to handle better.
“Bigger is not always better. Most of our bars are bigger than stock, but we tune them to the vehicle to get it to handle correctly. Just because someone else’s part is a larger diameter, it doesn’t mean it’s going to handle better.” – Ben Knaus, Hellwig Motorsports
If that was the case, all the suspension would just be solid mounted or use 3-inch diameter sway bars! I also should note that the front roll rate (the rate of sway bar plus coils) should always be larger than the rear rate. If your rear rate is larger, you’ll have oversteer and want to swap ends in the corners. It’s always better to shoot for neutral but, never on the understeer side.
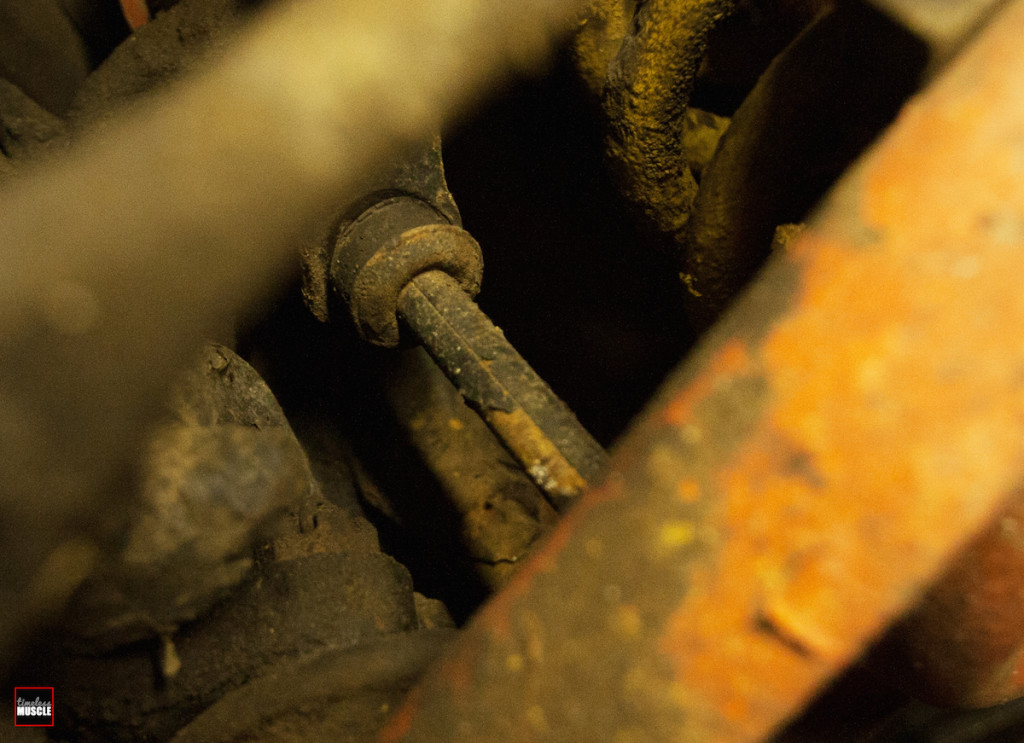
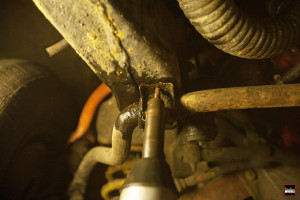
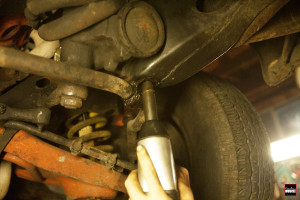
We started by removing the OEM sway bar from the the front of the Chevelle, first by removing the well-used tie-rod ends. Sometimes, like in our case, these can be a little rough and difficult to remove by traditional methods. We ultimately had to utilize a grinder to remove ours. Gotta love the Midwest!
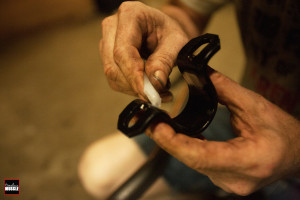
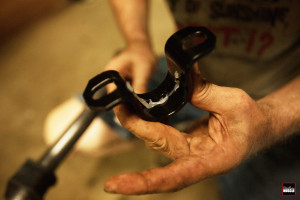
- Up next, we removed the U-plates that not only house the OEM rubber bushings…
- …but help hold the front sway bar solidly in place.
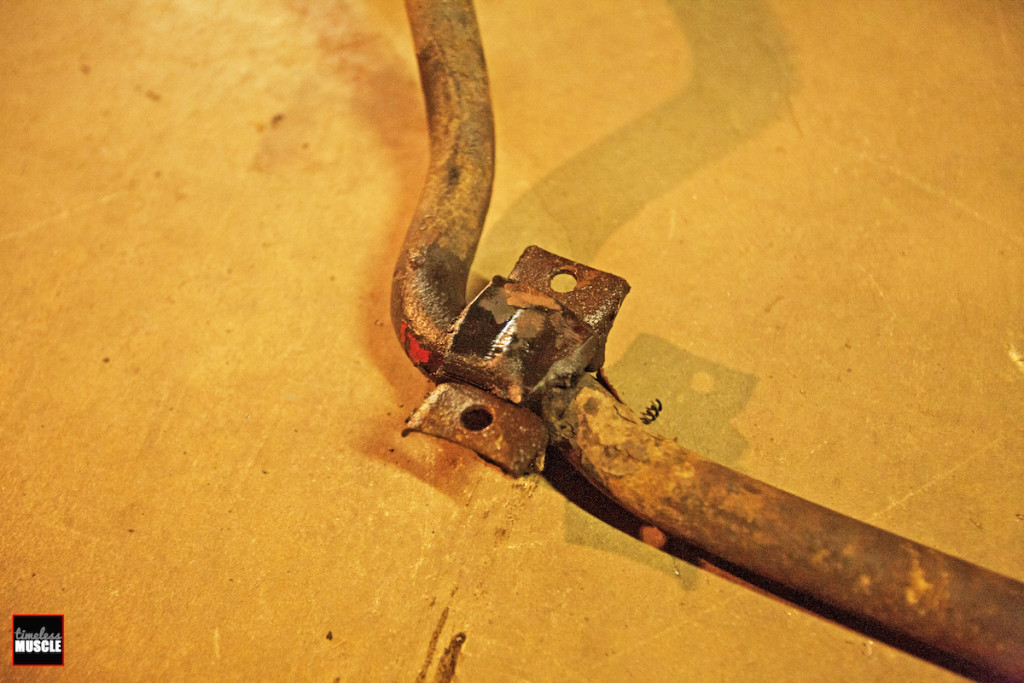
And… she’s out! We’ll keep the bar on the shelf for nostalgia’s sake, and the mourning bolts need to be reused, since Hellwig doesn’t include replacements in the kit. However, the stock U-plates, bushings and end links are going directly to the trash can!
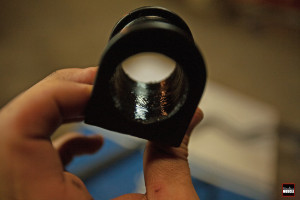
- Hellwig does include assembly lube in each of their kits…
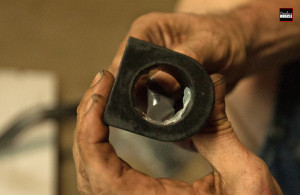
- …that we used for the D-bushing…
- …and inside the U-plates.
- It not only prolongs the life of the bushing, but also prevents the suspension from squeaking during hard cornering.
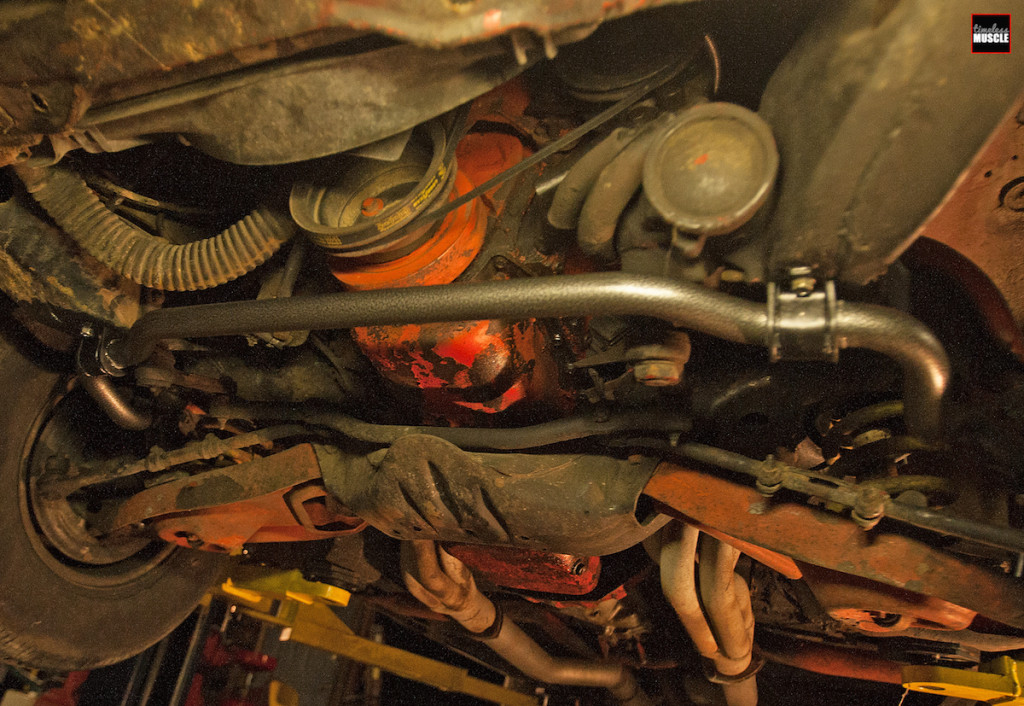
With the fresh sway bar now installed and U-plates bolted in, we turned our attention to the end-links…
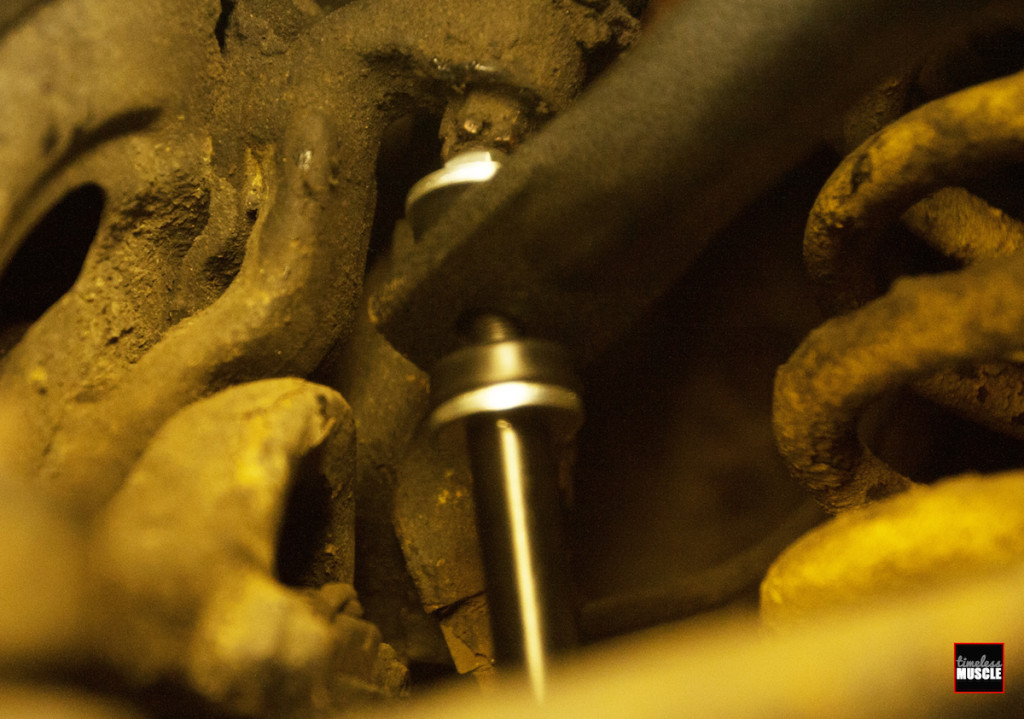
When you’re reinstalling the end link bushings, it’s easy to get confused as to the proper order in which to install them. The correct order is washer, bushing, sway bar, bushing washer on the top, spacer tube in the center (obviously) and then washer, bushing, mount bracket, bushing, washer – with the lock nuts tightening it all down on either side.
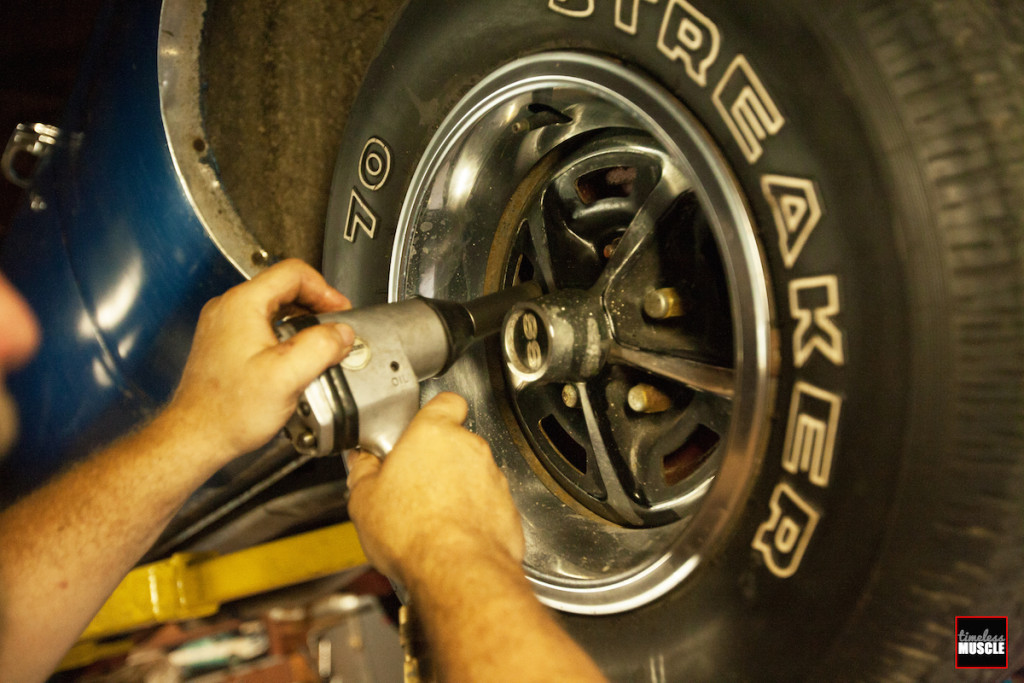
With the front bar installed, we turned our attention to the rear of the car. We pulled the rear wheels to allow additional access to the lower control arms that we’ll be modifying slightly to fit our rear Helliwig bar.
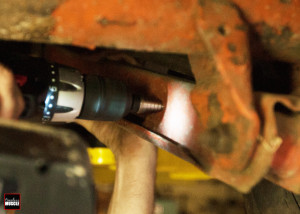
- Despite our Chevelle being a factory SS model, the rearend of the car was apparently removed at some point in its life and resprayed Chevy Engine Orange. It’s not our thing, but the rear sway bar was never reinstalled and has since been lost to the sands of time. In any event, we had to drill the holes needed to mount our rear sway bar, per Hellwig’s instructions.
- That included measuring and marking a half-inch diameter hole 5-inches from the center of the rear axle bushing. Then, we had to mark and drill another hole 6-inches forward of the rear hole we just drilled through both walls of our box-ended lower control arms.
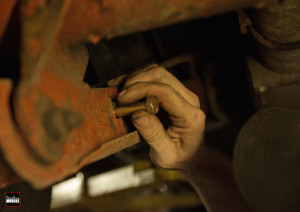
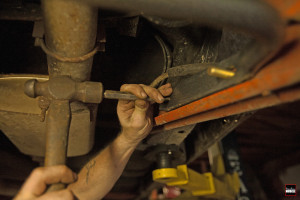
- After we had our mounting pointings established, we mounted our rear sway bar accordingly, using all of the included hardware in the kit – and a hammer- to make sure the included sway bar bolts went through the holes we had just drilled.
- Remembe, the idea is to drill the holes just wide bough to fit the bolts, snugly, as so they’re not loose inside the lower control arms. We know how some enthusiasts like to get carried away with their power tools, but if the holes are drilled too large, you could find yourself in a jam.
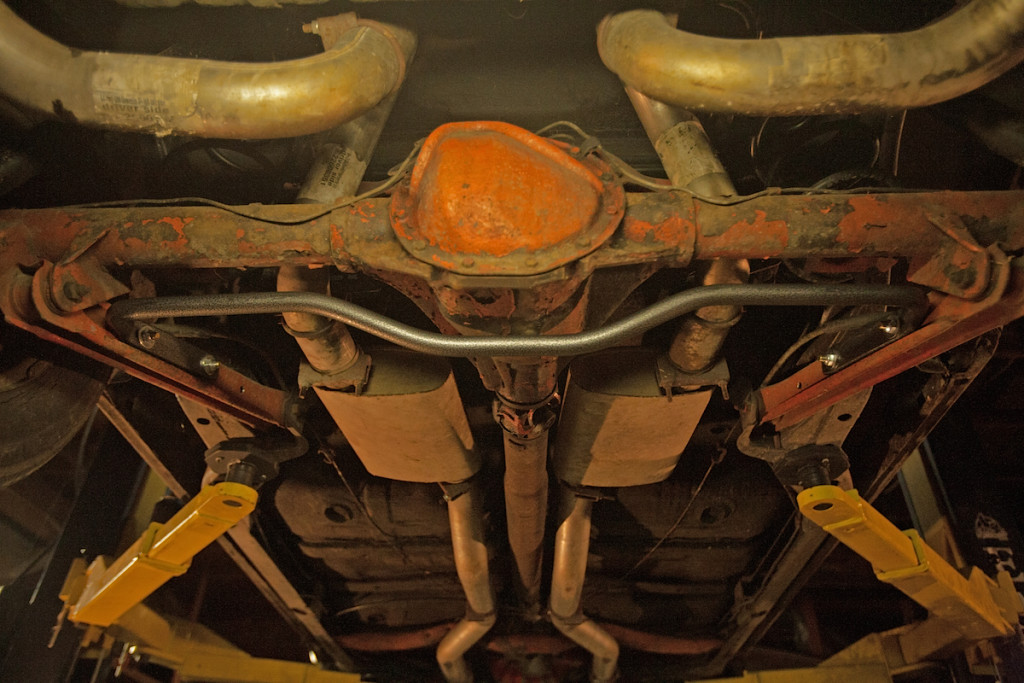
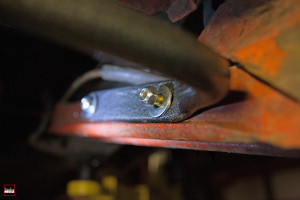
And here’s the finished product! Oh, and don’t mind the hideous (and very incorrect) orange paint. We’ll be pulling the rearend and rebuilding it in the coming months, and we’ll be respraying the axle in the correct factory black when we do!
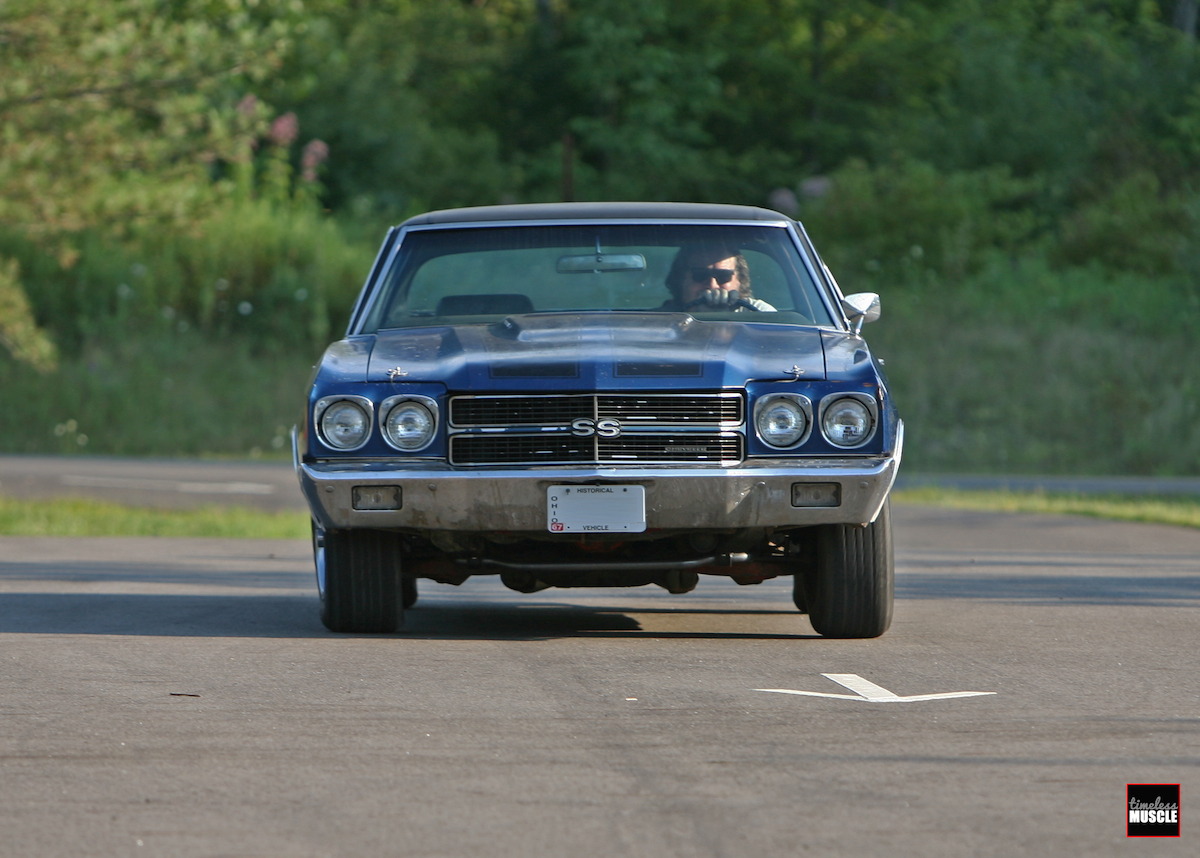
Even at twice the speed of the previous test (40 mph), the Chevelle stayed planted to the pavement with very minimal body roll. Even our test driver admits that he was genuinely trying to get the car to roll; turning the front wheels at full lock with the steering wheel from the left to the right – there was very little to indicate anything but complete confidence in the cornering.
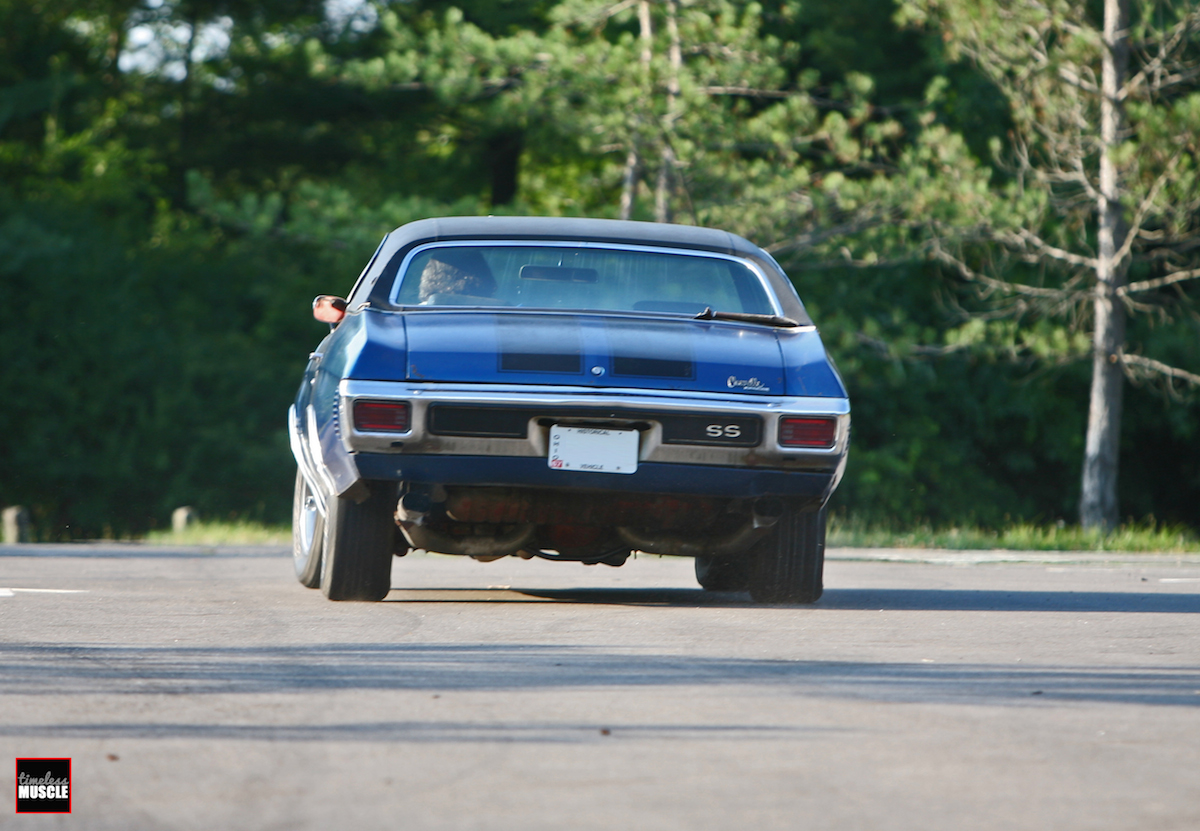
Obviously there’s room for improvement, but with just a pair of sway bars helping with our Chevelle’s handling, the A-body handled like it was on rails. We still have a lot work to do on Project: 88, but at least we’re heading in the right direction. Literally.
Rick Seitz is the owner and founder of AutoCentric Media, the parent company to Timeless MuscleCar Magazine, and has a true love and passion for all vehicles. When he isn’t tuning, testing, or competing with the magazine’s current crop of project vehicles, he’s busy tinkering and planning the next round modifications for his own cars.

