photos by: the author
A ’69 Camaro’s Upholstery Goes from Ridiculous to Righteous, with the help of CARS Inc. and AntiVenom Performance
It doesn’t take much to make an otherwise nice classic car look absolutely fugly; wheels, paint style, interior materials, stance… single items that can make your car look outdated, unattractive and sometimes embarrassing. This stuff may have looked great back in the day, but 20-30 years later, it just looks ridiculous. The automotive aftermarket has come too far in the last 20 years to let your classic Detroit iron look like a ridiculous automotive caricature.
Recently we were doing a small-block top end kit on a typical ’69 Camaro, and noticed that the otherwise nice looking, driver-quality car had a giant boil on its face… the interior. The Van Nuys-built car left the factory painted Garnet Red with a white interior and white vinyl top, but sometime roughly 20 years ago it was repainted in factory Butternut Yellow and a black vinyl top, installed in place of the white one. Along with a typical set of American Racing Torque Thrust wheels from the outside, it wasn’t a bad looking car but the interior was a tragedy.
The factory white seat covers had been swapped out in favor of bumble bee-looking factory style covers with a bright yellow that didn’t come close to matching the exterior yellow, and a gawdy “69 Camaro” script emblazoned on the headrest covers. At least whoever did it swapped the white door panels for black ones.
The car’s new owner wasn’t thrilled with the interior, but was unsure what exactly to do. The solution to his car’s fugliness was a phone call to the interior craftsmen at CARS Inc. in Rochester Hills, Michigan. CARS Inc. has been in the business of crafting the finest factory correct, high quality interior kits for 40 years. All are made in the USA in CARS Inc.’s Michigan headquarters.
Because of the exterior colors and the owner not wanting to buy new door panels at the time, our interior color choices were limited. A deluxe black interior wouldn’t have looked bad, but the allure and sportiness of factory houndstooth was just irresistible.
If you’re not having an interior shop installing your stuff and the DIY route is preferred, some things you’ll need to have for this job are a pair of dikes, a plentiful supply of hog rings (available at most interior supply stores), a heat gun, hog ring pliers (Eastwood Supply) and some stainless welding wire to use for the bolsters. Depending on the age and condition of your seats, you might want to go ahead and have new seat foam on hand for this job too, along with new seat tracks if yours prove to be rusted and/or damaged.
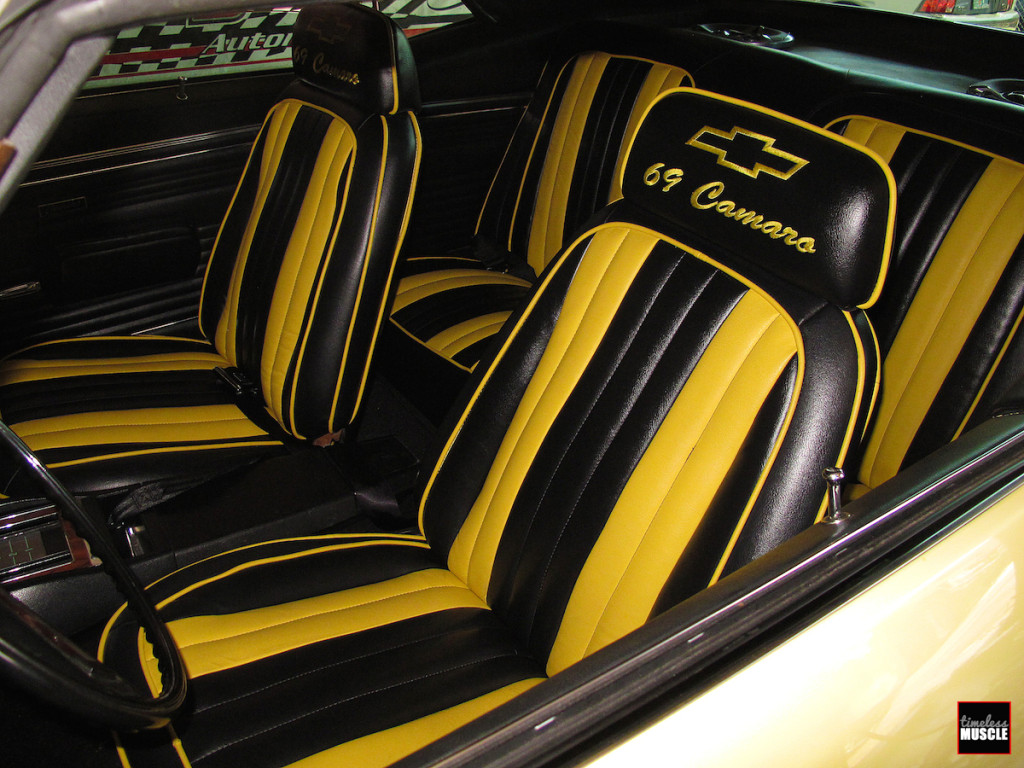
This is what we started with, an out-of-date, not even matching ugly mess. The car’s exterior color is Butternut Yellow, and the interior cover yellow is closer to Daytona Yellow. We can’t imagine this looked good even when it was new 20-25 years ago.
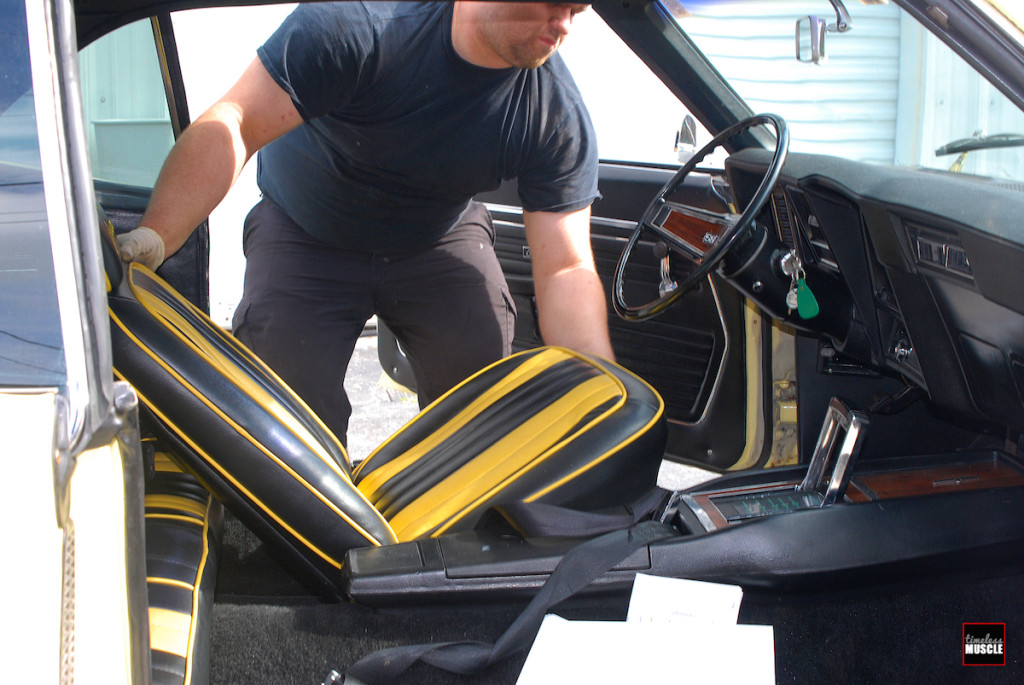
To get started, both the front and rear seats are removed. Now’s a good time to look at your front seat track assemblies, and replace if they show signs if severe corrosion or damage.
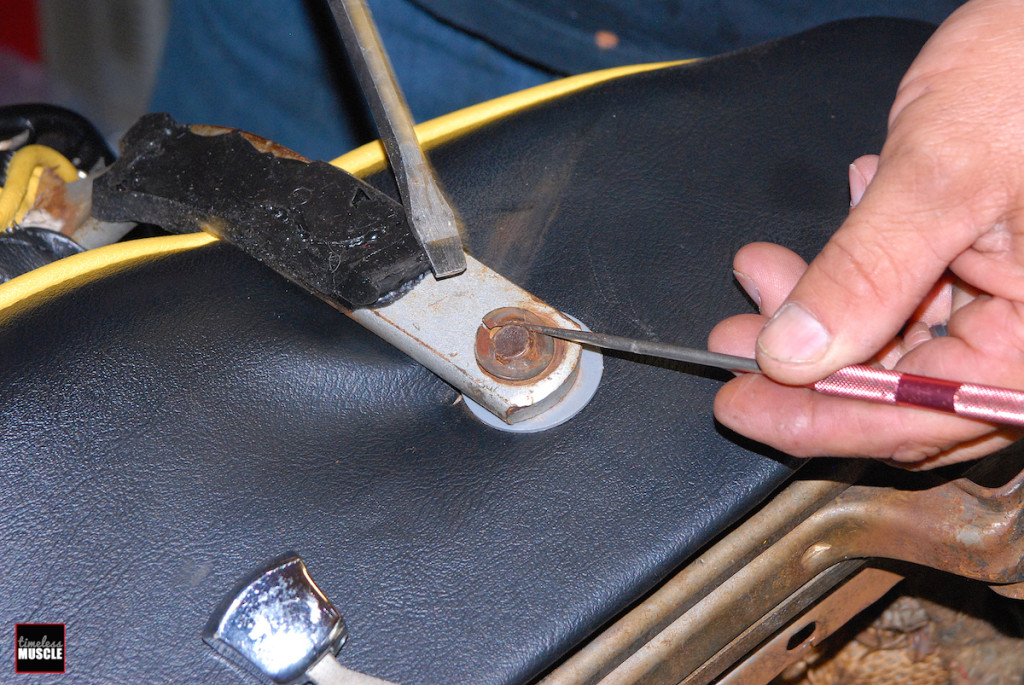
With the seats out we can start disassembly. To remove the seat back from the bottom, you have to remove this retaining washer with a screwdriver and pick.
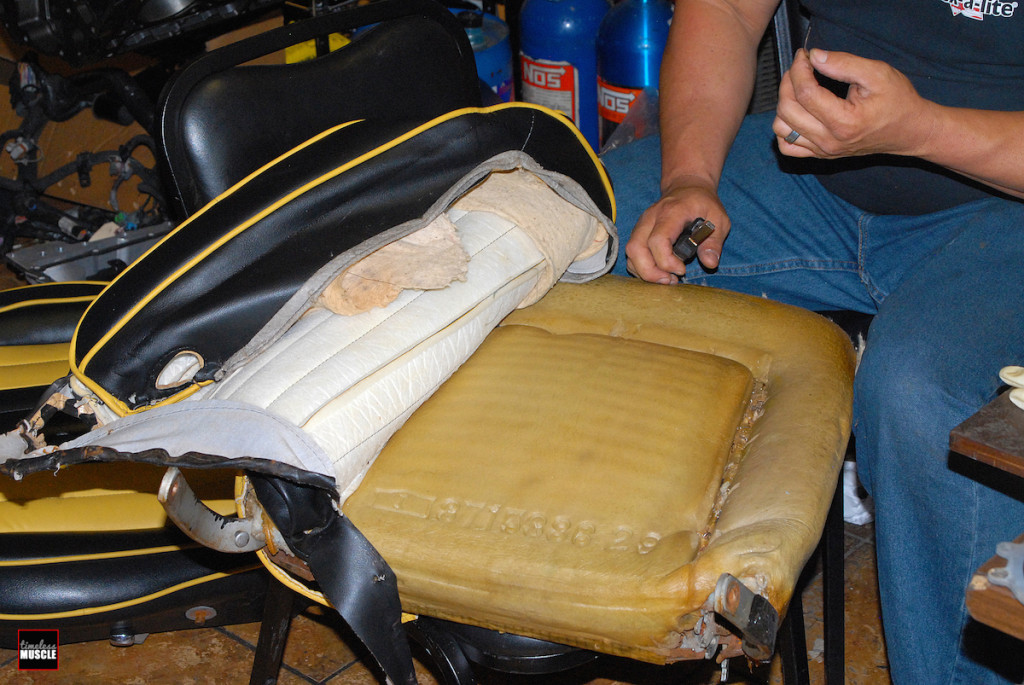
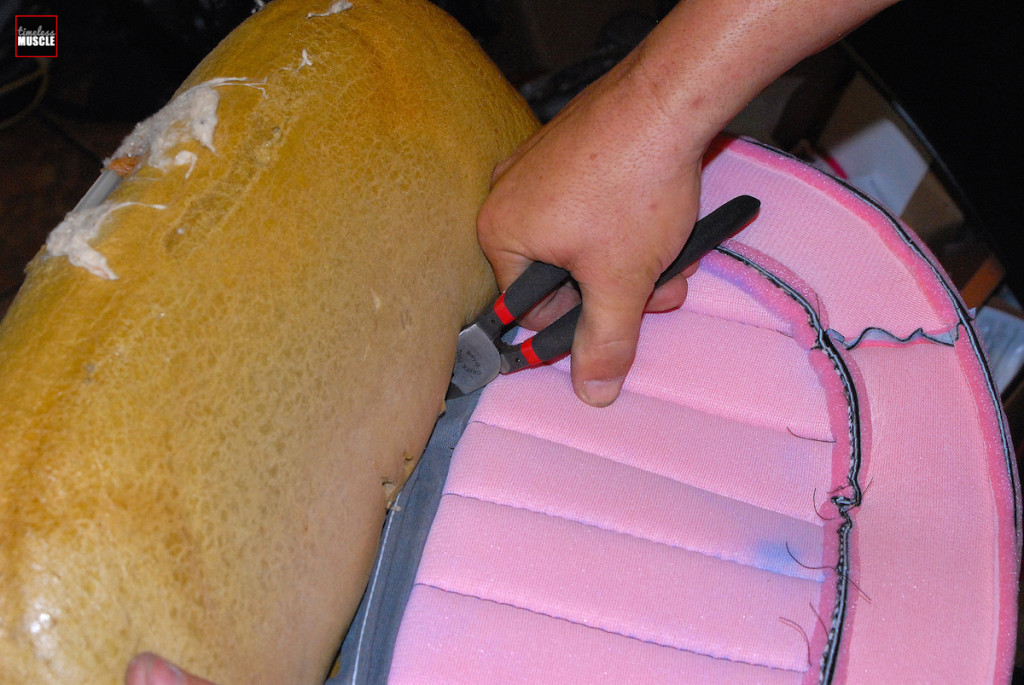
You’ll need a pair of heavy dikes to cut the hog rings holding the old seat covers in place. Once they’re severed, the cover should just pull off the seat foam. The foam in our seats was in great shape and didn’t need replacing, but you might not be so lucky. Fortunately, you can get new seat foam from CARS Inc. too, Part No. 8763 for the front seats, and Part No. 24106 for the back seat.
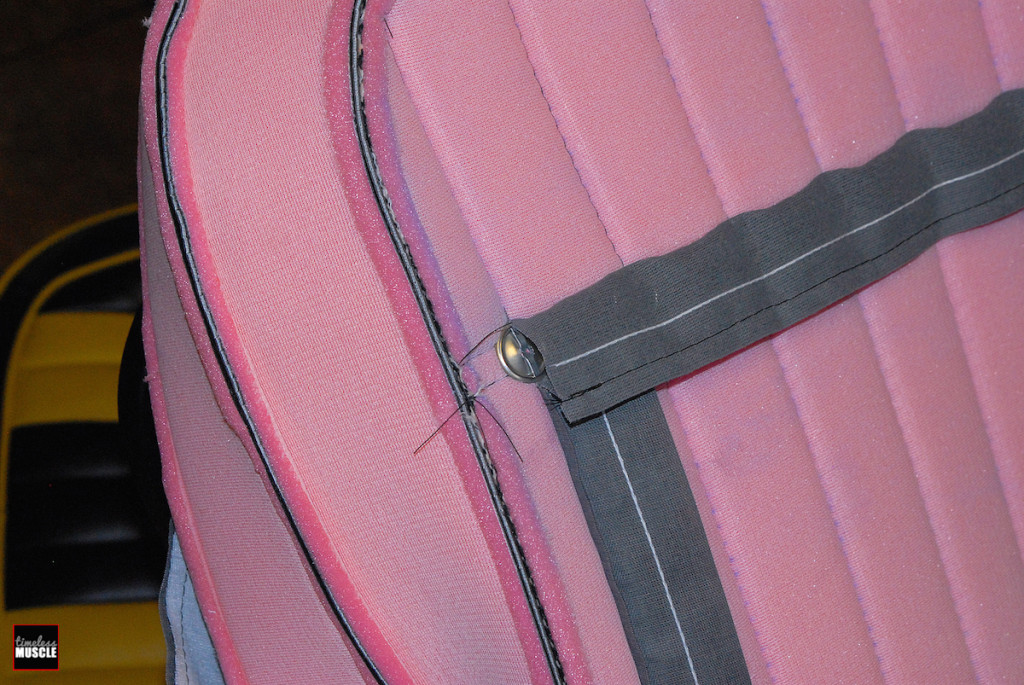
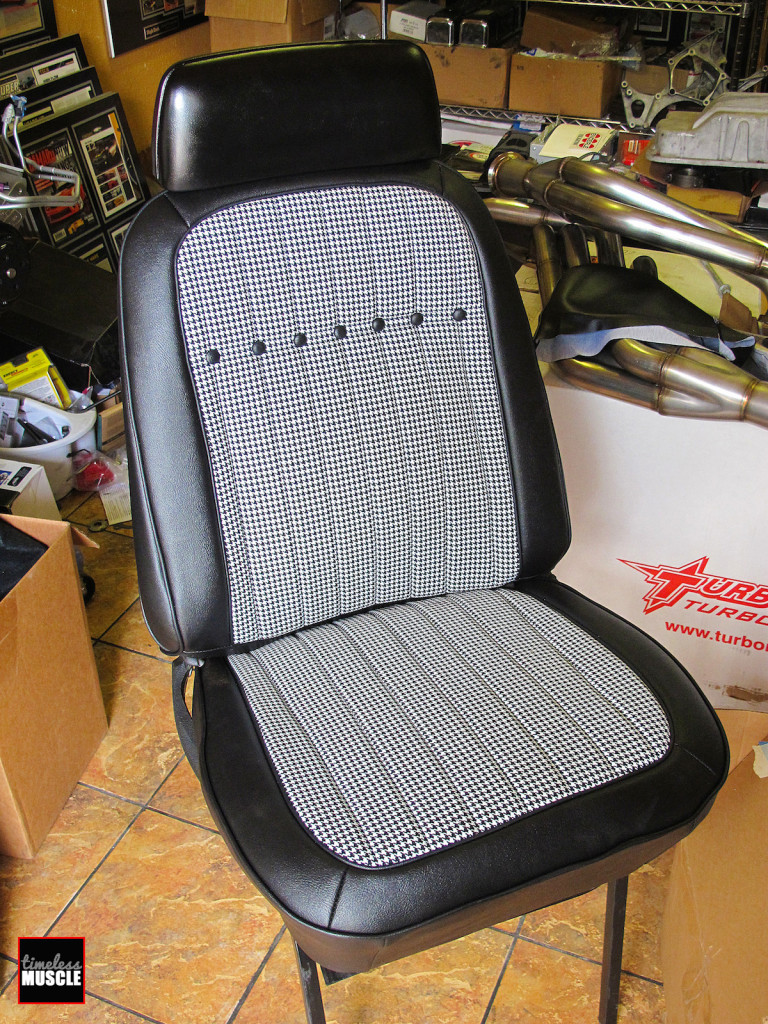
Here’s a close up of how the CARS Inc. seat covers are made. All of CARS Inc.’s interiors are made in the USA at its Rochester Hills, Michigan, facility, on original factory patterns using factory correct materials and methods, so they look just like the originals.
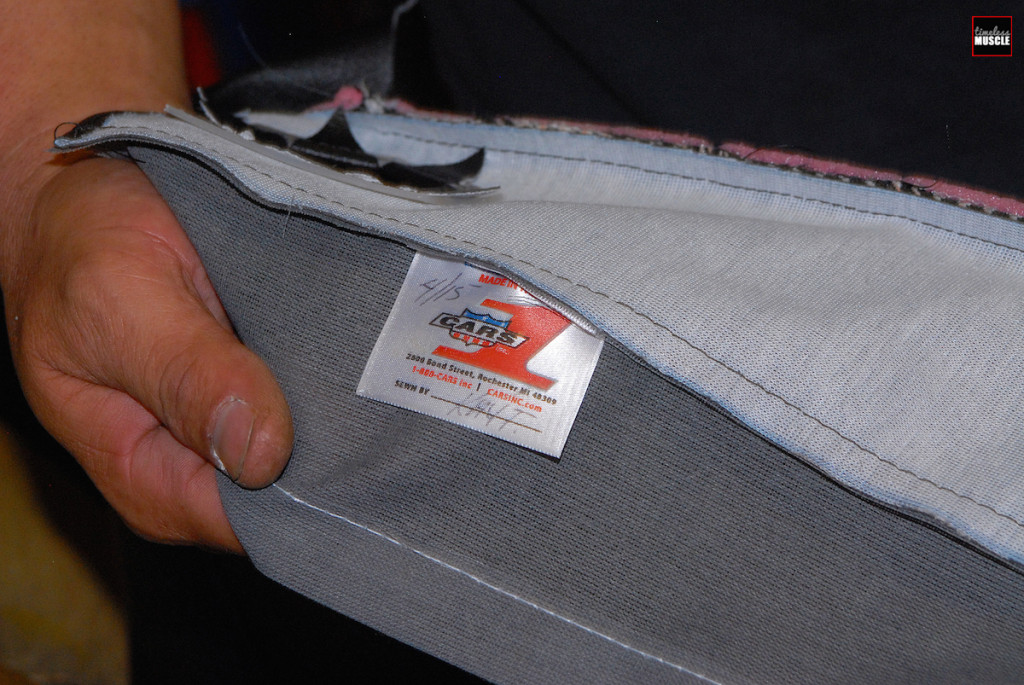
All CARS Inc. seat covers have a label with the date they were made and the signature of the CARS Inc. employee who made them. This lets you know these aren’t coming from some overseas sweatshop or assembly line.
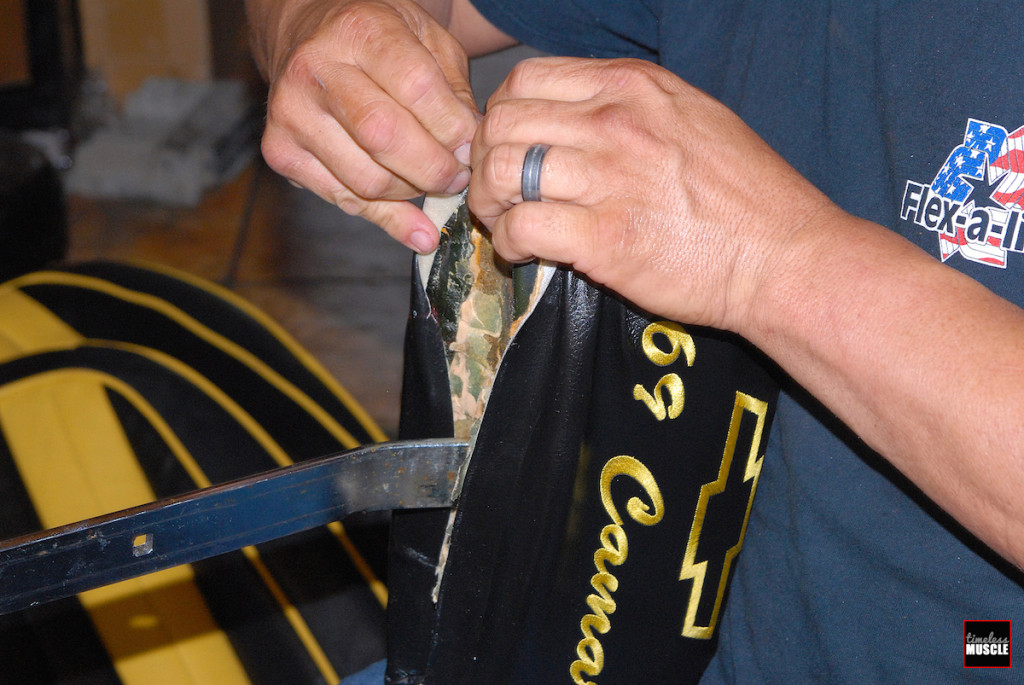
The CARS Inc. kit also comes with new headrest covers, so you don’t have to deal with painting yours. We couldn’t wait to pitch those old headrest covers in the trash.
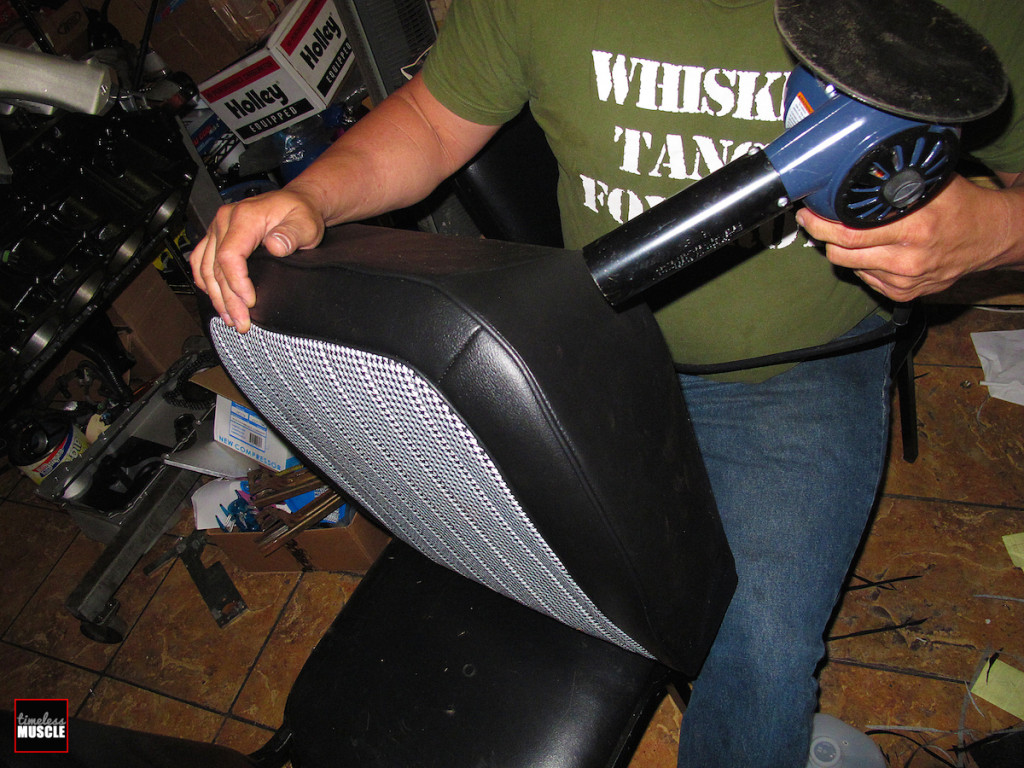
When installing new seat covers, it’s always handy to have a heat gun for helping get any wrinkles out as you’re stretching the new covers over the seat frames.
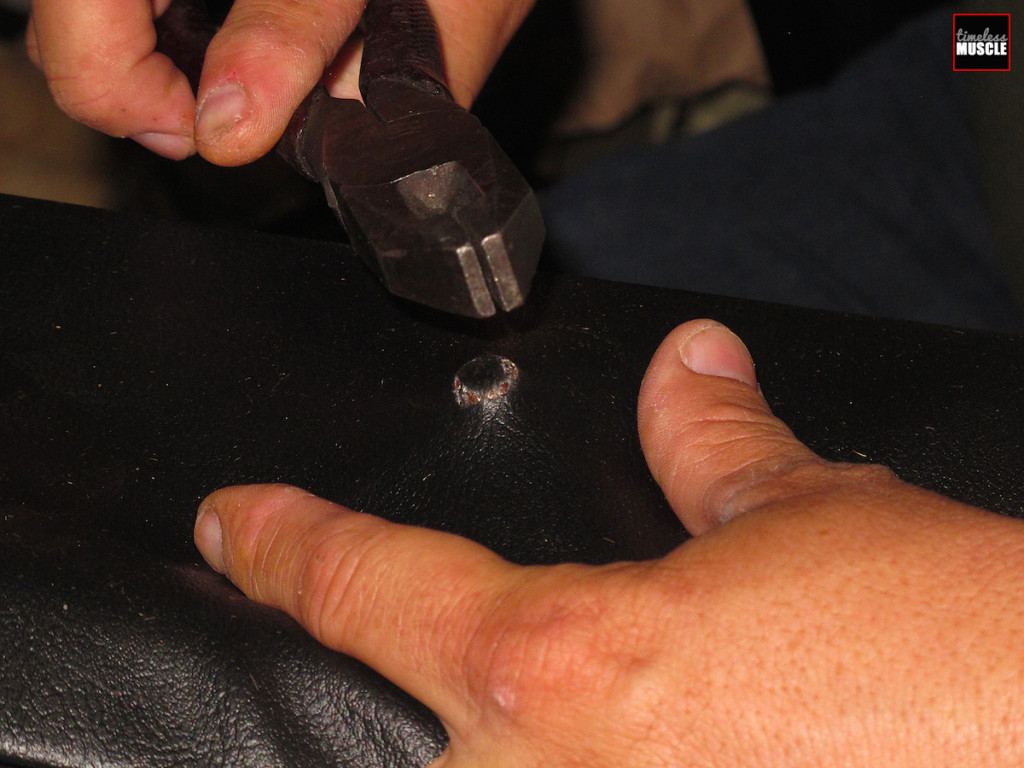
For the suds that hold the seat back to the bottom, just use a pair of heavy pliers or dikes like this and tap on the stud through the seat cover till the stud comes through the material.
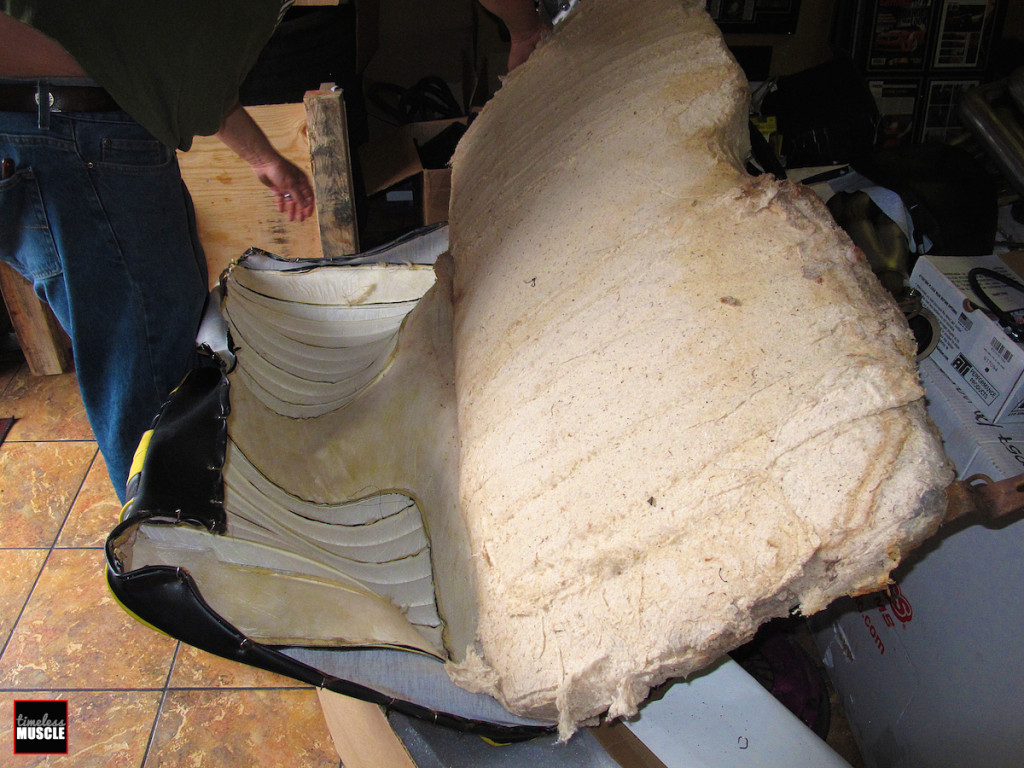
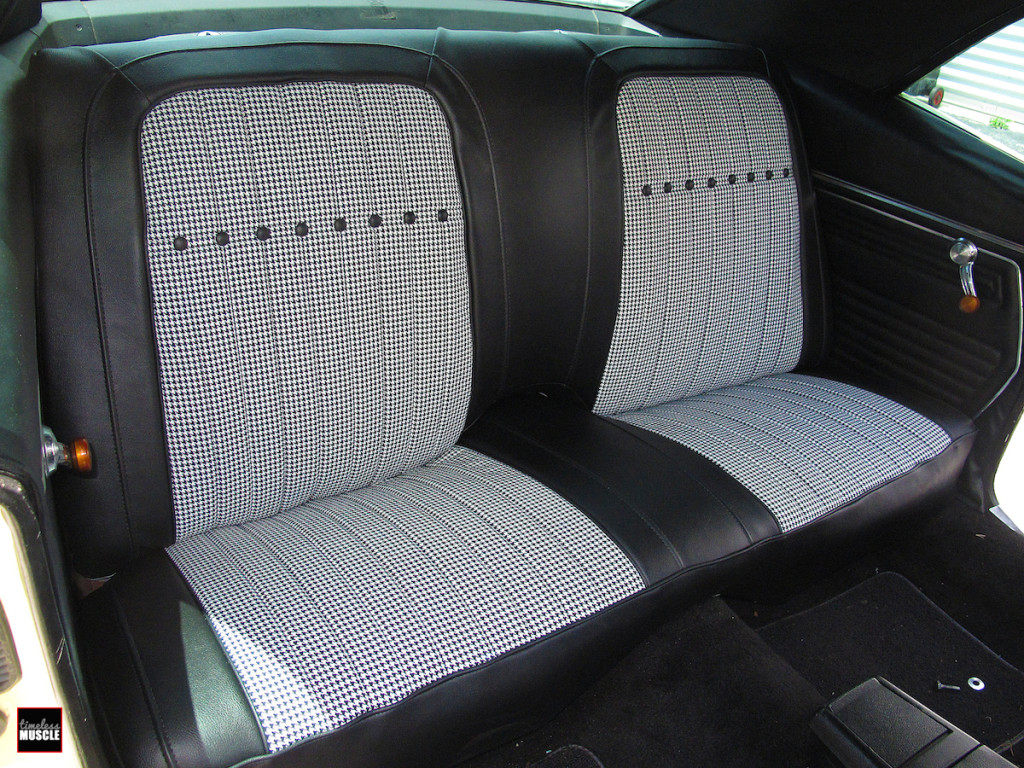
The back seat disassembles in a similar fashion to the front seats, cutting the old hog rings off then pulling the old seat covers away from the seat foam.
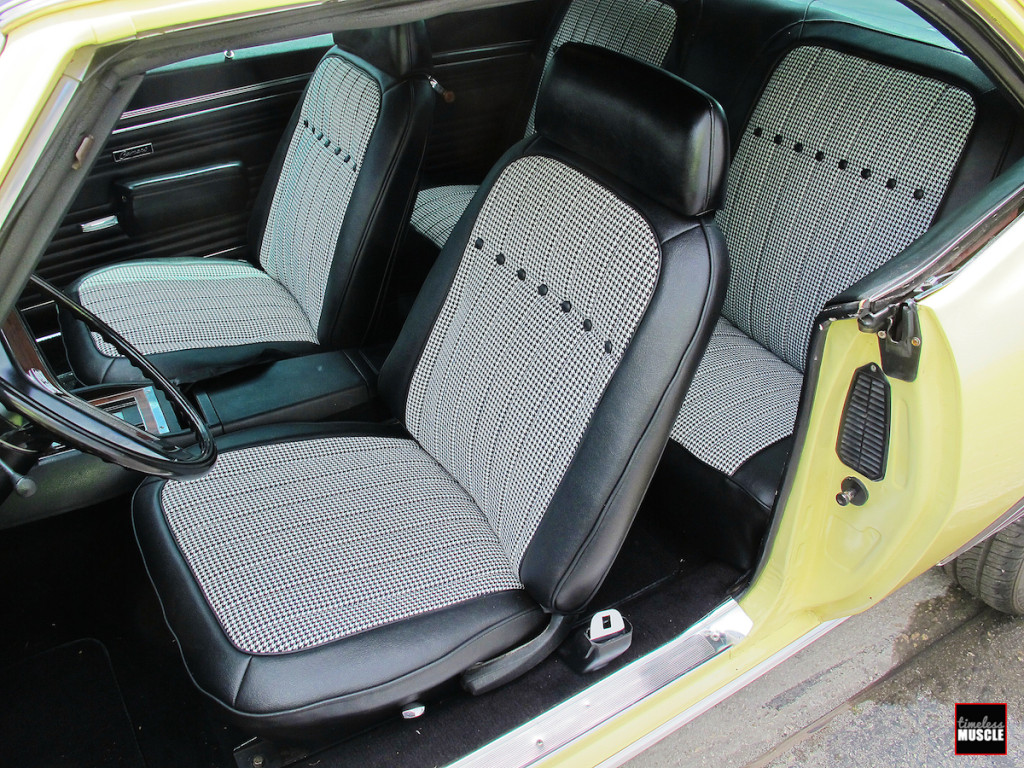
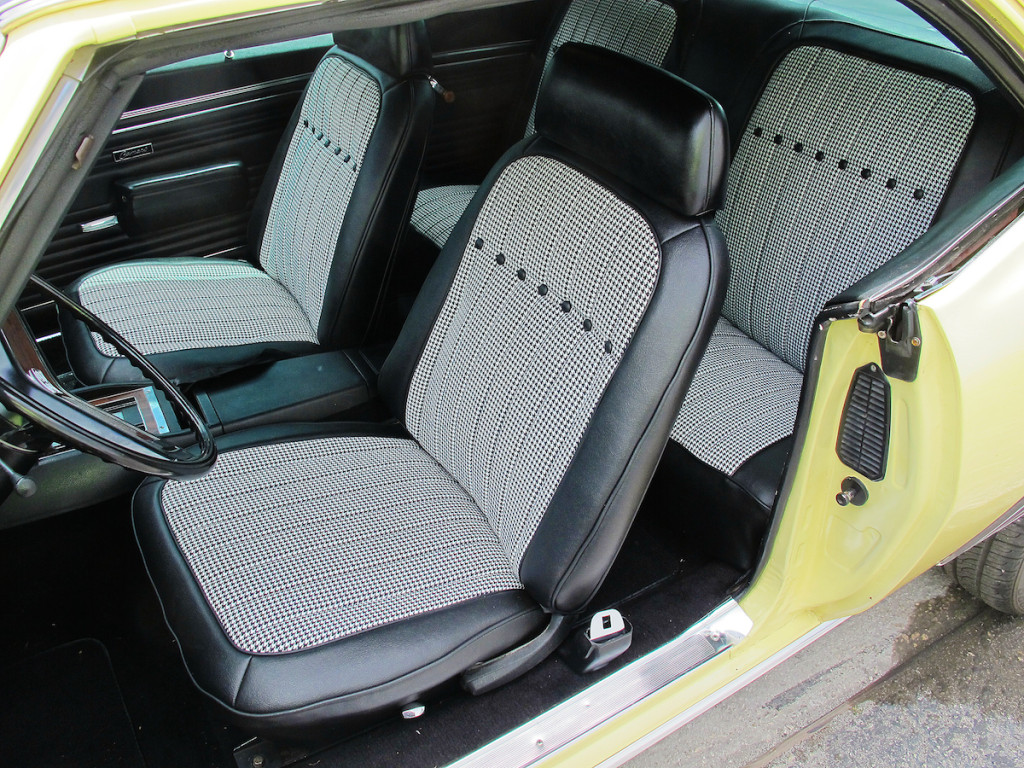
After bolting the front seats back in, we stepped back and enjoyed the massive difference the new seat covers made. Gone is the late ’80s/early 90s-esque bumble bee interior that was dated and horrible looking. The black and white houndstooth matches the car’s exterior color perfectly, and unless you look at the body tag you’d never know the car didn’t come from the Van Nuys factory with houndstooth interior. CARS Inc. makes new seat cover sets for ’67-69 Camaros in all the factory colors, in factory standard or deluxe style materials, along with all factory houndstooth colors.
Patrick Hill has grown up around the automotive aftermarket, and carries a lifelong passion for performance, racing and automotive nostalgia that spans from the Tri-Five era to the current modern performance market.


