Photos by: the Author
Stepping up the Game of an A-body Wagon with the help of QA1
Muscle car upgrades are not for everyone. Restoration enthusiasts don’t typically like them, but if they are bolt-ons that don’t require modifying the original car, they are always more readily accepted. Additionally, well-engineered bolt-on upgrades can more-readily be accomplished in the home garage by mechanically adept enthusiasts. If no special tools or welding is required, that’s even better. What we’ll be looking at today are precisely these kinds of upgrades, and they are all focused on the front suspension. This is one area traditional muscle cars can gain measurable levels of performance, since domestic engineering didn’t really focus on maximizing handling until many years later.
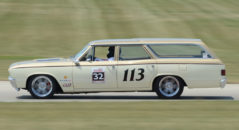
Our subject car is a 1967 Chevelle Malibu. It’s a 4-door station wagon, which might seem a little strange as the focus of a serious suspension upgrade, but it was your author’s personal car at the time and I used the car in many competition events that justified the high level of development. The combination of upgrades made the car a very capable high-speed performer, and with a 550-horsepower 383ci small-block and a T-56 6-speed transmission, it was a blast to drive on the street, at the drag strip, on the road course, around the cones at an autocross, or in the sustained high-speeds of open road rally competition. This is the kind of all-around performance I was shooting for, and it delivered without issue.
This particular round of front suspension upgrades included QA1‘s excellent coil-over front suspension, complete with their double-adjustable shocks. The benefits of upgrading to these coil-overs include the ability to easily adjust ride height, easy coil spring changes (with a wide range of spring rates readily available), and the luxury of the double-adjustable shocks to control the compression and rebound settings. The billet-bodied shocks offer a wide range of both compression and rebound to tune the suspension to whatever kind of driving you’re doing.
We were able to improve the performance of the suspension from street, to road course, to drag strip by clicking the knobs mounted on the outside of the shocks, which proved valuable and offered the ability to improve the car’s performance with a few clicks under the car. Team that capability with some tire pressure changes and the car’s handling characteristics could be altered pretty dramatically without any special tools in a relatively short period of time…like between rounds at the drags or between driving sessions at a road course open track day.
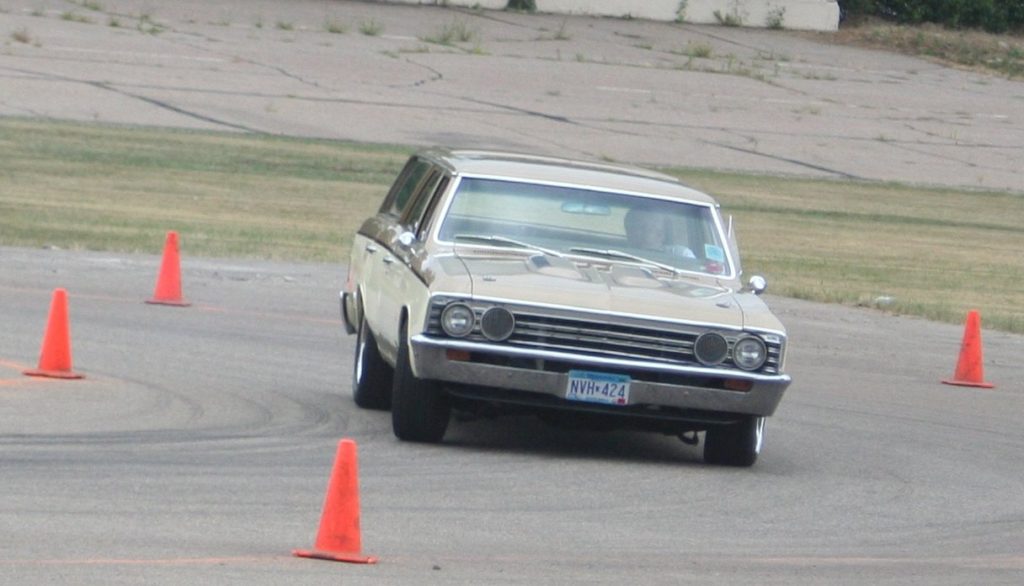
Before the adjustable coil-overs, the car had a bad push in the tight corners. There wasn’t much I could do about it but slow down until the tires finally got enough bite to turn. Slowing down isn’t exactly the fastest way around any track, is it?
The coil-overs up front will be an addition to an already-solid setup. The lower control arms are just about the only factory parts remaining, as the spindles, steering box, upper control arms, and brakes had all been upgraded. There were aftermarket coil springs in place too, but they offered no adjustment.
I also had installed decent gas shock absorbers, but they weren’t adjustable either. I’d compromised and selected parts that were an improvement over the (worn out) factory components they replaced, but they weren’t capable of the kind of performance I really wanted. The additional levels of performance and adjustability offered by the QA1 components justified their purchase, and their ease of installation (requiring no modifications to the car, as they fit easily into the factory location) sealed the deal for me.
Since I am fortunate enough to live near QA1 headquarters in Lakeville, Minnesota, I contacted them and asked if they had any specific tips they’d like to pass along. They offered to help me with the installation at their factory, so I jumped at the chance to work directly with them.
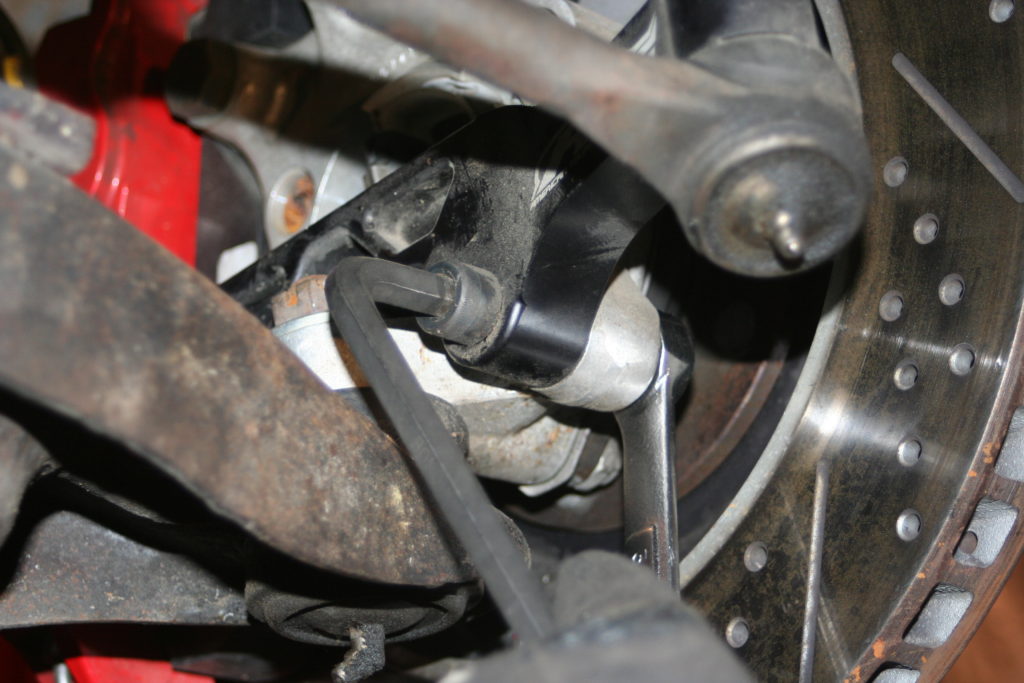
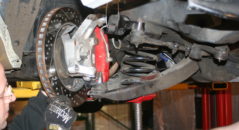
We started by removing the components that would be in our way, like the wheels and tires, the existing shock absorbers, the steering arms (and tie rods), and the front anti-sway bar (with its attaching mount links).
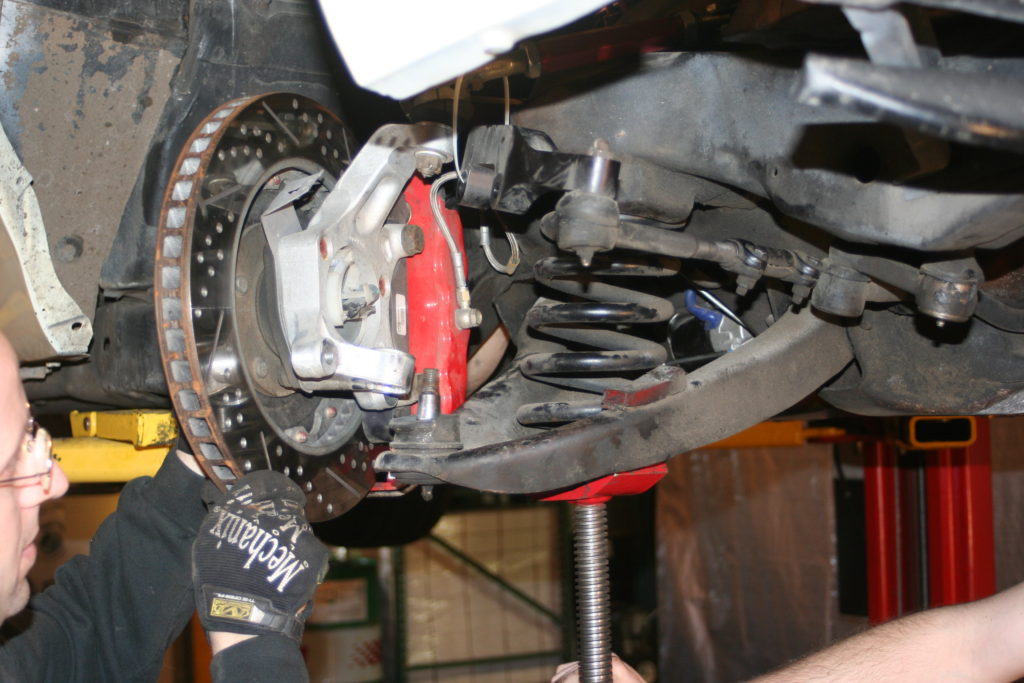
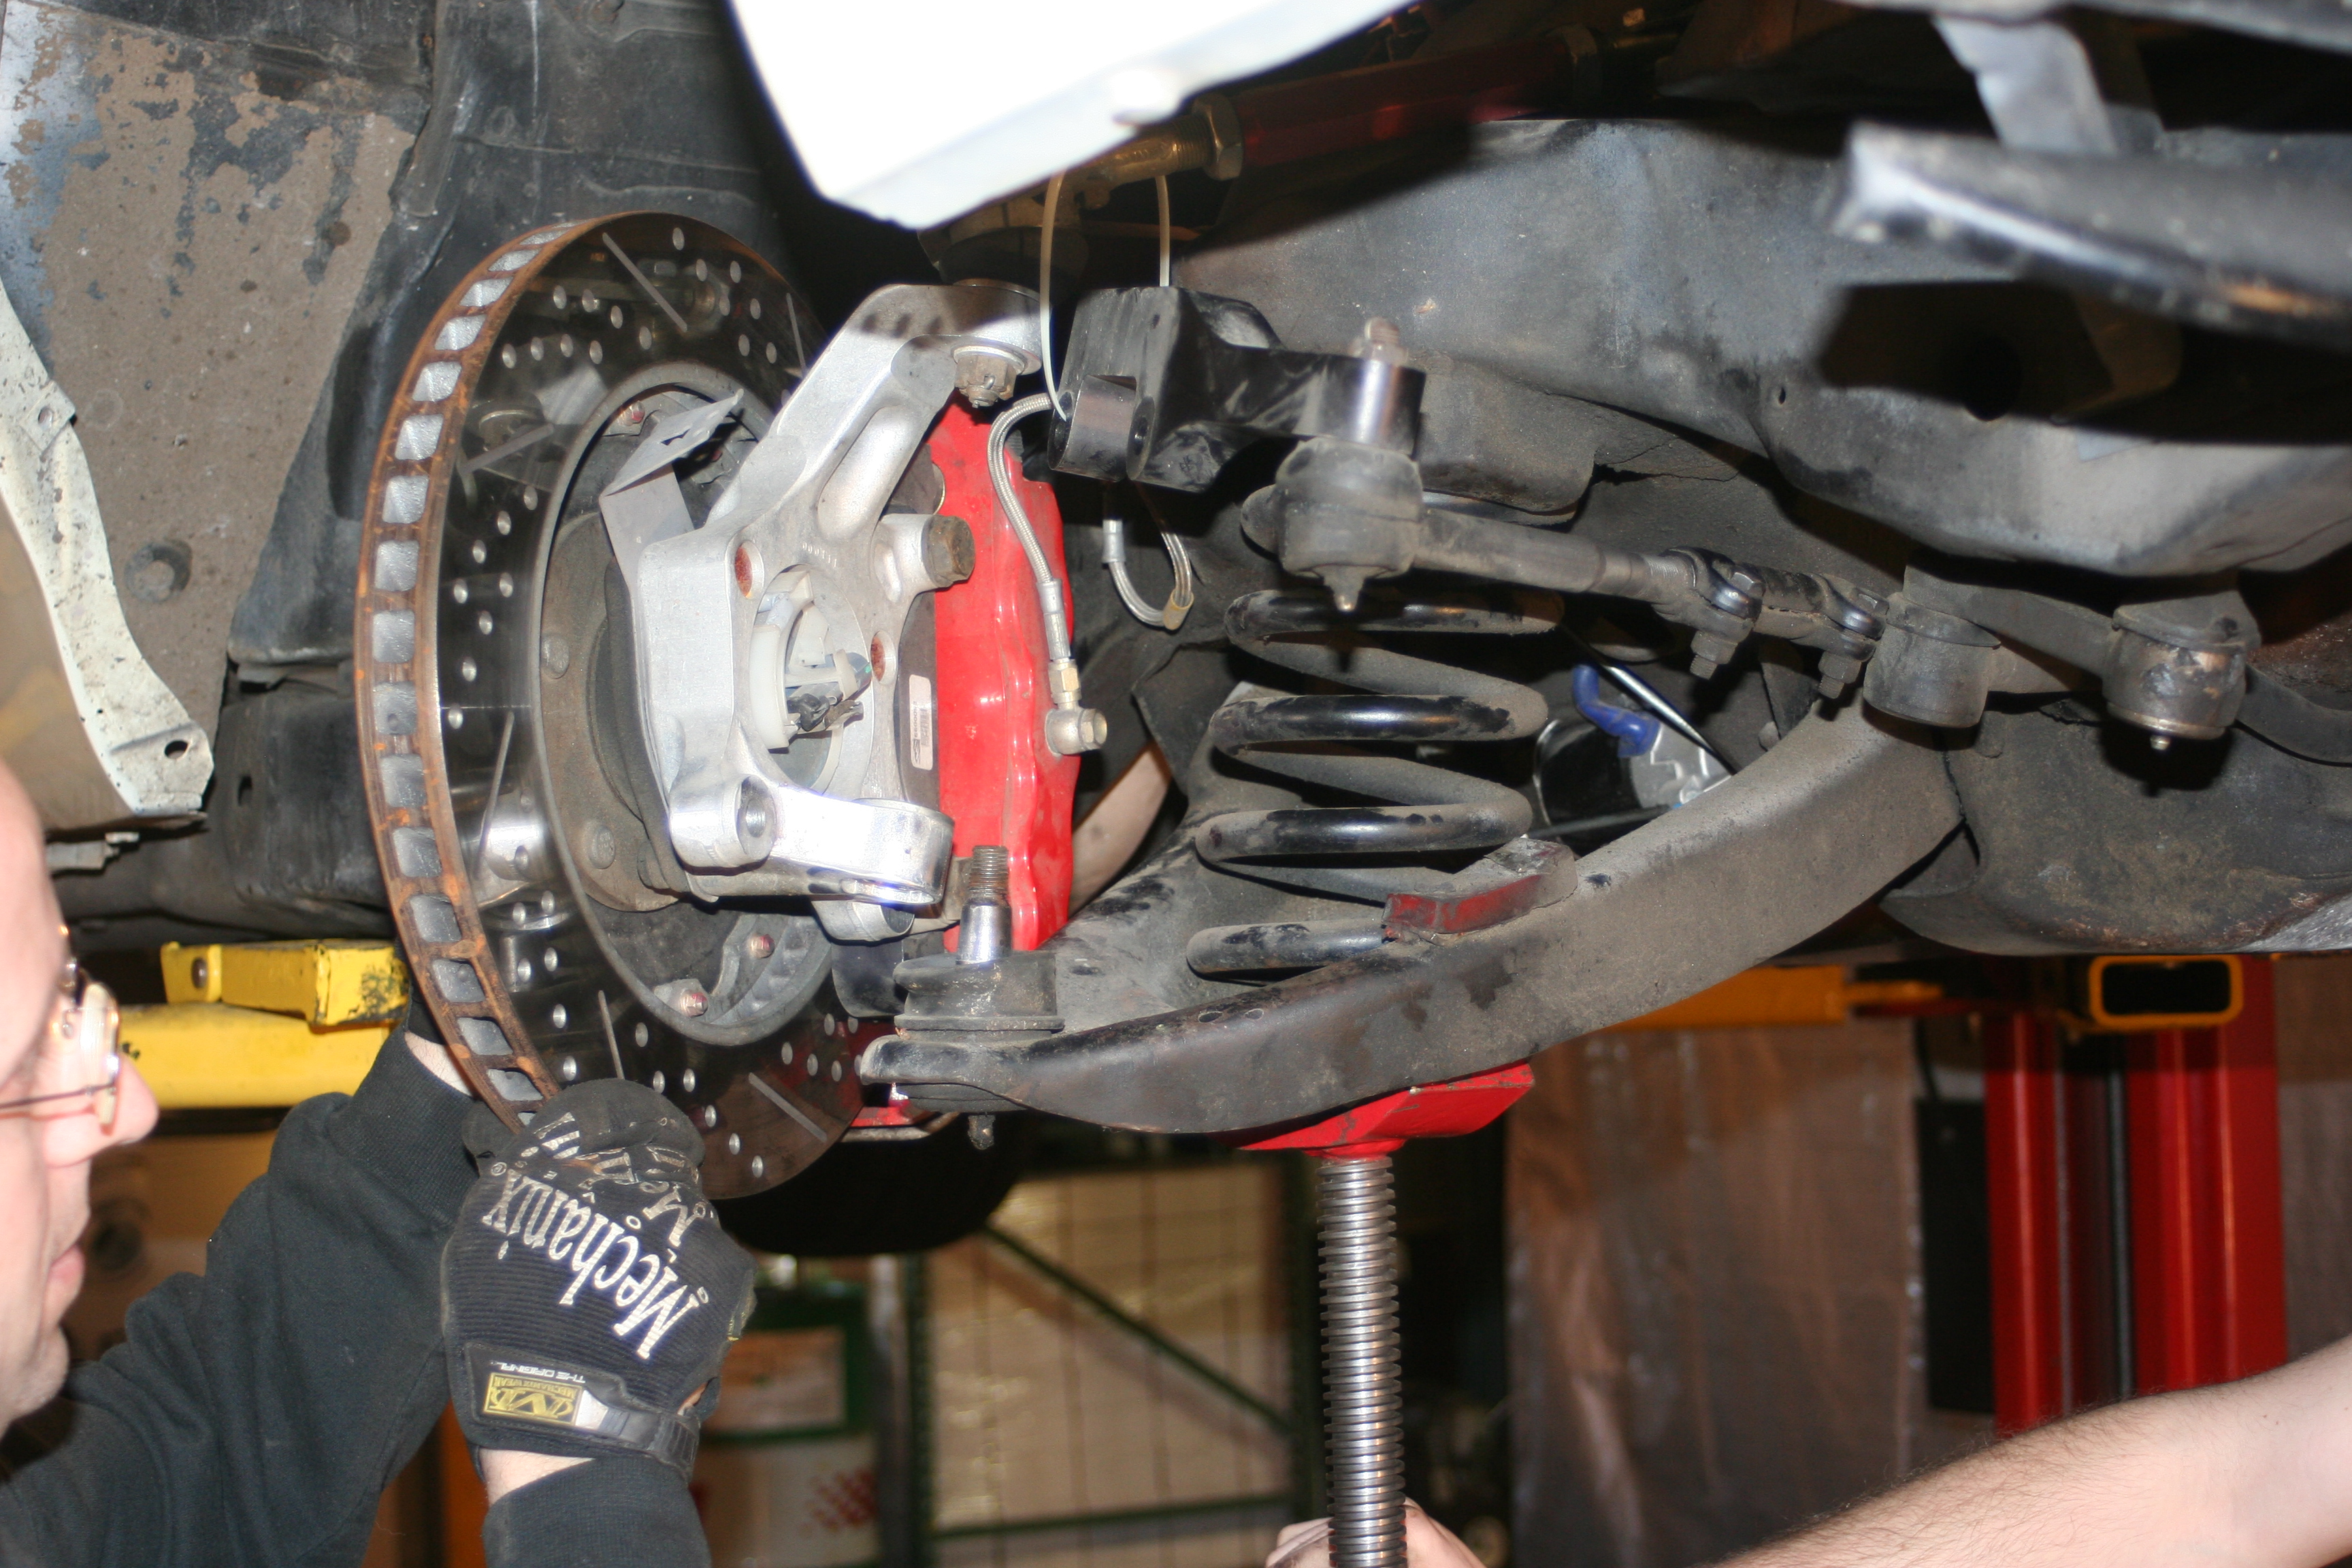
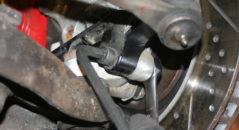
Once we’d gained access, we took to removing the brake calipers (and tying them out of the way), and breaking the lower ball joints loose from the spindles to separate the lower control arms from the rest of the suspension and get the coil springs out.
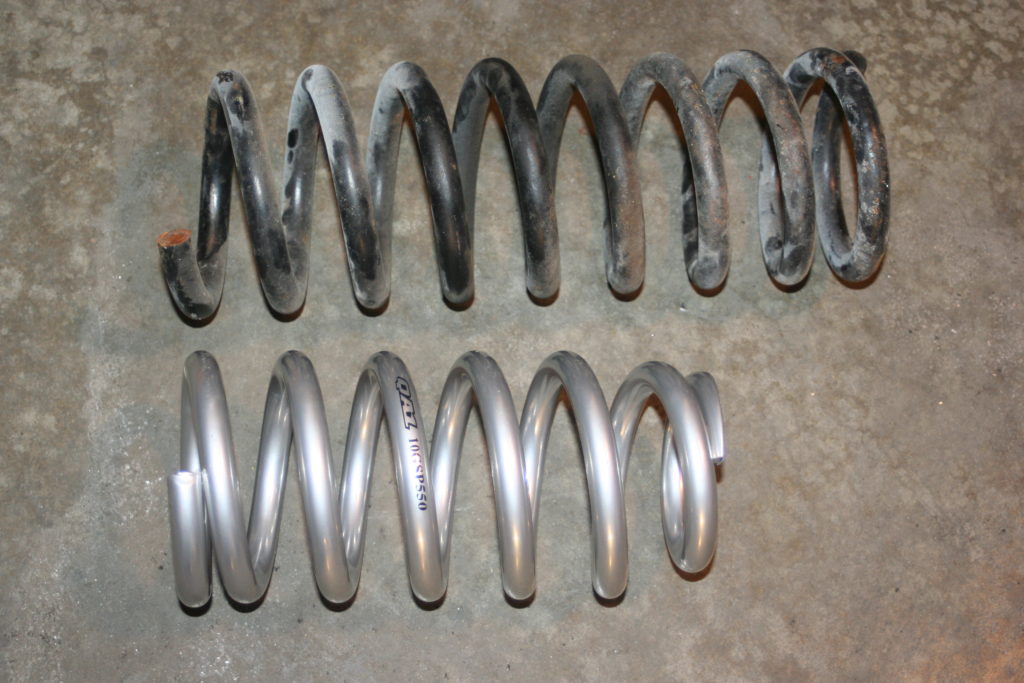
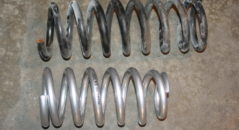
With the old springs out, we can compare them side-by-side with the new coils. The old coils were designed for use in lowered trucks, and has been cut to achieve a lowered stance. Note how the coils on both springs are about the same thickness, but the old springs rating is a total mystery. Conversely, we know the QA1 spring is rated at 550 lbs. Also, see how the end of the new QA1 spring is finished to sit flat against the inner surface of the spring pad, where the old spring would have a smaller percentage of wire actually making contact with the cup.
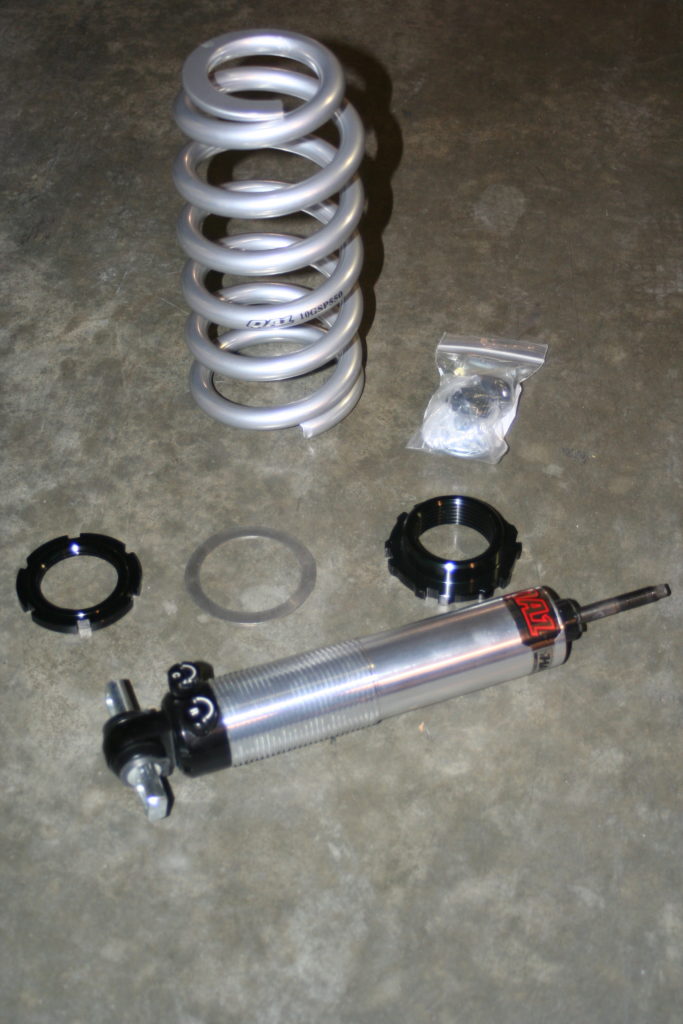
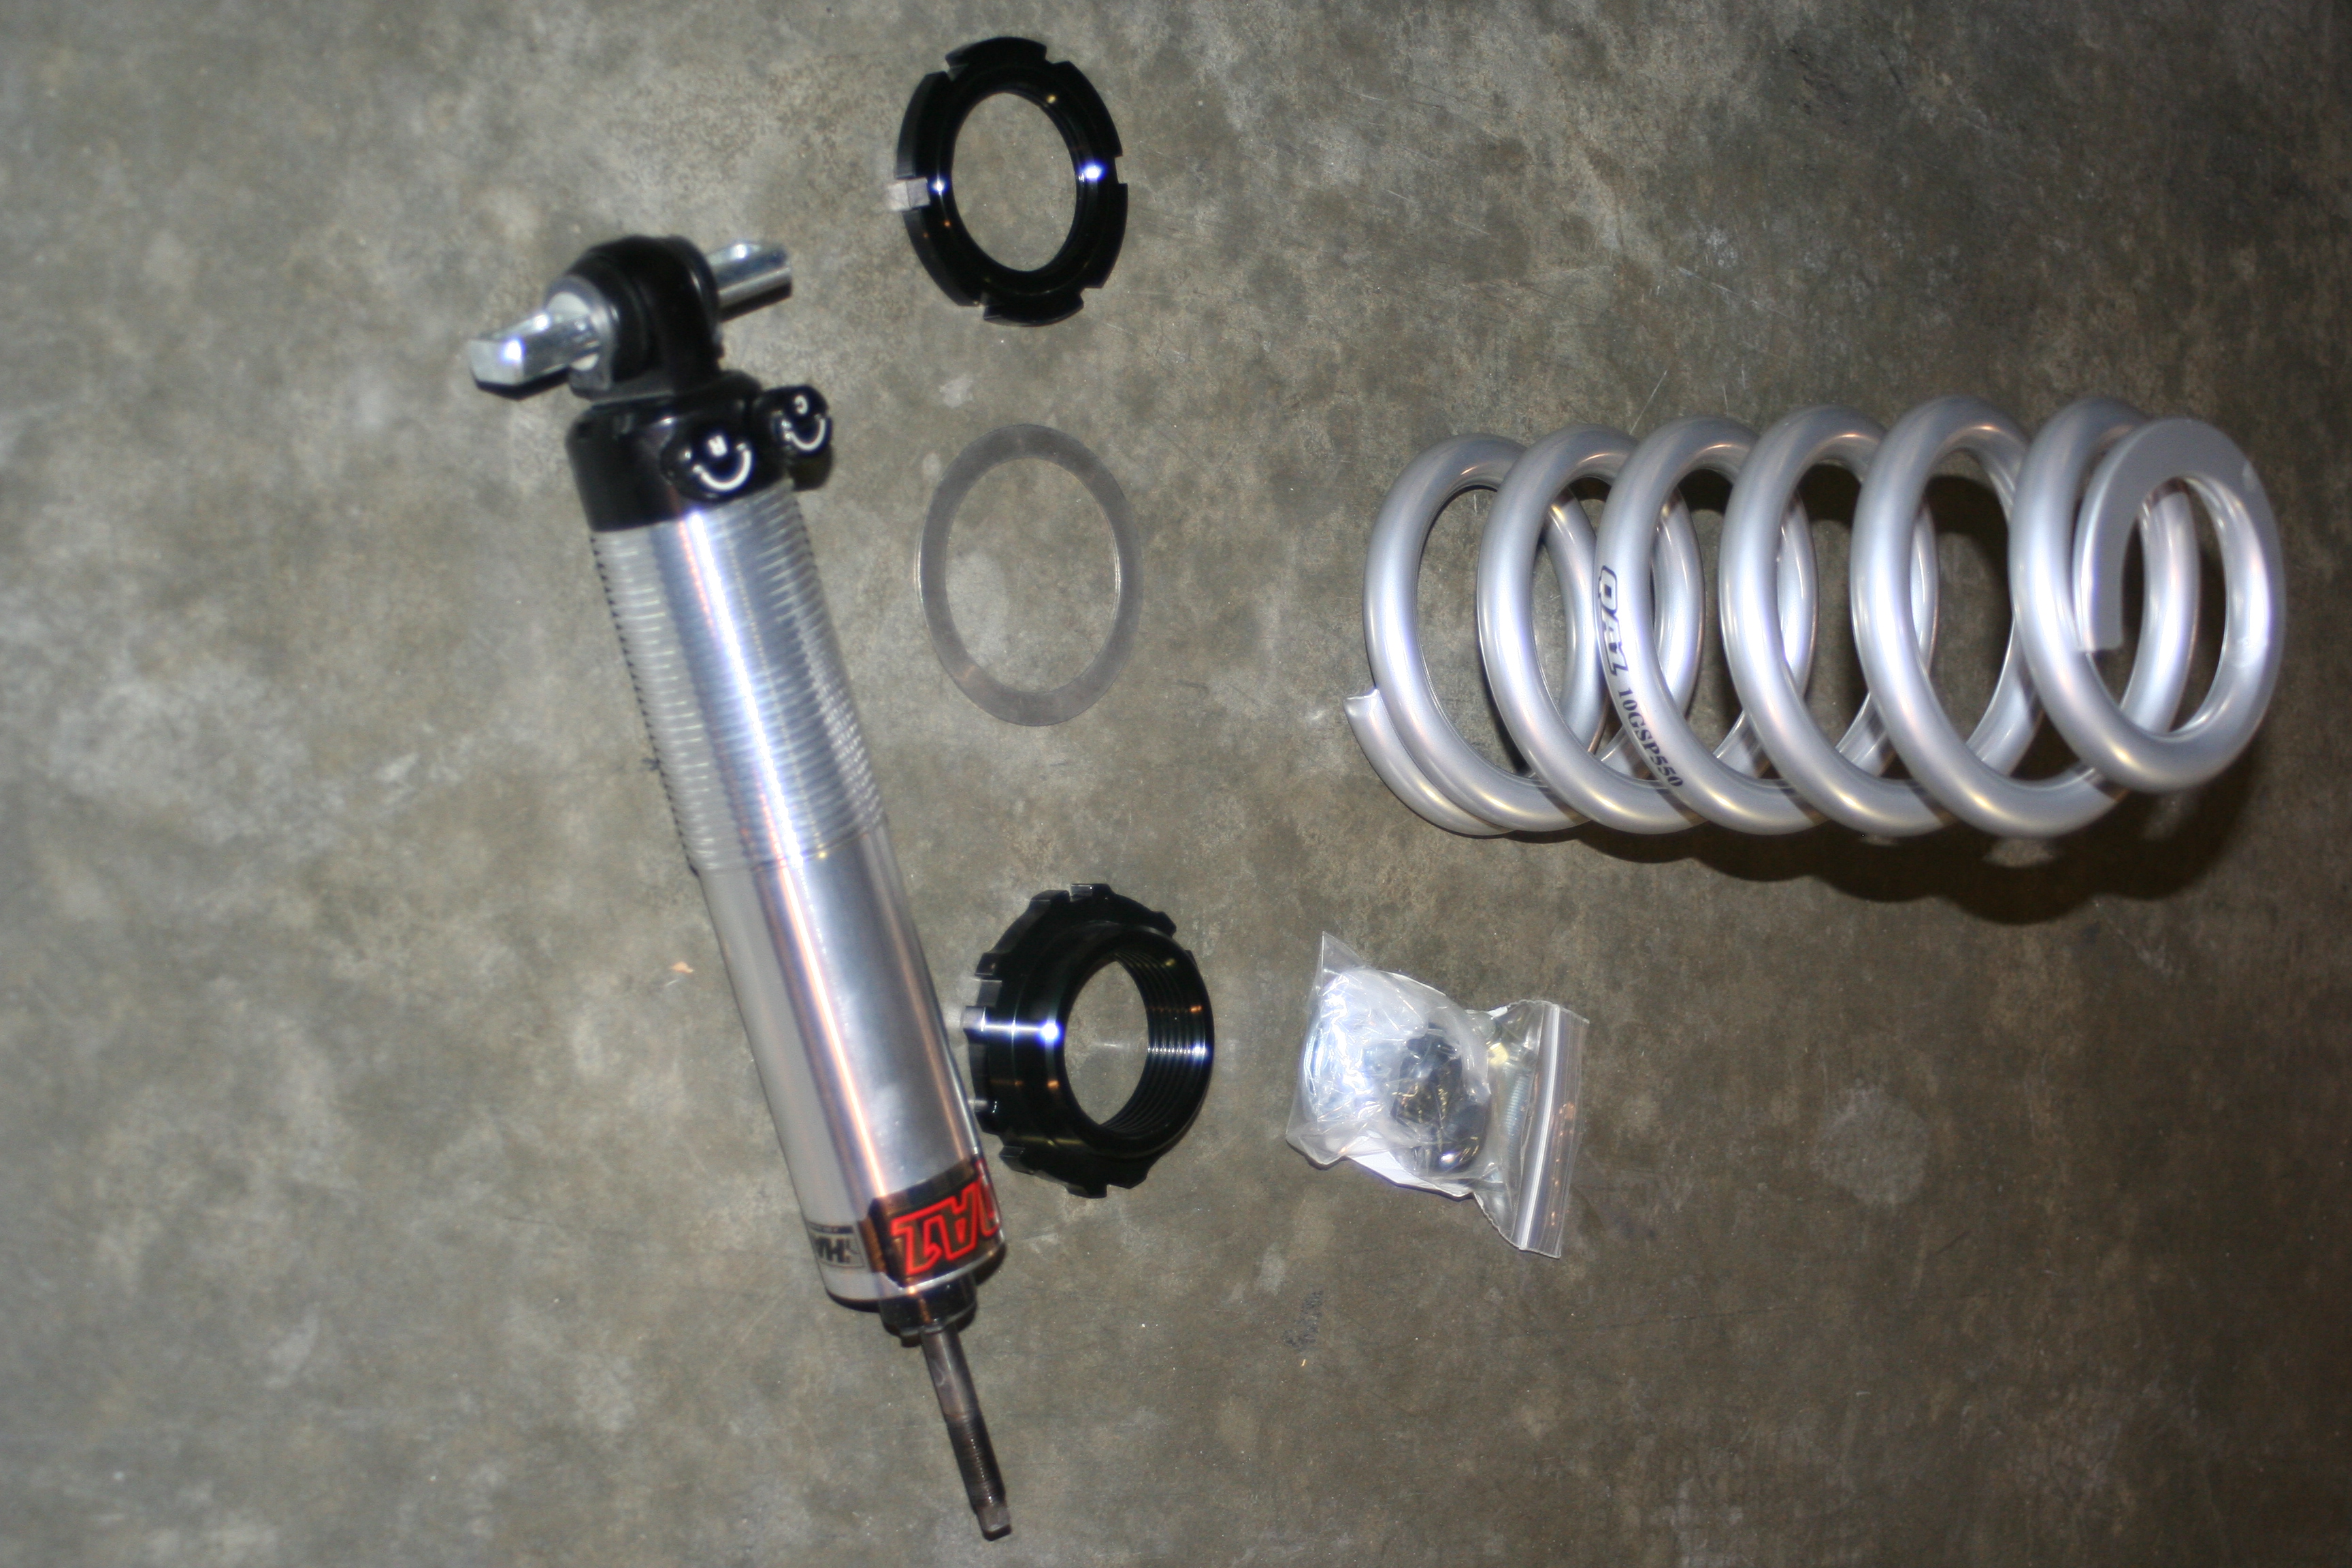
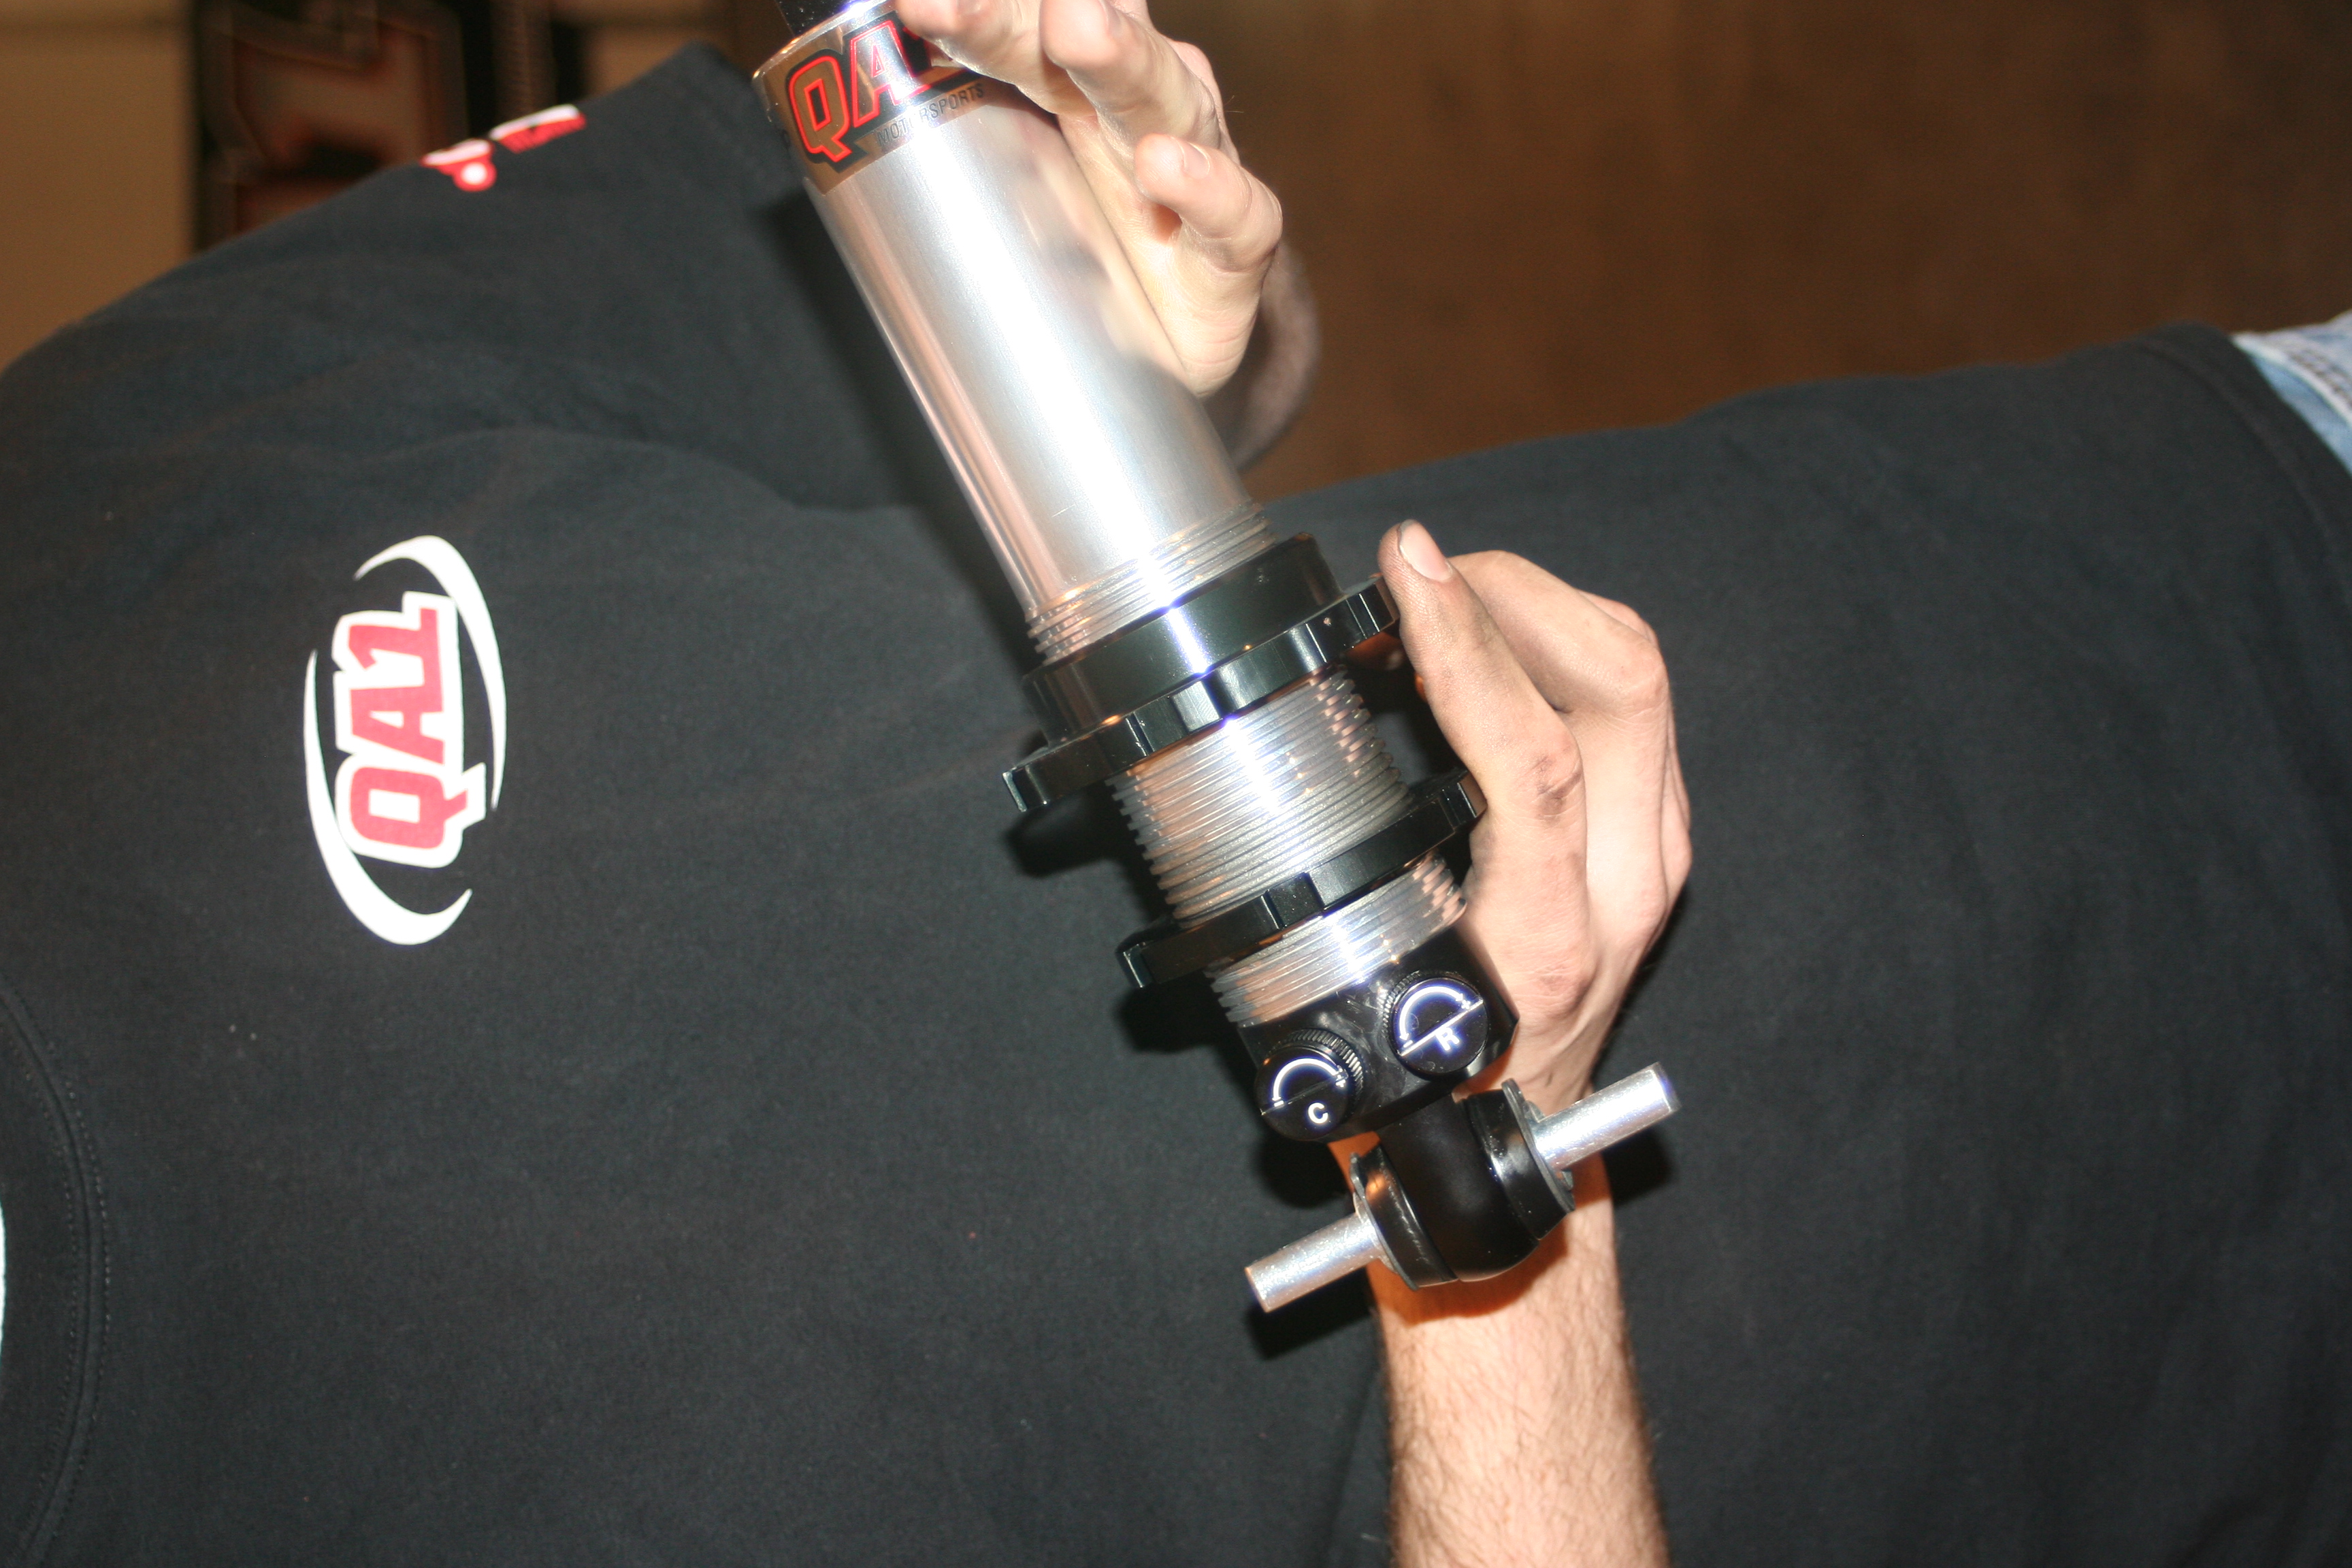
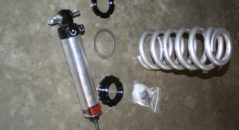
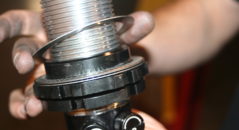
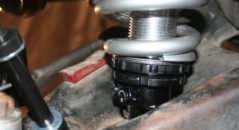
Here is the entire upgrade assembly. You can see the coil spring in the rear, and the double-adjustable shock absorber in the front. The threaded body of the shock is the key to the coil-over design, as the two spanner collars will jam together to support the spring, and therefore the weight of the car. The small silver “washer” between them isn’t a washer at all…see the next photo. Inside the small plastic bag are the grommets, washer, and nut for the top of the shock.
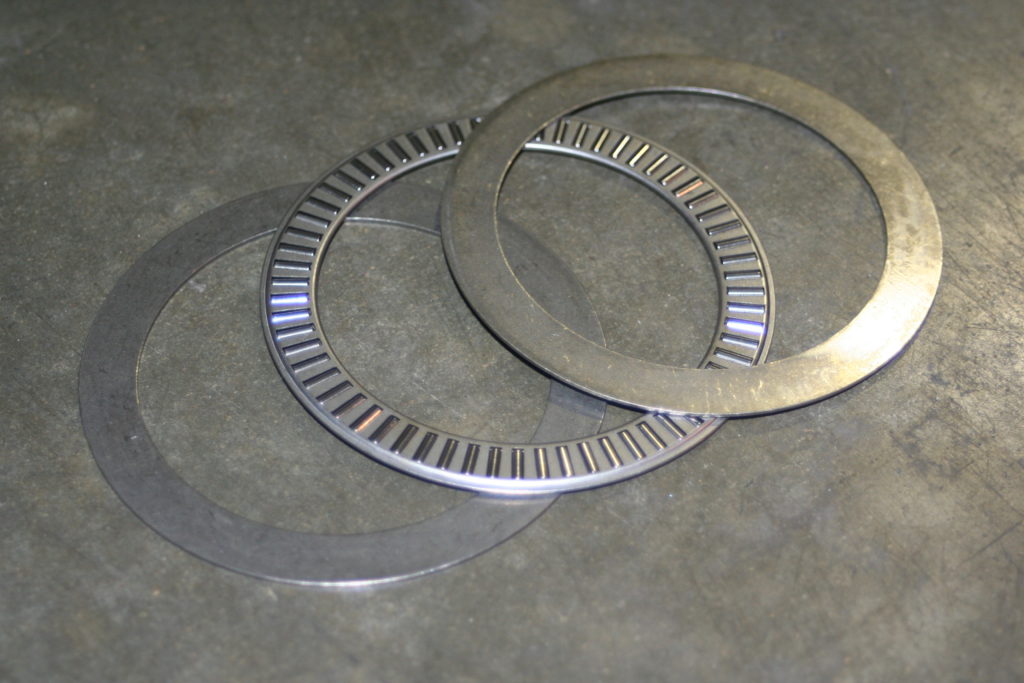
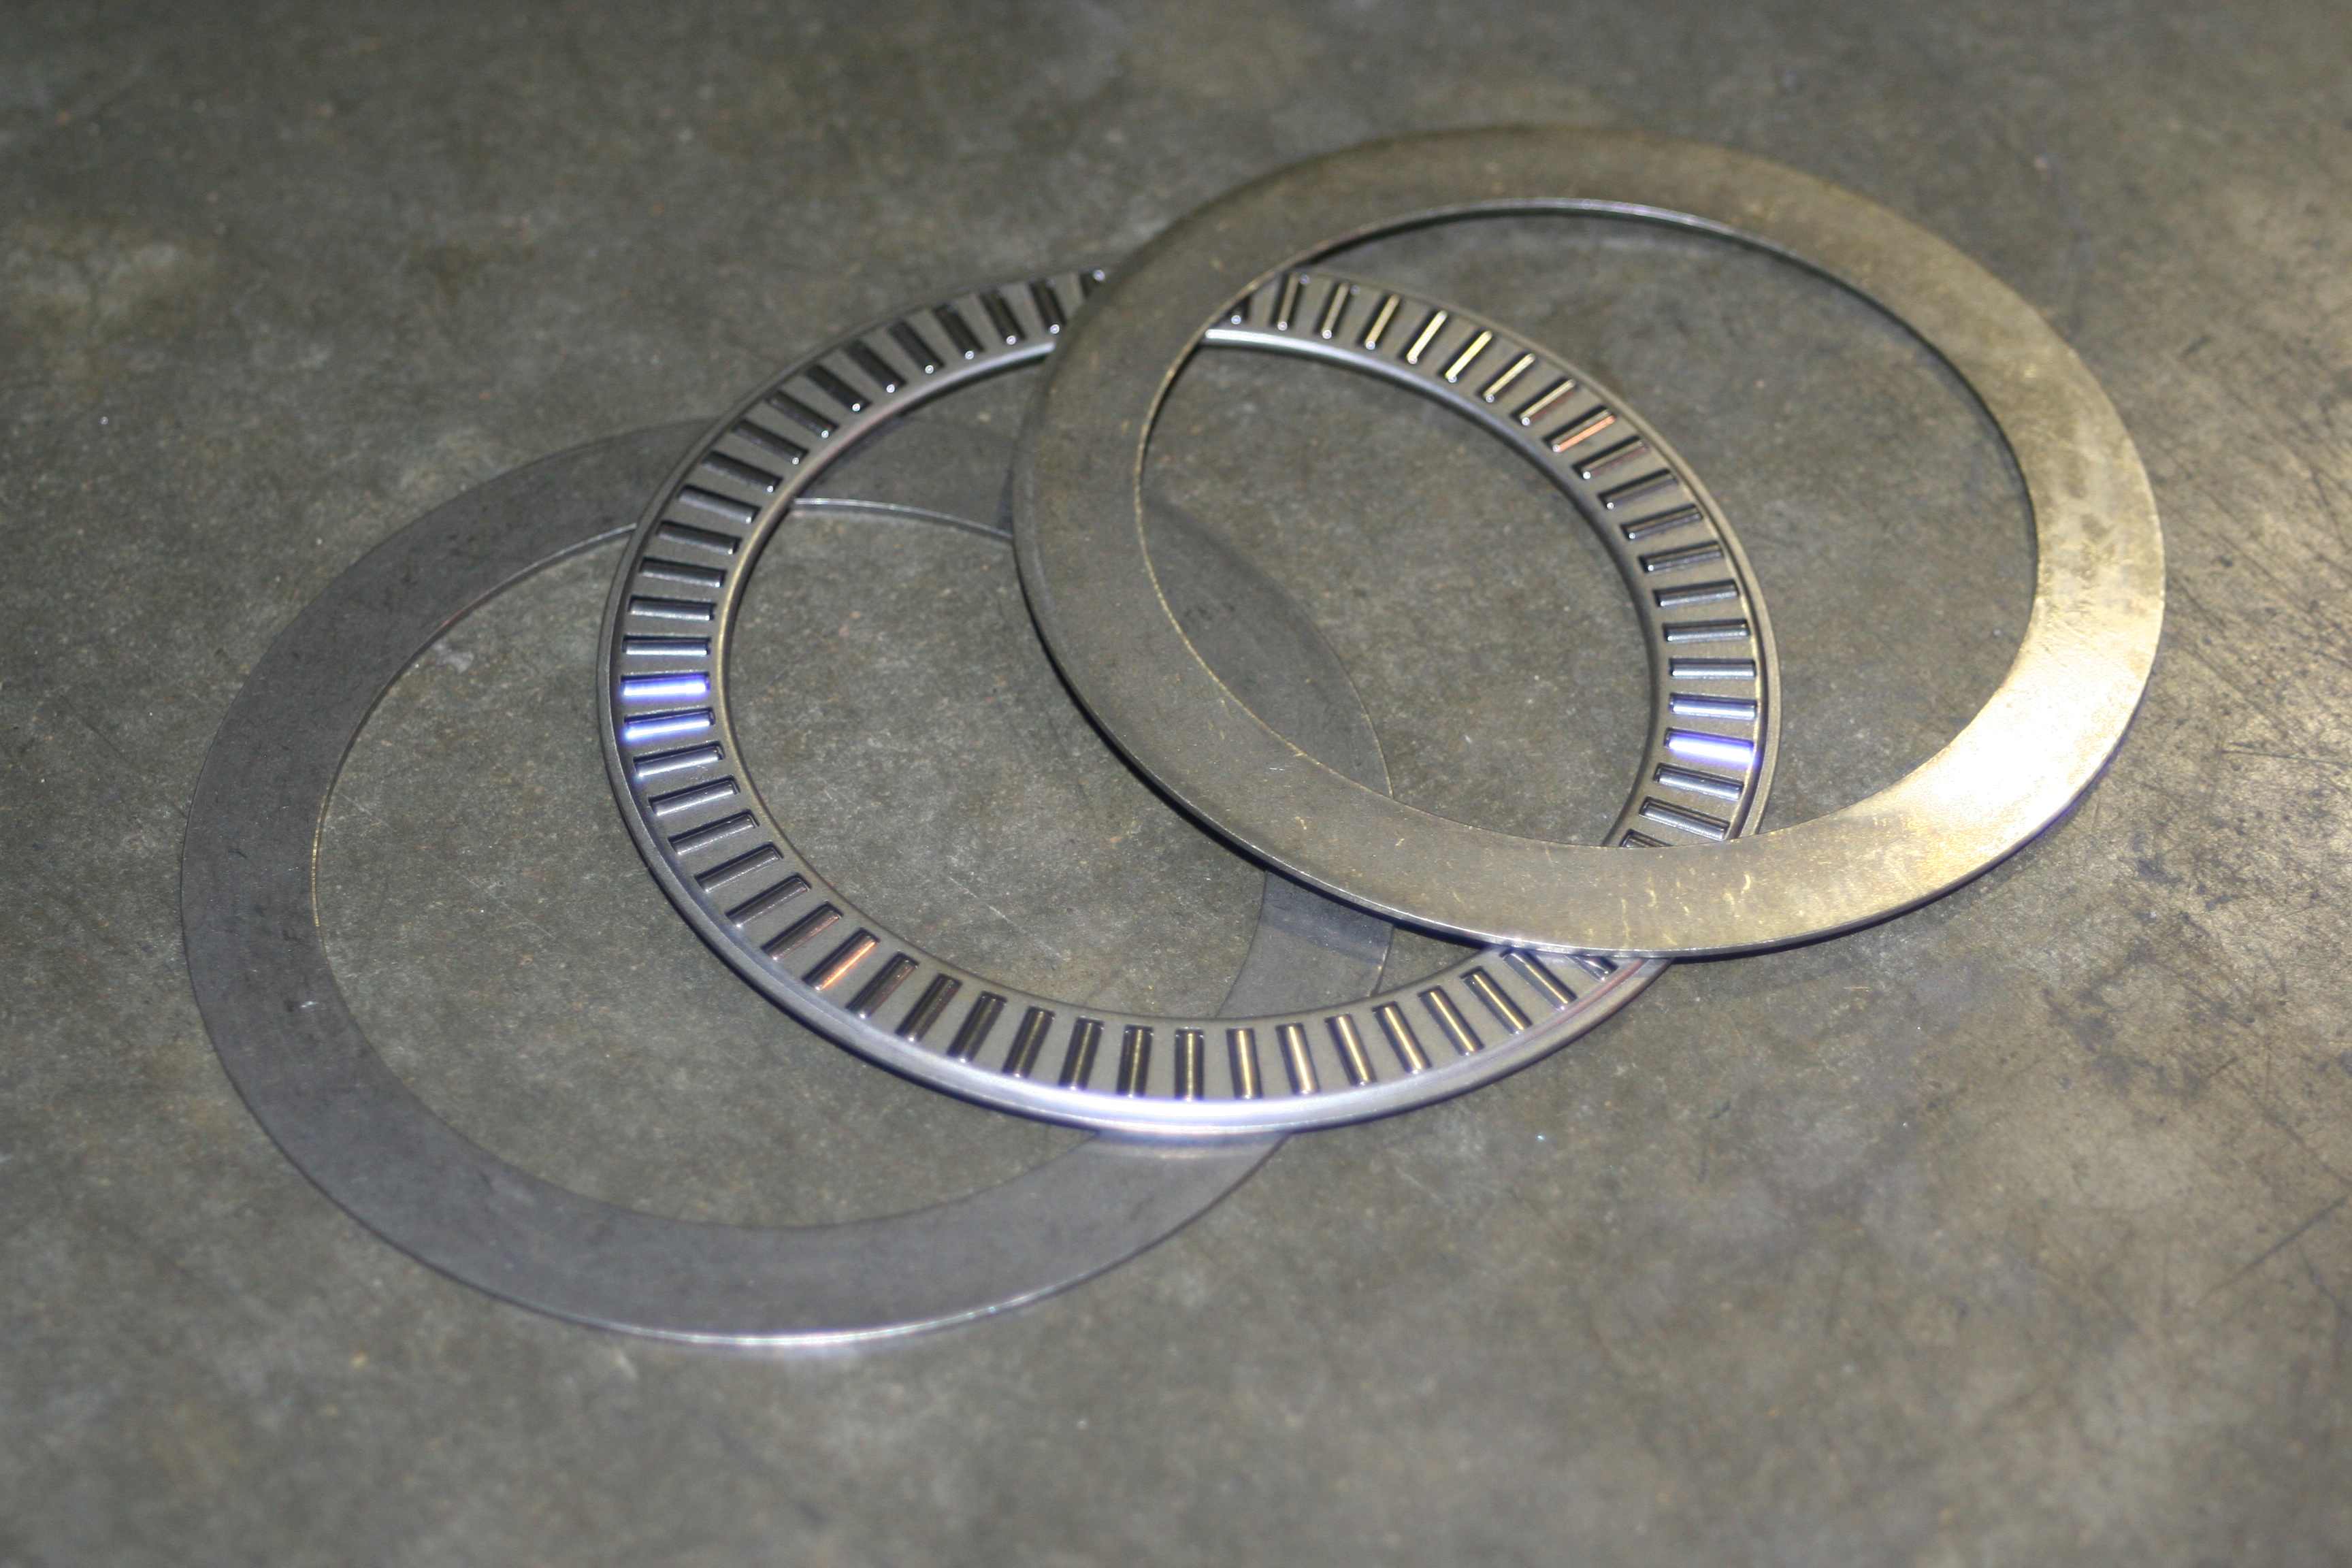
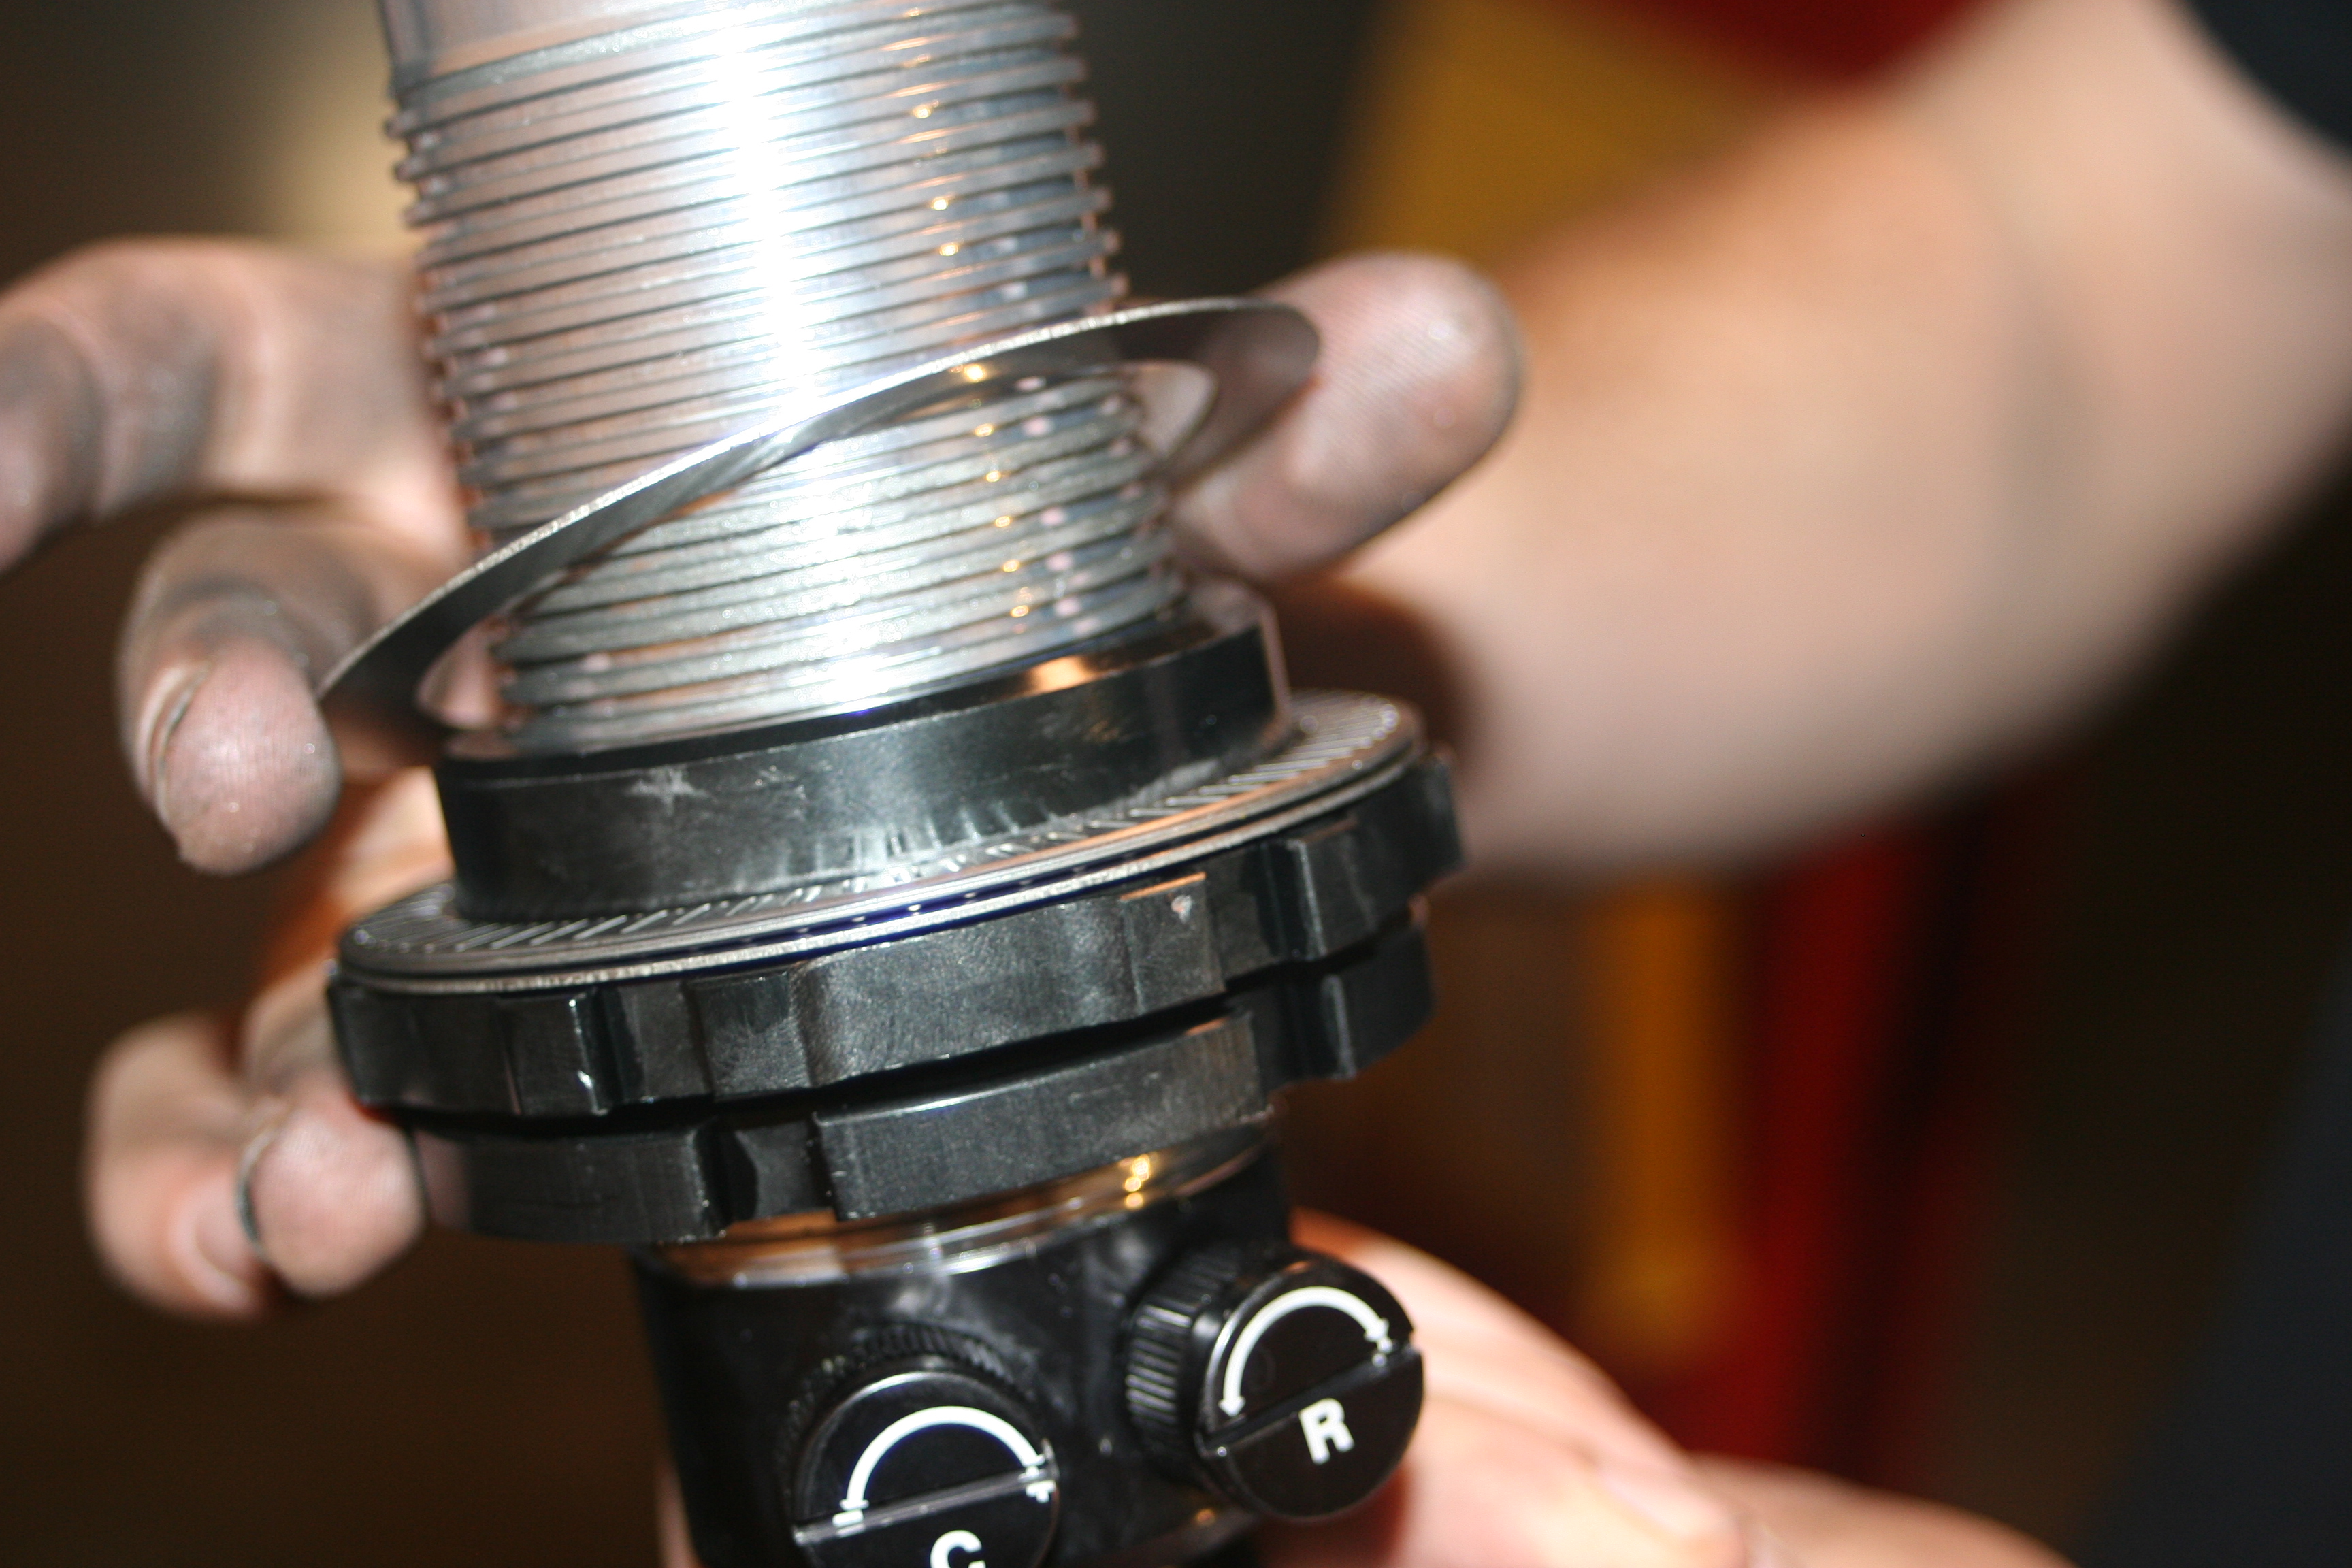
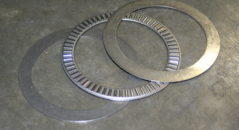
The “washer” is actually a 3-piece roller bearing. Since the coil-over is designed to be adjusted when it’s on the car, the friction between the bottom of the coil spring and the face of the upper jam nut is pretty extreme. This custom roller bearing makes it easy.
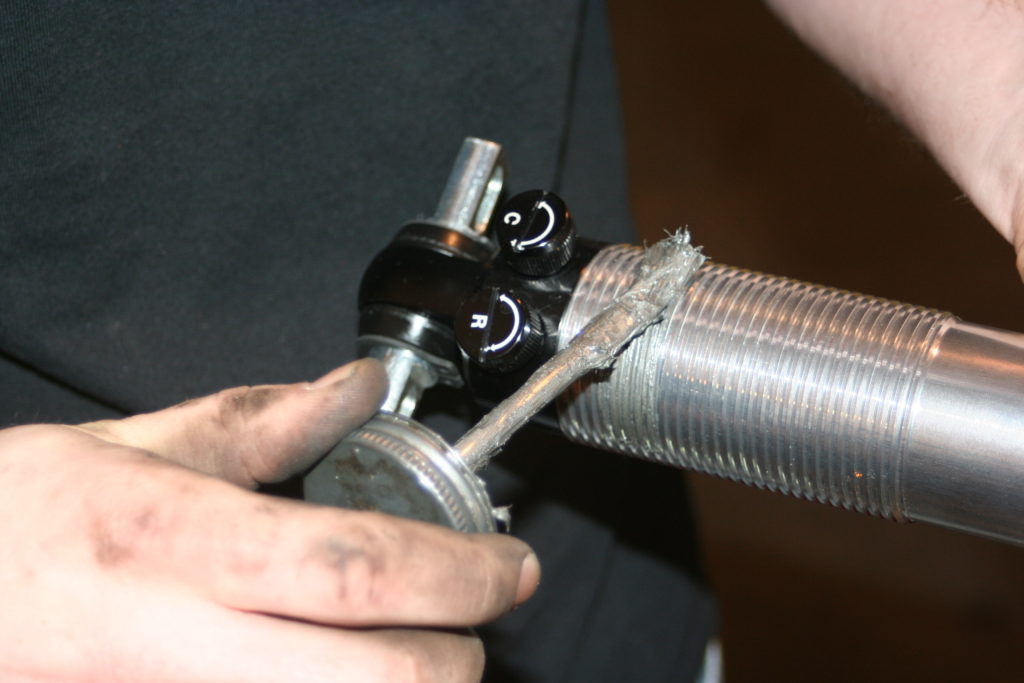
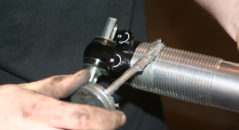
So, here’s how it all goes together. First, some anti-seize compound is brushed on the threads of the aluminum shock body.
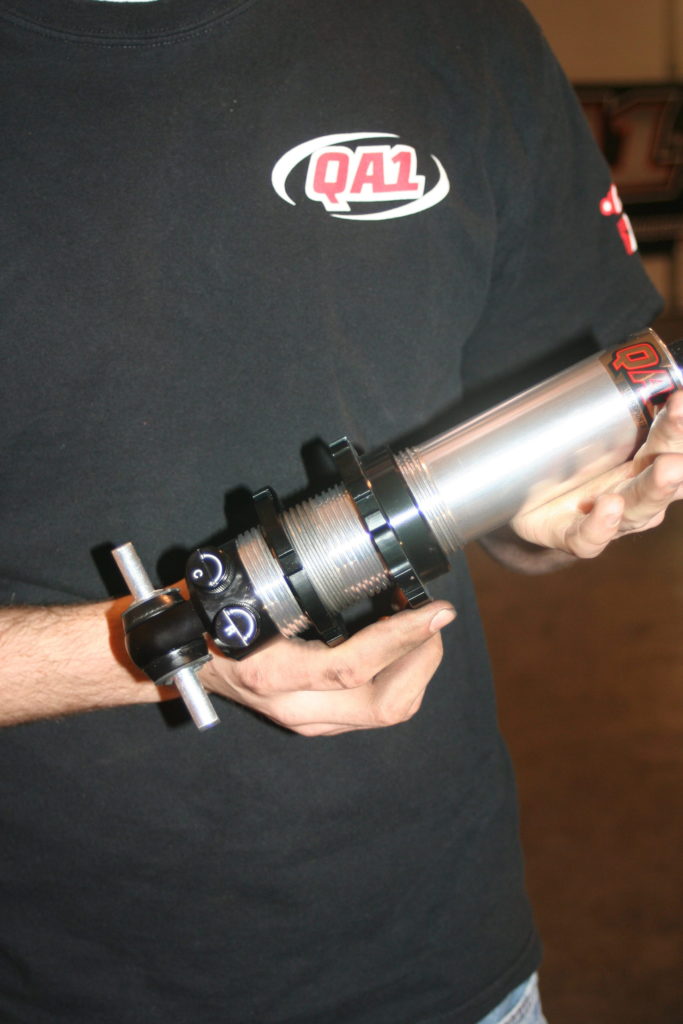
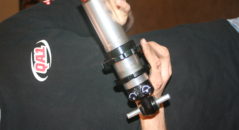
Then, both jam collars are spun into position. Note that the smaller of the two collars goes on first, and the larger of the two is what will ultimately support the bottom of the coil spring.
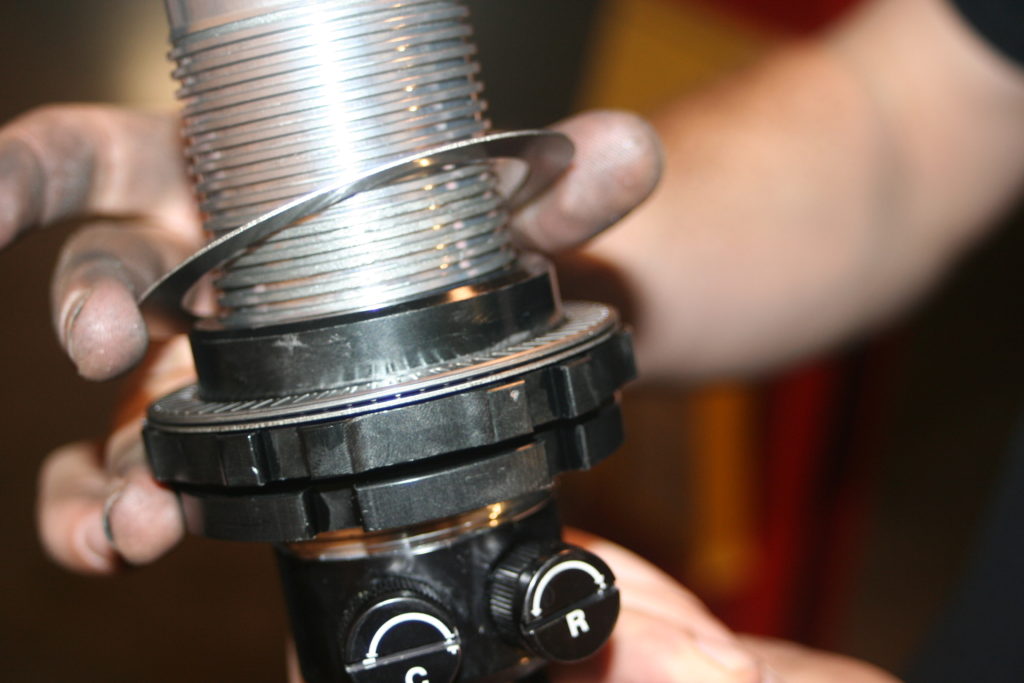
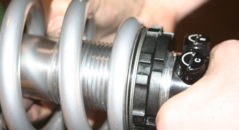
The 3-piece roller bearing assembly drops over the larger upper collar. Notice how the 2 plain discs sandwich the roller bearing plate.
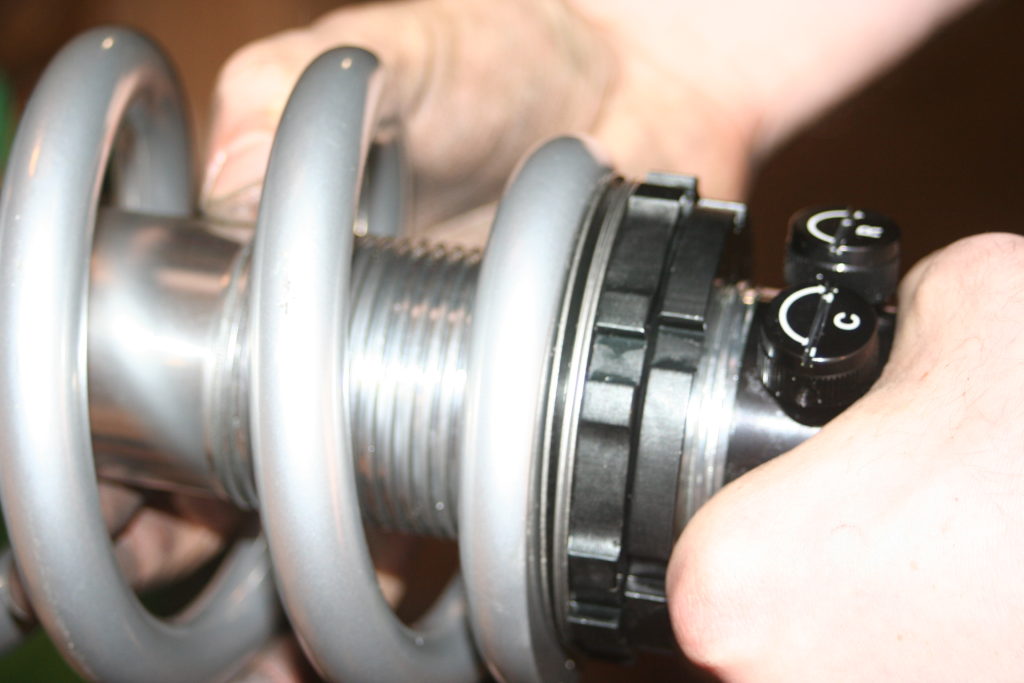
Finally, the coil spring is slid over the shock body and into position over the adjustable collars. The assembly is now ready for installation.
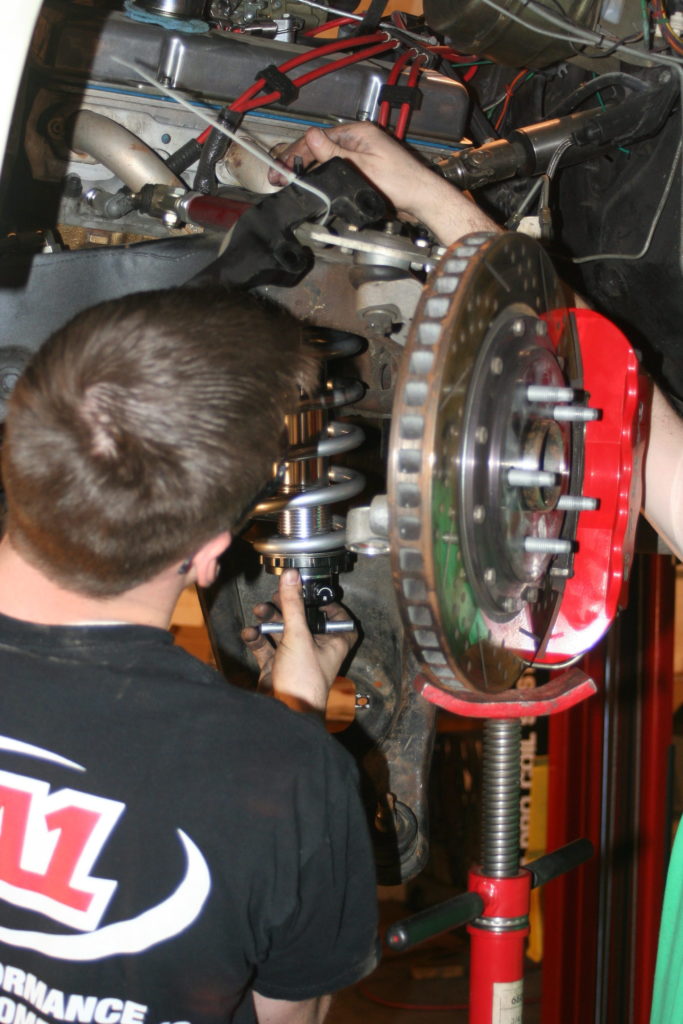
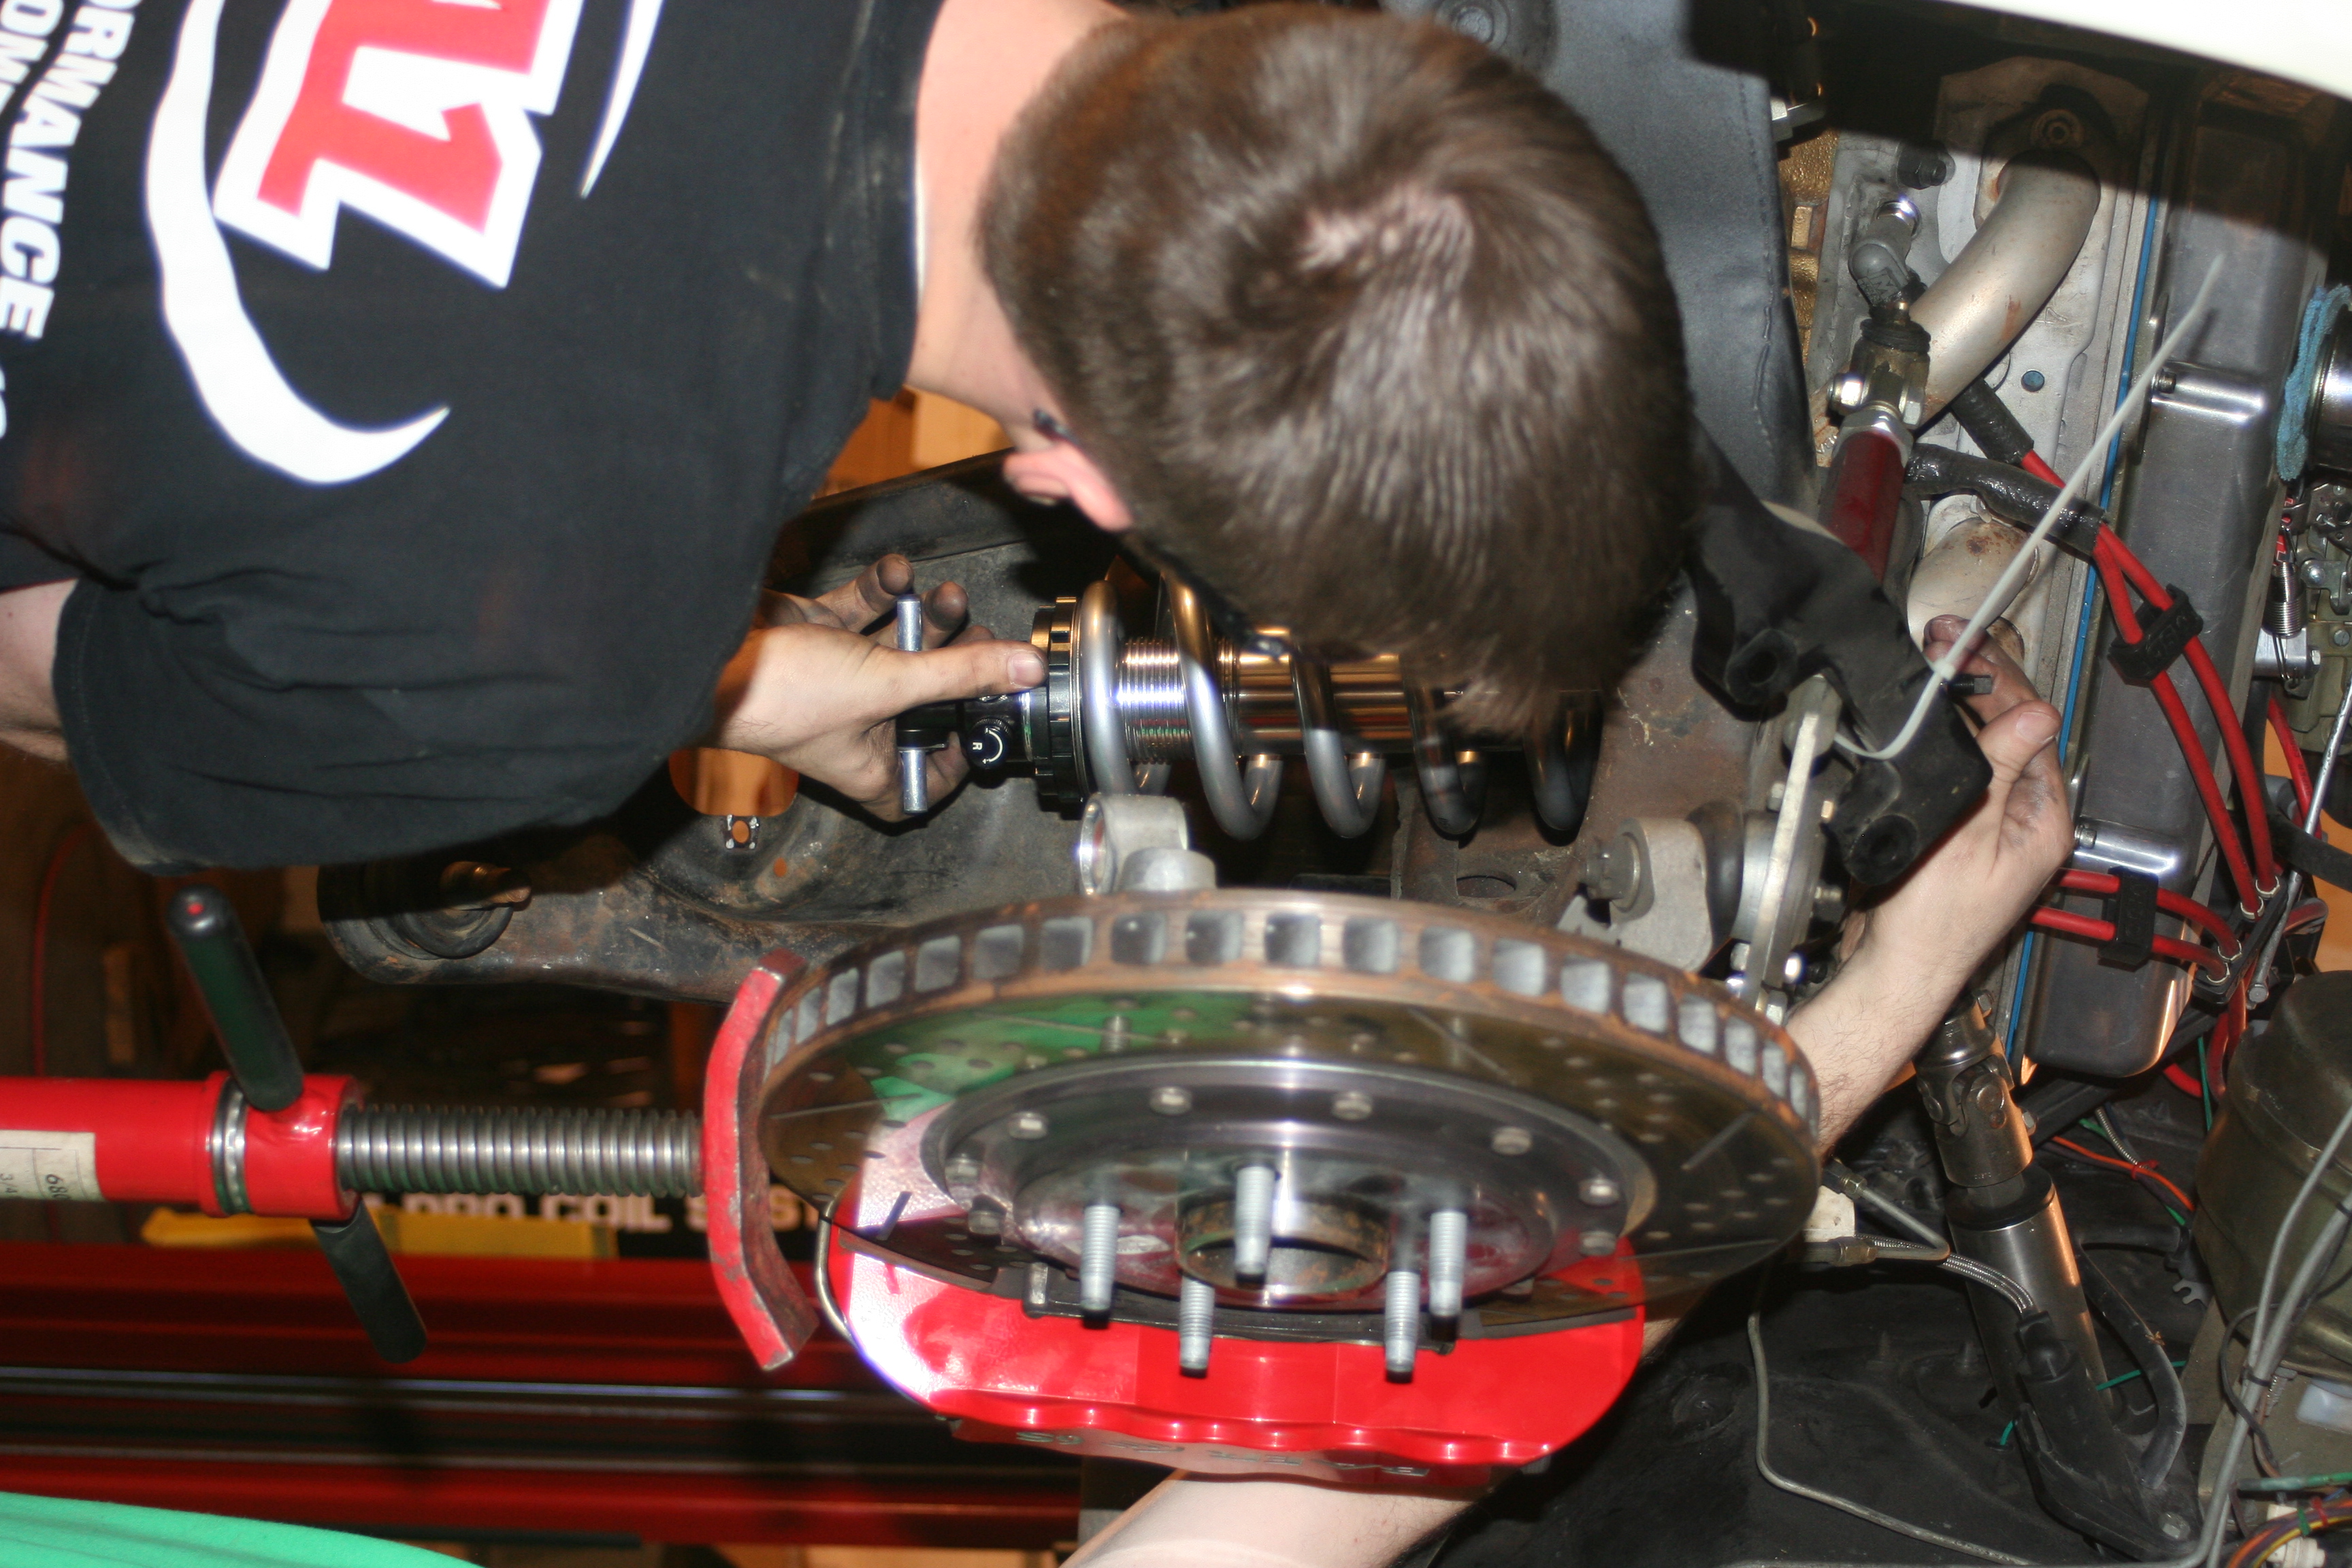
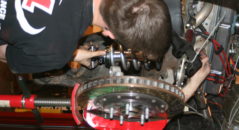
Actually installing the coil-over is as easy as installing a stock shock, which makes sense since it fits into the same place. The upper threaded rod establishes the upper mount and centers the assembly.
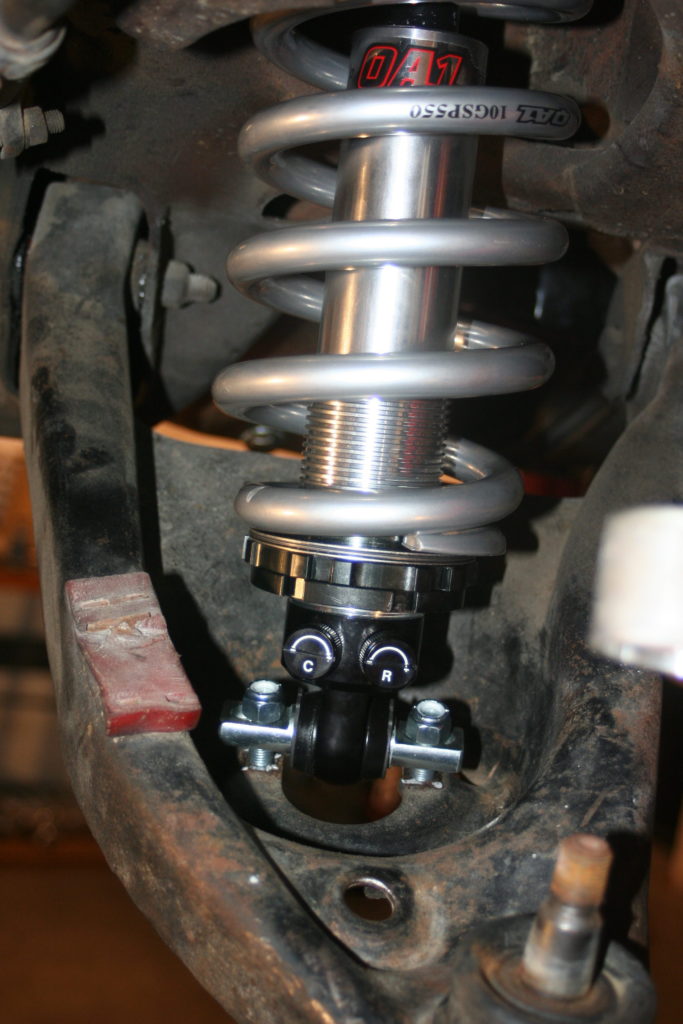
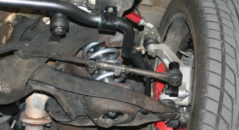
The lower control arm is raised into position and the lower mount bolts secure the bottom of the coil-over assembly. Once the coil-over assembly is secure, the lower control arm can be re-mounted to the lower ball joint.
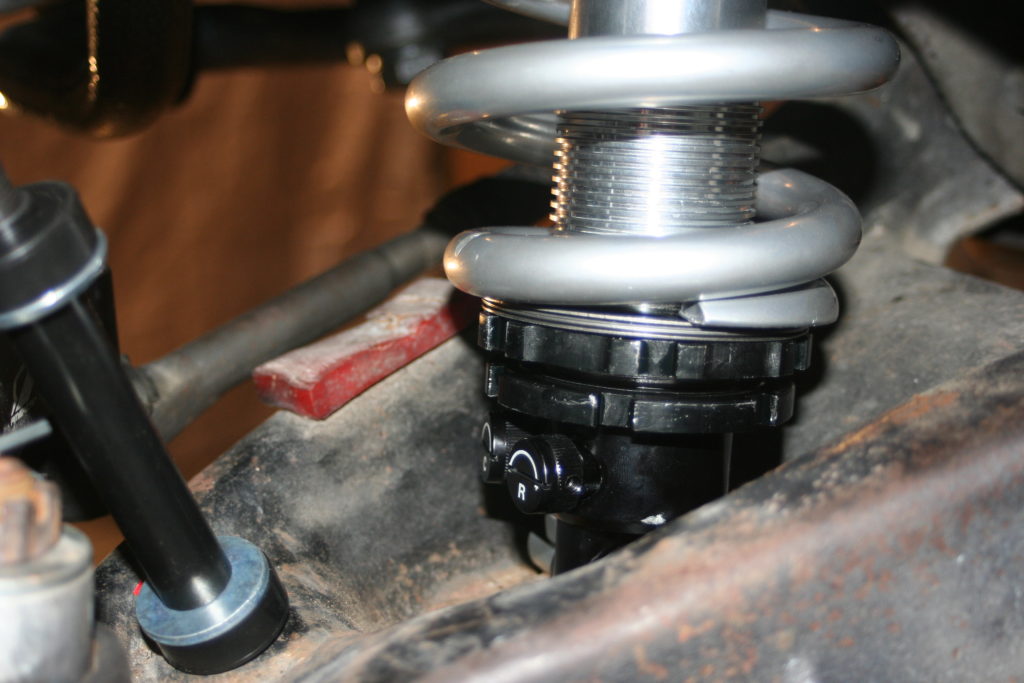
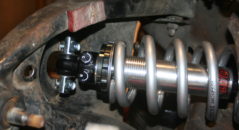
With the suspension bolted back into position, we can see that the control knobs for the compression and rebound settings are relatively accessible. Once the car is back on the ground (with the wheel, tire and brake in place) it’s a lot harder to get a photo. But, after having this car at several tracks and making many adjustments, I can assure you it’s not too bad. If you look closely, you’ll see that the knobs are slotted. We found that using a stubby screwdriver was the easiest way to adjust them. They have detents that click nicely when the knobs are turned, so you can count (and record) the number of clicks you make for each adjustment. We left the height adjustment at its lowest-possible setting at the bottom of the shock body. To raise the ride height, spanner wrenches are used to spin the collars up and move the coil higher, which lifts the car. The top collar moves the coil spring, and the lower collar is then moved up and jammed into the top one to secure it. Together, both collars are plenty strong to do the job.
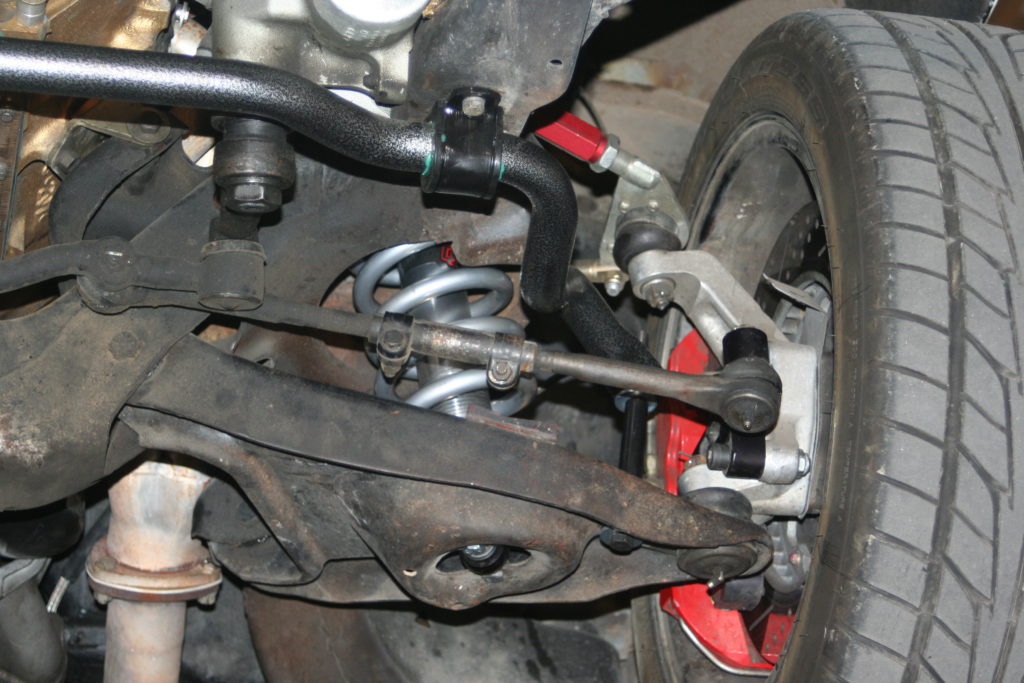
After putting everything back together, it only makes sense to list everything that isn’t a factory part here. The entire suspension upgrade is based on the Speedtech Performance “AFX” spindle upgrade (P/N ATS 30001 A). This spindle improves the overall geometry and allows for the use of C5 Corvette brakes on the ’64-’72 GM A-body chassis. The steering arms are also from Speed Tech (P/N ATS 030025) and are required for use with the AFX spindle. The brakes are 14-inch diameter rotor, 6-piston Baer Extreme + units (P/N 4301171). They are designed for the AFX spindle and fit without issue. The upper control arms are from Savitske Custom and Classic and are P/N 21 with greaseable Delrin bushings. The anti-sway bar is from Hellwig and carries P/N 55703. It’s a tubular unit that is 1-5/16 inches in diameter. You can see that the lower control arms are still the original 1967 units, but they have been treated to a fresh set of polyurethane bushings from Energy Suspension. All of these upgrade parts were bolt-on replacements for stock components, and were fitted to an unmodified chassis.
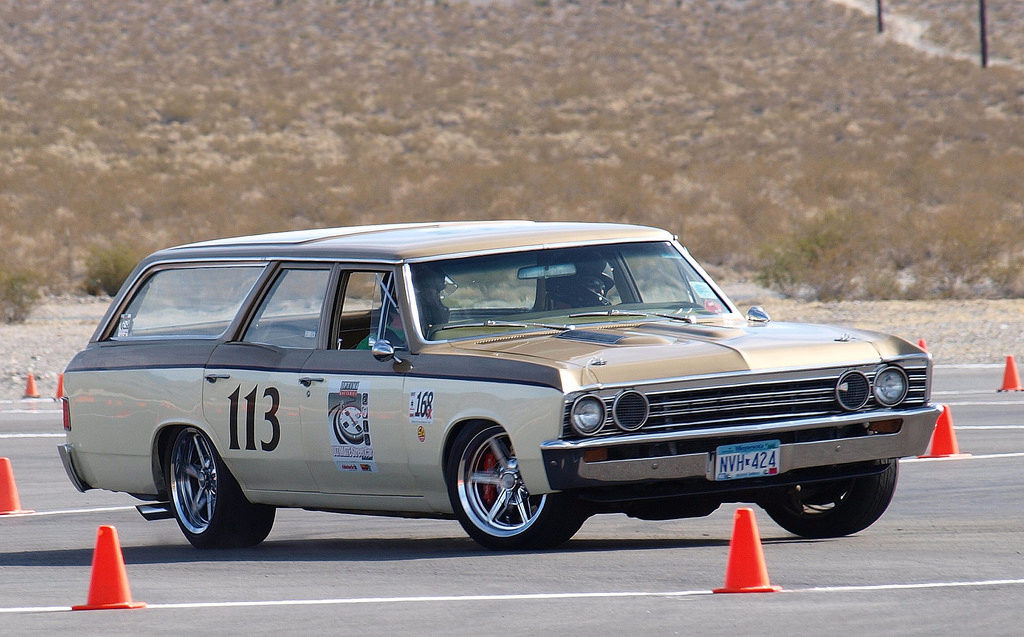
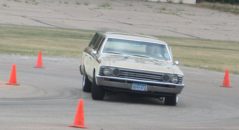
After the front suspension was upgraded with our QA1 coil-overs, it made a world of difference, despite the angle shown here. There was far less body roll, the hardware provided much more confidence in the corners and it felt much more planted!
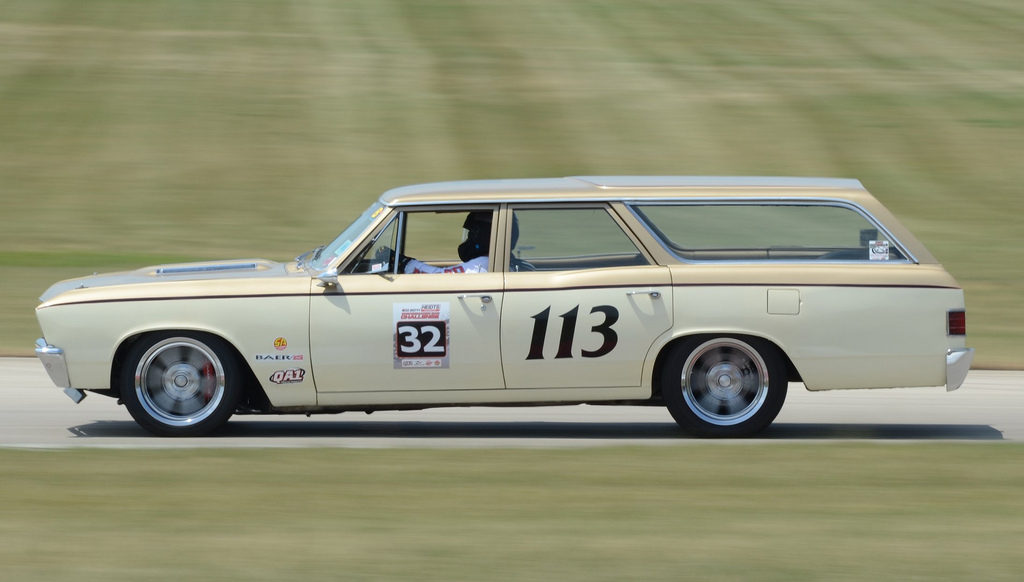
Once I got the adjustable coil-overs in place, I could tune to compensate for the cars inherent shortcomings (like being a station wagon!) and improve its capabilities at any track. By turning down the “compression” settings in the front shocks a little, more weight would transfer to the front end when braking. This added more weight to the front end, and I gained more traction to fight the cars tendency to push. This photo from the high-speed road course at Autobahn in Joliet, IL, shows the car having one of it’s best Track Day experiences ever. It would go on to become the only station wagon to ever win the Car Craft magazine “Real Street Eliminator” competition in St, Paul, MN, and the “Sand Hills Open Road Challenge” in Arnold, NE. I also won the 12.50-second bracket at the Rock Falls Raceway “Muscle Car Weekend” event in Eau Claire, WI (drag racing on the street tires!). I credit the adjustability in the suspension (and the excellent engineering of the QA1 components) to the cars success, and it wore that QA1 decal on the front fender with pride. Photo courtesy Bob Chiluk
After spending almost a decade in the aerospace industry, Scott Parkhurst chose to learn about racing engines by working in some of Southern California’s most respected engine shops. He took on the role of Tech Editor at Popular Hot Rodding magazine back in 1998, and was instrumental in the development of both the Engine Masters Challenge competition and Engine Masters Quarterly magazine. He was also the founding Editor of Street Thunder magazine and Author of the V8 Horsepower Performance Handbook before he arrived at Timeless Muscle.

